






Boss Challenge, Badge Dojo, Horde Invasion and the rest
Clash of Critters game modes
Boss Challenge
5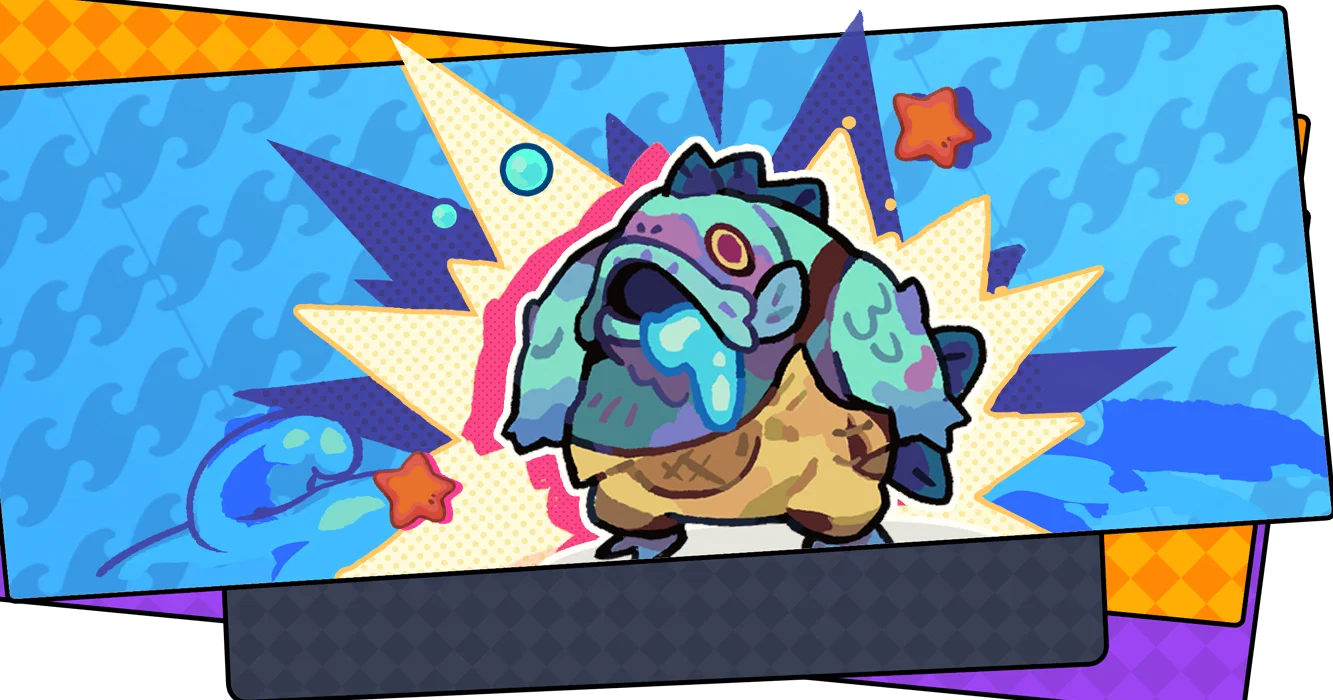
Frankenfish
100 difficulty levels, enemy level 20 to 1,000, 2 to 78 stars
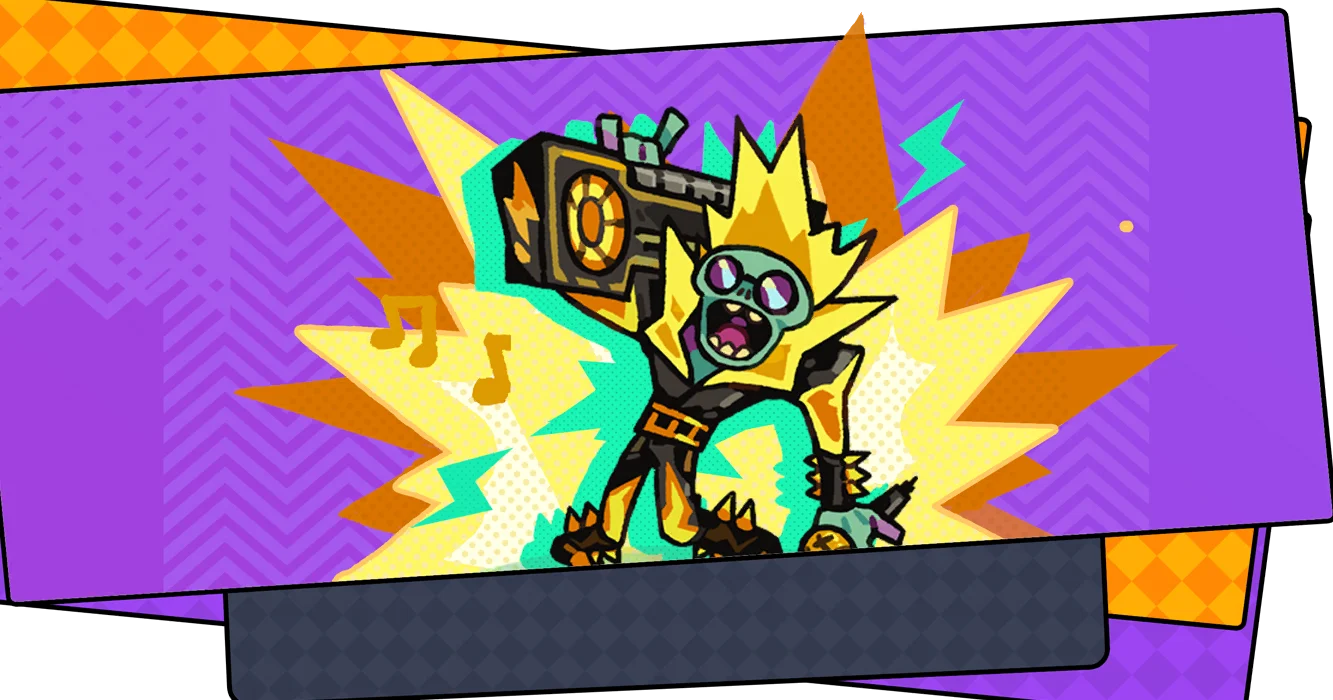
Pop Star
100 difficulty levels, enemy level 20 to 1,000, 2 to 78 stars
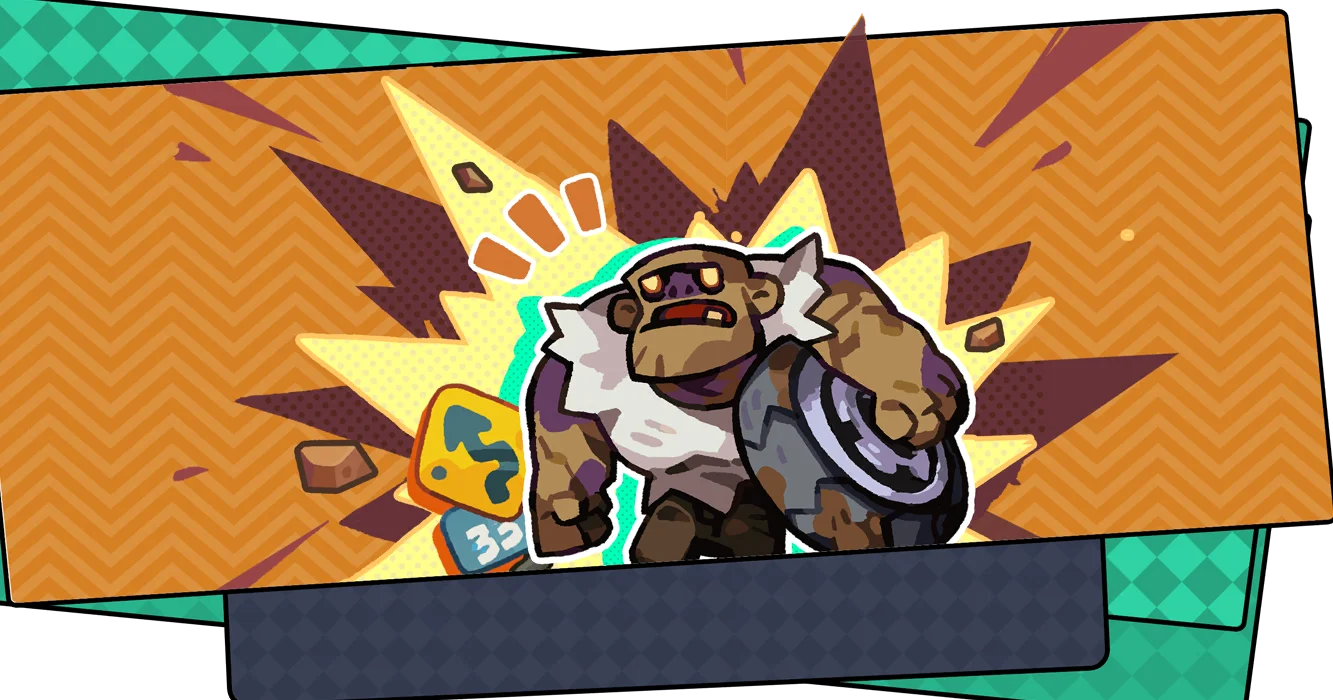
Road Bully
100 difficulty levels, enemy level 20 to 1,000, 2 to 78 stars
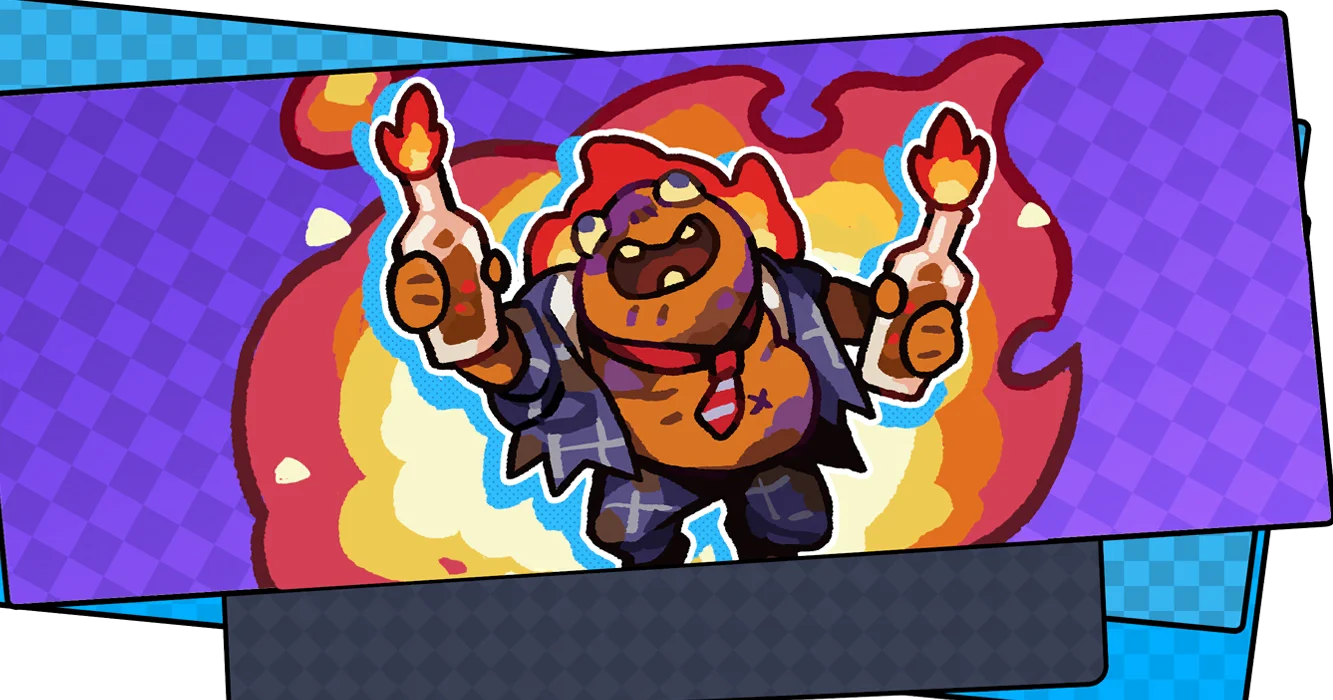
Tipsy Zobo
100 difficulty levels, enemy level 20 to 1,000, 2 to 78 stars
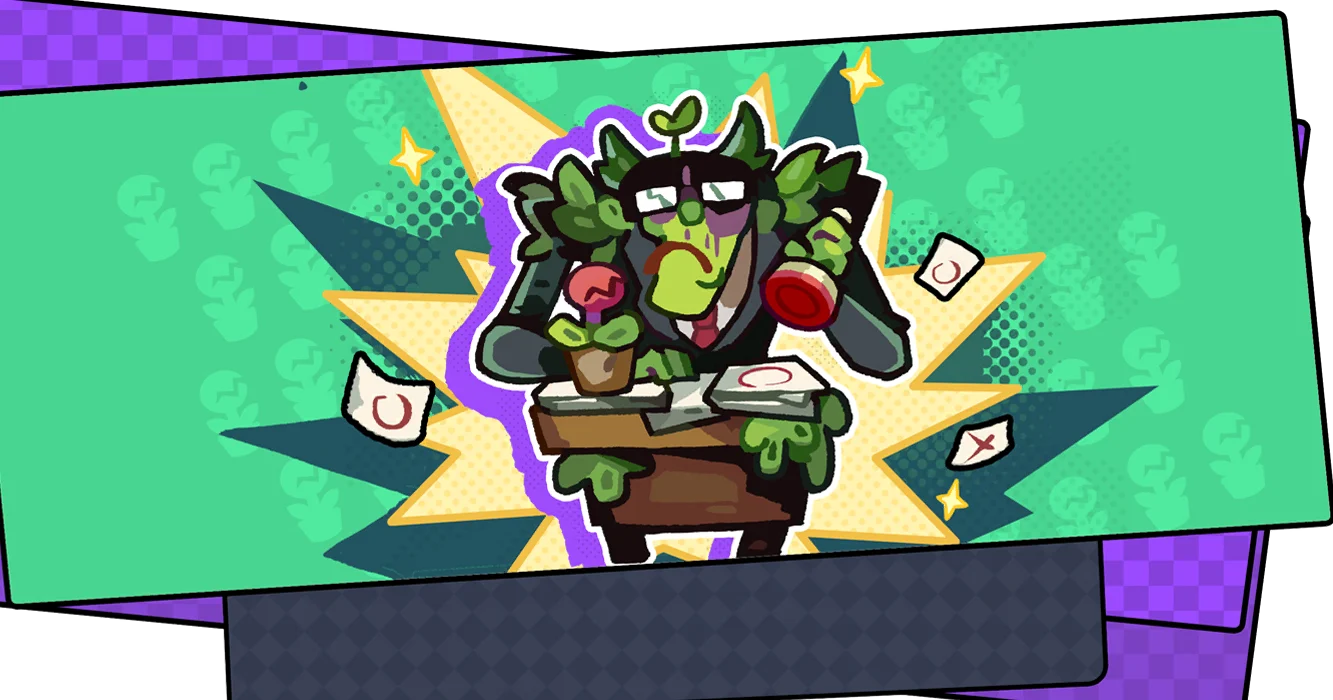
Manager Zobo
100 difficulty levels, enemy level 20 to 1,000, 2 to 78 stars
1. You can challenge the featured boss every day and get ranked to earn rewards.
2. Each boss has multiple difficulty levels. Defeating a boss at one level unlocks the next, with progress saved per boss.
3. Completing all difficulty levels of a boss will unlock Endless Mode. In this mode, bosses cannot be defeated, deal as much damage as possible to earn higher ranking rewards.
4. The featured boss will change every few days, and your progress and formations will be saved separately.
5. Ranking rewards are settled daily at 24:00 UTC, and leaderboard data will also be reset.
Badge Dojo
Each element has its own dojo of 7 gyms, and each gym asks for a set of Tatari of that element before it opens. Clearing a gym earns its badge, which raises the stats of that element's Tatari.
Water Dojo
- Gym 1To open it: Collect 7 Water Tatari.Badge:
 Droplet BadgeBadge bonus: HP +10%, ATK +10%, DEF +10%
- Gym 2To open it: Evolve 5 Water Tatari to Gold tier.Badge:
 Wet BadgeBadge bonus: HP +20%
- Gym 3To open it: Evolve 1 Water Tatari to Red tier.Badge:
 Sticky BadgeBadge bonus: ATK +20%
- Gym 4To open it: Evolve 3 Water Tatari to Red tier.Badge:
 Dewdrop BadgeBadge bonus: DEF +20%
- Gym 5To open it: Evolve 6 Water Tatari to Red tier.Badge:
 Splashing BadgeBadge bonus: HP +20%
- Gym 6To open it: Evolve 1 Water Tatari to Rainbow tier.Badge:
 Riverswell BadgeBadge bonus: ATK +20%
- Gym 7To open it: Evolve 3 Water Tatari to Rainbow tier.Badge:
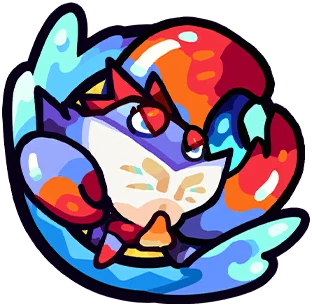 Seasurge BadgeBadge bonus: DEF +20%
Fire Dojo
- Gym 1To open it: Collect 7 Fire Tatari.Badge:
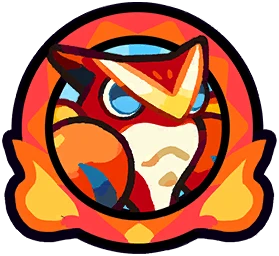 Emberling BadgeBadge bonus: HP +10%, ATK +10%, DEF +10%
- Gym 2To open it: Evolve 5 Fire Tatari to Gold tier.Badge:
 Warm BadgeBadge bonus: HP +20%
- Gym 3To open it: Evolve 1 Fire Tatari to Red tier.Badge:
 Blazebright BadgeBadge bonus: ATK +20%
- Gym 4To open it: Evolve 3 Fire Tatari to Red tier.Badge:
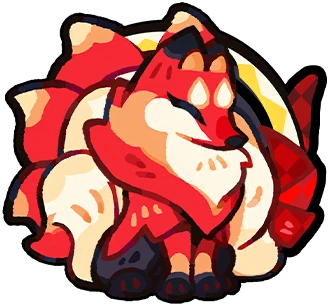 Hot BadgeBadge bonus: DEF +20%
- Gym 5To open it: Evolve 6 Fire Tatari to Red tier.Badge:
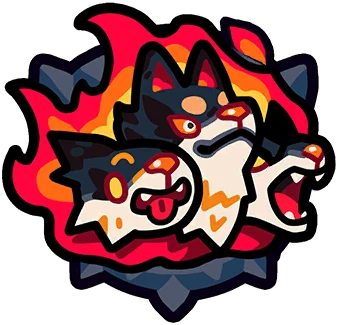 Crackling BadgeBadge bonus: HP +20%
- Gym 6To open it: Evolve 1 Fire Tatari to Rainbow tier.Badge:
 Cinderstorm BadgeBadge bonus: ATK +20%
- Gym 7To open it: Evolve 3 Fire Tatari to Rainbow tier.Badge:
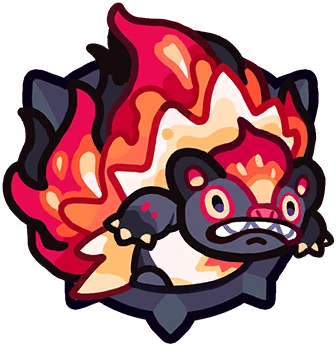 Scorchflame BadgeBadge bonus: DEF +20%
Grass Dojo
- Gym 1To open it: Collect 7 Grass Tatari.Badge:
 Sprout BadgeBadge bonus: HP +10%, ATK +10%, DEF +10%
- Gym 2To open it: Evolve 5 Grass Tatari to Gold tier.Badge:
 Green BadgeBadge bonus: HP +20%
- Gym 3To open it: Evolve 1 Grass Tatari to Red tier.Badge:
 Seedling BadgeBadge bonus: ATK +20%
- Gym 4To open it: Evolve 3 Grass Tatari to Red tier.Badge:
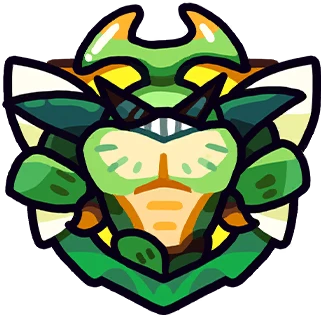 Thickleaf BadgeBadge bonus: DEF +20%
- Gym 5To open it: Evolve 6 Grass Tatari to Red tier.Badge:
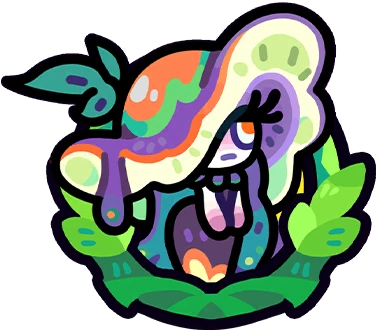 Rustlevine BadgeBadge bonus: HP +20%
- Gym 6To open it: Evolve 1 Grass Tatari to Rainbow tier.Badge:
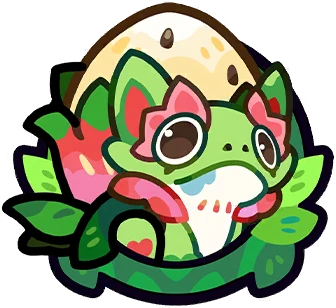 Evergreen BadgeBadge bonus: ATK +20%
- Gym 7To open it: Evolve 3 Grass Tatari to Rainbow tier.Badge:
 Verdant BadgeBadge bonus: DEF +20%
Lightning Dojo
- Gym 1To open it: Collect 7 Lightning Tatari.Badge:
 Arc BadgeBadge bonus: HP +10%, ATK +10%, DEF +10%
- Gym 2To open it: Evolve 5 Lightning Tatari to Gold tier.Badge:
 Glittering BadgeBadge bonus: HP +20%
- Gym 3To open it: Evolve 1 Lightning Tatari to Red tier.Badge:
 Glintspark BadgeBadge bonus: ATK +20%
- Gym 4To open it: Evolve 3 Lightning Tatari to Red tier.Badge:
 Popping BadgeBadge bonus: DEF +20%
- Gym 5To open it: Evolve 6 Lightning Tatari to Red tier.Badge:
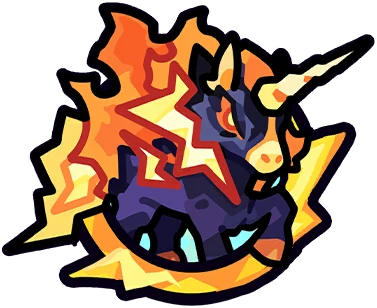 Sparking BadgeBadge bonus: HP +20%
- Gym 6To open it: Evolve 1 Lightning Tatari to Rainbow tier.Badge:
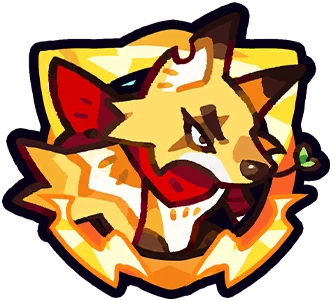 Stormcrash BadgeBadge bonus: ATK +20%
- Gym 7To open it: Evolve 3 Lightning Tatari to Rainbow tier.Badge:
 Thunderstrike BadgeBadge bonus: DEF +20%
Rock Dojo
- Gym 1To open it: Collect 7 Rock Tatari.Badge:
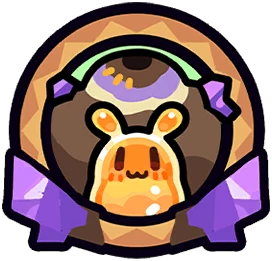 Shard BadgeBadge bonus: HP +10%, ATK +10%, DEF +10%
- Gym 2To open it: Evolve 5 Rock Tatari to Gold tier.Badge:
 Hard BadgeBadge bonus: HP +20%
- Gym 3To open it: Evolve 1 Rock Tatari to Red tier.Badge:
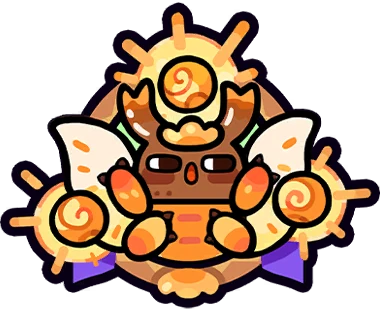 Firmstone BadgeBadge bonus: ATK +20%
- Gym 4To open it: Evolve 3 Rock Tatari to Red tier.Badge:
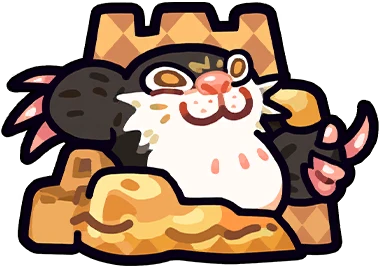 Heavy BadgeBadge bonus: DEF +20%
- Gym 5To open it: Evolve 6 Rock Tatari to Red tier.Badge:
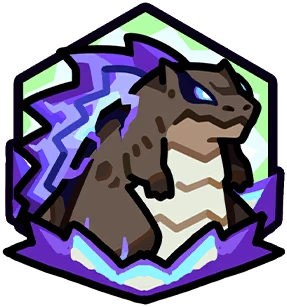 Quake BadgeBadge bonus: HP +20%
- Gym 6To open it: Evolve 1 Rock Tatari to Rainbow tier.Badge:
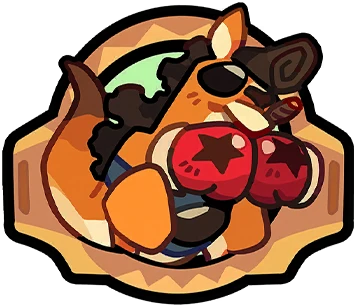 Cragmass BadgeBadge bonus: ATK +20%
- Gym 7To open it: Evolve 3 Rock Tatari to Rainbow tier.Badge:
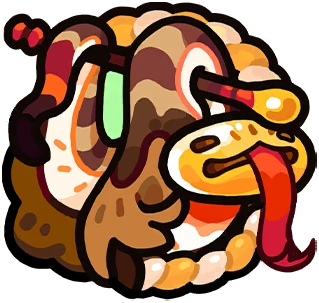 Terrapeak BadgeBadge bonus: DEF +20%
1. Badge titles are given according to the total number of badges a trainer owns. Advance your title by collecting more badges!
2. Here are the titles you can earn based on how many badges you own:
0 to 4 Badges: Novice Trainer
5 to 14 Badges: Advanced Trainer
15 to 24 Badges: Elite Trainer
25 to 34 Badges: Master Trainer
35 Badges: Supreme Trainer
3. Collect more badges to show off your status as a top-tier trainer!
Horde Invasion
Horde Invasion S21. Every 4 hours, hordes of Zobos will invade the camps of certain players. Trainers must work together to eliminate a certain number of Zobos to earn rewards.
2. Whether or not all Zobos are cleared, once they retreat, all trainers can receive ranking rewards based on their highest kill count.
3. Ranking rewards can be claimed once per day, based on the highest ranking you achieved that day. If you've already claimed a ranking reward on a particular day, participating again will not grant further rewards unless you achieve a higher ranking. In that case, you'll receive the difference in rewards.
4. Each time a Zobo horde arrives, challenge attempts will reset. You can join others in matchmaking or invite friends to challenges. The number of Zobos defeated during battle will be shared on the kill rankings of both players.
5. Once your challenge attempts are used up, you can no longer initiate matchmaking or invite friends, but you can still accept friend invitations and help them in challenges. In this case, the Zobos you eliminate will not count toward your personal kills.
Chips

Photosynthesis I
Obtain 2 energizers every 5 seconds. Your Tatari can be upgraded to Lvl 8.
Photosynthesis II
Obtain 3 energizers every 5 seconds. Your Tatari can be upgraded to Lvl 8.
Photosynthesis III
Obtain 4 energizers every 5 seconds. Your Tatari can be upgraded to Lvl 8.

Bounty Hunter I
Obtain 2 extra energizers for each Zobo you kill within 120 seconds. Your Tatari can be upgraded to Lvl 8.
Bounty Hunter II
Obtain 3 extra energizers for each Zobo you kill within 120 seconds. Your Tatari can be upgraded to Lvl 8.
Bounty Hunter III
Obtain 4 extra energizers for each Zobo you kill within 120 seconds. Your Tatari can be upgraded to Lvl 8.

Slot Machine 2
Randomly obtain 2 Tatari from your formation. If you exceed the deployment limit, randomly upgrade a number of your Tatari equal to the amount exceeded.
Slot Machine 3
Randomly obtain 3 Tatari from your formation. If you exceed the deployment limit, randomly upgrade a number of your Tatari equal to the amount exceeded.
Slot Machine 4
Randomly obtain 4 Tatari from your formation. If you exceed the deployment limit, randomly upgrade a number of your Tatari equal to the amount exceeded.

AFK
Enter mandatory auto-battle mode for 40 seconds and immediately obtain 300 energizers.

Water Form I
Your Water Tatari gain a 20% DMG Boost.

Fire Form I
Your Fire Tatari gain a 20% DMG Boost.

Grass Form I
Your Grass Tatari gain a 20% DMG Boost.

Rock Form I
Your Rock Tatari gain a 20% DMG Boost.

Lightning Form I
Your Lightning Tatari gain a 20% DMG Boost.
Water Form II
Your Water Tatari gain a 30% DMG Boost.
Fire Form II
Your Fire Tatari gain a 30% DMG Boost.
Grass Form II
Your Grass Tatari gain a 30% DMG Boost.
Rock Form II
Your Rock Tatari gain a 30% DMG Boost.
Lightning Form II
Your Lightning Tatari gain a 30% DMG Boost.
Water Form III
Your Water Tatari gain a 40% DMG Boost.
Fire Form III
Your Fire Tatari gain a 40% DMG Boost.
Grass Form III
Your Grass Tatari gain a 40% DMG Boost.
Rock Form III
Your Rock Tatari gain a 40% DMG Boost.
Lightning Form III
Your Lightning Tatari gain a 40% DMG Boost.

Glass Cannon
All of your Tatari gain 25% ATK, but lose 10% Max HP.

Barricade
Tatari on your 2 front rows gain 40% Max HP and DEF, but deal 10% less damage.

Boss Killer
Your Tatari deal 20% more damage to Zobo bosses.
The Exile
Your Tatari without adjacent allies gain 35% ATK, Max HP, and DEF.

First-Aid Kit

Rear Guard

Backend Support
Your Tatari with only 1 Tatari in front of them gain a 45% DMG Boost.

Lawn Careunique
Generate 6 single-use lawn mowers at the bottom of the map. Once triggered, mowers kill 5 non-boss Zobos in front, and deal damage equal to 40% of Max HP to bosses and subsequent non-boss Zobos that are hit.

Patch Upgrade
Replace all of your deployed Tatari below Lvl 3 with random Tatari from your formation. Replaced Tatari's levels are upgraded by 2.

Shuffle
Replace all of your deployed Tatari with random Tatari from your formation and immediately obtain 600 energizers.

Parting Gift
Obtain 40 energizers whenever one of your Tatari is knocked down.

Underdog
When your element is countered by the enemy, it is considered as countering the enemy instead.

New Recruit
Raise your deployment capacity by 1 and immediately obtain 250 energizers.

Equalizer
Reset all your deployed Tatari to Lvl 4.

Contract Employee
Summon 1 random Tatari from your formation. Your summoned Tatari are fixed at Lvl 3 and will not count toward your deployment limit. They cannot be upgraded nor revived.

Center Spotlightunique
Zobo bosses will only appear in the middle 2 columns.

Roll of Fate I
Obtain another chip of the same tier at random, plus 100 energizers immediately.
Roll of Fate II
Obtain another chip of the same tier at random, plus 150 energizers immediately.
Roll of Fate III
Obtain another chip of the same tier at random, plus 200 energizers immediately.

On the Move
After being moved, your Tatari gain 20% ATK and ATK Speed for 30 seconds.

Make Wavesunique
River crossing time! Create a river that reduces Zobos' Move Speed by 40% when in it.
Weakest Link
Your Tatari of the element with the fewest units deployed gain 15% ATK, DEF, and ATK Speed.

Count to Five
The first time you have 3 Lvl 4 Tatari deployed together, upgrade all of them to Lvl 5.

Mission Reset
Recall all of your deployed Tatari and obtain 200 energizers for each.
Arena
1. Create formations to compete against other trainers.
2. When you win, you earn points and your opponent loses points.
3. You lose a small number of points upon defeat.
4. Arena ranking rewards are sent based on personal rank brackets. League points will directly count toward league rankings.
Island Goldrush
Island Goldrush: leagues
League Titles:
1. League leaders, elites, and vanguards can mark tiles and post announcements.
2. League leaders, elites, and vanguards have drink consumption reduction perks.
Managing Titles:
1. The league leader can manage elite and vanguard titles among members for a limited number of times per day. Removing a title completely will not count towards the daily limit.
2. The league leader can also transfer leadership to another member, and this action will count towards the daily limit.
3. If the league leader is inactive for more than 24 hours, leadership may be automatically transferred to another active league member.
League Change Rules (Tournament Only)
1. In Tournament: Duneside Goldrush, teams may transfer between leagues starting from Day 2.
2. League changes apply to entire teams. Transfer requests are initiated by the team leader and must be approved by the target league leader.
3. The league leader can invite other teams to join their league. Invitations must be accepted by the leader of the invited team.
4. Your league at the time of settlement is used to determine rewards.
Goldrush Giftbox
1. After obtaining a Goldrush Giftbox, you will automatically notify trainers from your league in the previous Goldrush. You can also share a Giftbox notification message from the Banquet Hall. Invited trainers can then visit your Banquet Hall to claim random pinball rewards.
2. For every Giftbox, each visiting trainer can only claim rewards once.
3. Pinballs are limited and given on a first-come, first-served basis.
4. Trainers who claim rewards will leave a thank-you message.
5. The camp owner can check all messages received.
6. Each placed Giftbox has a time limit. When it expires or after all rewards are claimed, the camp owner can also claim a final prize.
Island Goldrush: Clams
1. When the countdown ends, your side's Clams will grant massive league points.
2. If your Clams become damaged, your side will earn less points during settlement. The league that damaged your Clams will earn those points instead.
Bullet Coin hunt
Zobo boss drops
1. When a Zobo boss is defeated, it has a chance to drop event items.
2. You will only receive rewards for Zobos you defeat. Rewards from Zobos defeated by other trainers are not shared.
3. Zobo kill chances:
Ordinary Zobo: 86.96%
Psycho Zobo: 72.48%
Fisherman Zobo: 54.35%
Matchstick Zobo: 43.48%
Plant Zobo: 43.48%
Miner Zobo: 36.23%
Rocker Zobo: 36.23%
Tumbleweed Zobo: 31.05%
Cowboy Zobo: 31.05%
Junker Zobo: 27.18%
Landlady Zobo: 27.18%
Nurse Zobo: 26.10%
Patient Zobo: 26.10%
Firehead Zobo: 21.75%
Clerk Zobo: 21.75%
Digger Zobo: 16.98%
Hockey Zobo: 16.98%
Hanger-On Zobo: 15.16%
Shotgun Zobo: 15.16%
Brick Zobo: 12.81%
Battery Zobo: 12.81%
Kindling Zobo: 8.88%
Bugler Zobo: 8.88%
Two-Headed Zobo: 4.15%
Goonch Zobo: 3.75%
Pop Star: 3.35%
Road Bully: 2.95%
Tipsy Zobo: 2.50%
Manager Zobo: 2.05%
Shocker Zobo: 1.65%
Shaman Zobo: 1.25%
Bullet Coin hunt
1. In this game mode, Zobos will continuously enter and leave the area after a brief time. Deploy Tatari to use Bullet Coins to attack them. Each attack has a chance to kill on hit, which depends on both your Tatari hit chance and Zobo kill chance. Final kill chance = Tatari hit chance × Zobo kill chance.
2. Bullet Coins can be obtained from the Pinball Machine.
3. Each attack consumes Bullets Coins equal to the arena's multiplier. High-multiplier arenas will unlock once you have earned a certain amount of coins.
4. Defeat Zobos to earn points.
5. Higher-multiplier arenas grant more points.
6. Points are shared among team members. The team's total points determine their rewards and rankings.
7. Tatari evolution boosts their hit chances:
Blue Tatari: +0%
Purple Tatari: +2.5%
Gold Tatari: +5%
Red Tatari: +7.5%
Rainbow Tatari: +10%
Hit chance by evolution
Evolve Tatari to increase their hit chances:
Blue Tatari: +0%
Purple Tatari: +2.5%
Gold Tatari: +5%
Red Tatari: +7.5%
Rainbow Tatari: +10%
Elemental Duel
1. Your opponent will deploy Tatari of 3 different elements.
2. You have 5 chances to quickly open chests to obtain Tatari of different elements:
Grass: 20%
Fire: 20%
Lightning: 20%
Water: 20%
Rock: 20%
3. Each Tatari will launch an elemental attack on the opponent's defending Tatari.
4. When you attack with a countering element, the defending Tatari will be defeated.
5. Earn 3 tiers of rewards based on the number of Tatari you defeat.
Fishing
1. Each fishing session consumes 1 Fishing Rod. You'll earn Silver Fishing Coins based on the weight and type of fish you catch. If you set a new Team record for a fish species, you'll also earn Gold Fishing Coins!
2. Once you earn a certain number of Silver Fishing Coins, you can claim rewards.
3. Teams will be ranked by their total Gold Fishing Coins, and ranking rewards will be sent to each member after the event ends.
4. You can activate multipliers while fishing and spend Fishing Rods equal to the multiplier each time you fish. Your Silver Fishing Coin rewards will be multiplied by the same amount.
5. Once you earn a certain number of Silver Fishing Coins, you can claim rewards to upgrade your Fishing Rod, increasing your Luck Level for the remainder of the event. The higher your Luck Level, the greater your chances of catching rarer and larger fish.
6. Each Fishing Rod used has a 0.3% chance to yield Felicia's Exclusive Bait, which can be used to scatter bait in an area and increase the entire team's Luck Level by 1 for 10 minutes. This can be stacked up to 4 times.
7. The chances of catching various rarities of fish at different Luck Levels are as follows:
Red: 0.1/0.5/1/2/5/10/15/25%
Gold: 4/10/15/20/25/25/25/25%
Purple: 30/30/30/30/35/35/30/25%
Blue: 54/48/44/38/35/30/30/25%
Candy or Pinball: 11.9/11.5/10/10/0/0/0/0%
8. The chances of catching various weights of fish at different Luck Levels are as follows:
Rainbow: 5/10/15/20/30/50/80/100%
Gold: 15/15/15/20/30/30/20/0%
Silver: 30/30/30/30/20/10/0/0%
Bronze: 50/45/40/30/20/10/0/0%
Farm
Farm
Grow heavier crops and feed them to Tatari to gain higher earnings.
1. Once the event begins, every 12 hours will be considered 1 crop growth cycle. There will be 5 growth cycles, with the 6th serving as a fallow cycle during which fertilizer cannot be used. Make sure to use your fertilizer in time!
2. During growth cycles, 6 crops will be automatically planted. Use fertilizer to increase crop weight. The heavier the crops, the more earnings you'll get.
3. Once crops are fully grown, you can harvest them into the storehouse.
4. Feed different crops to Tatari accordingly to get rewards.
5. Each Tatari can only be fed a certain number of times per cycle.
6. Within a Camp, each trainer can feed a single Tatari twice per cycle.
7. Trainers can make reservations to visit each other's Camps and feed their Tatari. You can accept up to 5 reservations per cycle.
8. Unused fertilizer will be converted to pinballs after rankings are displayed at the end of the event. They will be converted at a ratio of 10 to 1.
Farm event
1. Fertilize and water your crops, and request support Tatari for heavier yields. Reach milestones and climb team rankings for better rewards!
2. The event runs for 3 days, containing 6 total rounds lasting 12 hours each (Refreshes daily at UTC 00:00 and 12:00).
3. Your camp farm has a total of 6 plots for crops. Applying fertilizer will increase the weight of your crops, and each use has a 16% chance to Crit. Crit chances for specific weight multipliers are as follows: 10% for 2x weight, 4% for 3x weight, 1% for 4x weight, and 1% for 5x weight.
4. Crops will grow naturally and increase in weight automatically every hour. Weight gain will accrue while you're offline and display as soon as you log back in.
5. Crop weight will accumulate throughout the event and will not reset. When the weight of a single crop reaches a certain threshold, its rarity will increase, granting increased rewards.
6. Request Support Tatari: Invite a friend or teammate's Tatari to help out with one of your plots, and you'll receive bonuses to both fertilizer and natural growth yields. The stronger the Tatari, the better the bonuses, and even starting/unbuilt Tatari will provide minimum bonuses.
7. Support bonuses only apply after the invitation takes effect. Weight gained before the request will not be factored in.
8. Each Tatari can be requested 50 times per round. Once this limit is reached, the Tatari becomes exhausted.
9. Exhausted Tatari can still be reserved by tapping and sending a request. Requests are limited to friends and teammates only and can be sent once per round to the same trainer. If they accept, the reservation takes effect and must be used during the next round. Otherwise, it expires. Reservations cannot be made during the final round of the event.
10. Each trainer can accept up to 6 reservation requests per round. This limit resets each round.
11. Total crop weight counts towards milestone rewards as well as team rankings. After unlocking all milestones, you can earn 1 Glitter Fruit for every extra 30,000kg in total crop weight. There is no limit to how many Glitter Fruits you can obtain this way.
Marathons
Marathon Star
1. Consume 1 pair of sneakers by default each time you spin, and move forward a certain distance according to your spin results.
2. When you advance forward by a certain amount and reach reward milestones, you can claim corresponding rewards.
3. Your total advanced distance is used to participate in rankings. After the event ends, you will receive corresponding ranking rewards.
4. You can activate multipliers while sprinting and consume sneakers equal to the multiplier for each spin. Your sprint distance will be multiplied by the same amount.
5. When you land on a free space, you will move forward by the corresponding amount and gain 1 free spin. The free spin will use the current multiplier and cannot be changed, and it will also not consume any sneakers.
6. The chances of landing on various distance spaces are as follows:
10m: 2%
20m: 20%
30m: 12%
40m: 12%
50m: 22%
50m (plus 1 free spin): 10%
80m: 12%
200m: 10%
7. Unused sneakers will expire after the event ends.
Team Marathon
1. The event begins with the team formation phase. Each team can have up to 4 players. You may invite friends to join your team, or join someone else's team. When the team formation phase ends, any team with vacancies remaining will be automatically assigned teammates.
2. Consume 1 <activityskin:TM_AssetName> by default each time you spin, and move forward a certain distance according to your spin results. <activityskin:TM_AssetNamePlural> are not shared among the team, though the amount of distance you move counts towards team progress.
3. When total team distance reaches a reward milestone, all team members can claim corresponding rewards. When multiple reward options are offered, you may select one to claim.
4. Teams will be ranked by their total distance, and the same ranking rewards will be sent to each member after the event ends.
5. You can activate multipliers and consume <activityskin:TM_AssetNamePlural> equal to the multiplier for each spin. Your distance will be multiplied by the same amount.
6. When you land on a free space, you will move forward by the corresponding amount and gain 1 free spin. The free spin will use the current multiplier and cannot be changed, and it will also not consume any <activityskin:TM_AssetNamePlural>.
7. The chances of landing on various distance spaces are as follows:
1m: 2%
2m: 20%
3m: 12%
4m: 12%
5m: 22%
5m (plus 1 free spin): 10%
8m: 12%
20m: 10%
8. Unused <activityskin:TM_AssetNamePlural> will expire after the event ends.
Tatari Catcher
1. Tap the button below to release the Tatari Catcher.
2. Tatari Catcher balls will split when passing through any multipliers.
3. Each attempt grants the same number of balls as the number of Tatari. Once the free balls are used up, you can exchange pinballs for more (up to 5 at a time). After catching all Tatari, any unused balls will be lost and cannot carry over.
4. Tatari capture rates by rarity: Blue: 80%, Purple: 20%
Tatari Scanner
1. Use 50 Tatari Scan Capsules to scan a selected Tatari once. You're guaranteed to obtain one of their collectibles and have a chance to raise the selected Tatari's Intelligence, Charm, or Fame.
2. Tatari collectibles can be viewed and equipped on the Tatari details page. Some collectibles are still under development, so stay tuned!
3. Chances of obtaining collectibles of different rarity are as follows:
Blue: 60%
Purple: 35%
Gold: 5%
4. Whenever you obtain duplicate collectibles, they will be converted into a small amount of Tatari Scan Capsules based on rarity. Rare Tatari collectibles will give double.
Blue: 1
Purple: 2
Gold: 5
5. Whenever you obtain Tatari, you have a 20% chance of obtaining one of their collectibles.
Camp
Food factory
1. Spend Cookies to craft Bentos of different elements.
2. Monday to Friday: Bentos of different elements will be available to craft each day, along with regular Bentos.
3. Saturday & Sunday: All Elemental Bentos will be available to craft.
Auto Feeder
1. You can select up to 3 Tatari for the Auto Feeder, as well as which foods to feed for each.
2. 15 servings of each food type will be fed in order to each Tatari at 00:00 UTC daily.
3. When multiple foods are selected, they will be fed in order of rarity (from high to low) until your Tatari become full or no more foods are available.
Sparkly Spa
1. After obtaining a T4 Tatari as well as winning MVP in Goldrush, you'll unlock the Sparkly Spa building. Spa Soap is also obtained by winning MVP in Goldrush.
2. The spa can be opened for 7 days at the cost of 100 Spa Soaps each time. While the spa is open, all your T4 Tatari will receive spa buffs (this evolution restriction can be waived via certain spa buffs).
3. The list of available spa buffs can be shuffled at the cost of 1 Spa Soap. This will reset your list of potential buffs, which you can then decide whether to use or not (soap is used regardless).
4. Whenever you open the spa or shuffle its buff list, you have a 33% chance of activating 2 buffs from the list, 50% chance of activating 3, and 17% chance of activating 4. Activated buffs will not repeat within the same list.
5. The chances of activating buffs of different rarity are as follows: Purple 41%, Gold 36%, Red 20%, and Rainbow 3%.
6. Every 10 shuffles will guarantee a buff of Red or above rarity, and every 35 shuffles a buff of Rainbow rarity.
7. You can invite or open your spa to friends. Their T4 Tatari will then be able to come and enjoy partial buffs from your spa.
8. When you activate the Sparkle progress buff, you will gain 50 points of Sparkle progress daily. These can be claimed manually the following day (including those gained on the last day of the spa), and only until the end of the next day. All unclaimed progress will be lost.
9. When claiming Sparkle progress, you must select which T4 Tatari you wish progress to count towards. This Tatari must have unlocked their Glitter form, reached T4, and have Sparkle skins available. Sparkle progress is tallied independently for each Tatari, and every 100 points of progress will automatically unlock a Sparkle skin 1 time.
10. If you are within your own active spa when you unlock a Sparkle skin, you have a 80% chance of getting a Standard Sparkle and 20% chance of getting a Rare Sparkle. If not, you have a 100% chance of getting a Standard Sparkle. Duplicate Sparkle skins will convert into 1 Glitter Fruit.
11. Tatari that currently have Sparkle skins: Frostnip, Manteeny, Voltfawn, Zappur, Droppit, Punchimp, Sparkit, Frugling, Blueflick, and Rubblet. More are underway, so stay tuned!
Spa Station
1. The Spa Station is unlocked once you own a T4 Tatari and have friends who opened their Sparkly Spa. From the station, you can view any currently open spas and their buffs before requesting a visit.
2. After soaking, all your T4 Tatari will gain partial buffs from your friends' spas.
3. Leaving the spa will cause you to lost its buffs. Buffs are also lost when the spa closes.
6. When you obtain the Sparkle progress buff (settled at the end of each server day), you will gain 50 points of Sparkle progress daily. These can be claimed manually the following day (including those gained on the last day of the spa), and only until the end of the next day. All unclaimed progress will be lost.
7. When you manually claim Sparkle progress, you must select one of your T4 Tatari that has unlocked Glitter and has Sparkle skins available. Every 100 points of progress gained by this Tatari will automatically unlock a Sparkle skin once for them. Temporary Glitter skins do not count, and Sparkle skins will only take effect on T4 forms.
8. When soaking in a friend's spa, you have a 100% chance of getting a Standard Sparkle and 0% chance of getting a Rare Sparkle. Duplicate Sparkle skins will convert into 1 Glitter Fruit.
9. Tatari that currently have Sparkle appearances: Frostnip, Manteeny, Voltfawn, Zappur, Droppit, Punchimp, Sparkit, Frugling, Blueflick, and Rubblet. More are underway, so stay tuned!
Card album
1. You can preserve your favorite cards with card sleeves. Preserved cards will be added to your collection in the Card Museum and saved permanently. The museum also supports Foil Card displays.
2. If you run out of card sleeves, you can purchase them with pinballs. One card sleeve requires 100 pinballs.
3. Card sleeves won't expire at the end of an album event. When this album event ends, unused card sleeves will carry over to the next one.
Feeding a friend's Tatari
1. Tap the "Feed" button to begin feeding.
2. Once feeding is complete, your friend will receive your gift.
3. You can tap "Switch Friends" to select another friend.
Visiting friends
1. Tap the "Visit" button to begin playing.
2. You can tap "Switch Friends" to select another friend.
3. Find the specified Tatari within the time limit.
4. Receive candy rewards based on how many Tatari you found.
5. After, the friend you visited will also receive a gift from you.
Raids
1. Select 1 of 5 Tatari targets to attack.
2. If the target trainer does not have a shield, the attacker gets full rewards. Otherwise, they get a small amount of rewards.
Wall of Memories
1. The Wall of Memories can display your various achievements.
2. Your newest, most valuable achievements are prioritized by default.
3. You can change your wall display settings at any time. Show off your achievements to visiting friends!
Minigames
Radish dig
1. Tap the GO button to launch Zapup to detect radish targets.
2. After each detection attempt, you'll receive a hint on how far you are from the target radish, based on the location of your detection signal.
3. Up to 6 radishes can be found per run.
Surprise Spinwheel
1. The Surprise Spinwheel has 4 total levels, each with 8 reward spaces, with 1 being the grand prize. Each time you draw a reward, you won't be able to draw it again the next time you spin.
2. For the first 3 levels, you can choose to continue to spin and draw remaining rewards after obtaining the grand prize, or upgrade your spinwheel to the next level. After upgrading, unclaimed rewards from previous levels can no longer be drawn. In the final 4th level, you can continue to spin until you draw all prizes regardless.
3. Rewards for each level are as follows:
Level 1: Grand prize of pinballs x3000, plus regular prizes including Standard Card Pack x5, pinballs x300, Delicate Bento x15, Glitter Fruit x2, Deluxe Bento x3, Tatari Capsule x10, and Delicate Bento x10.
Level 2: Grand prize of Glitter Fruit x10, plus regular prizes including Deluxe Bento x4, pinballs x800 (2 separate spaces), Deluxe Bento x7, Digestive x3, Deluxe Card Pack x3, and Delicate Bento x30.
Level 3: Grand prize of Glitter Fruit x20, plus regular prizes including Digestive x5, pinballs x1800, Deluxe Bento x14, Deluxe Card Pack x5, Deluxe Bento x8, Tatari Capsule x35, and Delicate Bento x60.
Level 4: Grand prize of Glitter Fruit x40, plus regular prizes including pinballs x2500, Digestive x10, pinballs x4000, Deluxe Bento x25, Deluxe Bento x12, Tatari Capsule x50, and Glitter Fruit x10.
4. The first time you spin the level 1 spinwheel for free, you will only be able to draw one of the following two prizes:
Pinballs x300 (50.0000%)
Tatari Capsule x10 (50.0000%)
5. When the grand prize hasn't been drawn, its various draw chances each time are as follows:
Level 1 (after first free spin): 1.0000%, 5.0000%, 10.0000%, 20.0000%, 30.0000%, 50.0000%, 100.0000%.
Level 2-4: 1.0000%, 1.0000%, 5.0000%, 10.0000%, 20.0000%, 30.0000%, 50.0000%, 100.0000%.
6. When the grand prize hasn't been drawn, remaining regular prizes have a equal chance of being drawn, which is calculated as: (1 - current grand prize chance) ÷ remaining number of regular prize spaces. When the grand prize has been drawn, its subsequent drawn chance becomes 0, and remaining regular prizes have a equal chance of being drawn.
7. Each time you spin, you will earn reward points. Gain 1, 2, 3, and 4 points for each spin in level 1-4 respectively, with specific reward tiers as follows:
Total 2 points: pinballs x700
Total 5 points: Tatari Wishbox x8
Total 10 points: Glitter Fruit x10
Total 20 points: pinballs x8000
Whenever you obtain rewards after accumulating enough points for one tier, your points will reset, and any excess points will not carry over to the next tier.
8. For prizes that contain the same items but are in different spaces, they will be counted separately in each draw. Chances here are rounded to the fourth decimal place, and so may contain miniscule statistical deviations. For items such as Tatari Capsules, Card Packs, and Bentos, the contents within are subject to their own item drop chances, as specified elsewhere.
Wishing Machine
1. Each activation of the Wishing Machine consumes 1 Wishing Coin. Wishing Coins can be obtained from event and phase quests.
2. Event quests are refreshed according to your current events and will remain valid until the corresponding events end. Once quests are refreshed, completed but unclaimed quest rewards will be lost.
3. Phase quests will become available throughout the event. On the 1st, 3rd, 5th, and 7th day of the event, quests for phases 1-4 will be unlocked respectively. Quests that tally your progress prior to being unlocked will be clearly labelled as such, whereas others must be unlocked first before progress can accumulate.
4. Each activation of the Wishing Machine will count towards total server play times. Upon reaching server-wide milestones, you will be able to claim rewards. Server data may see delays and is subject to in-game reward delivery times.
5. Each prize draw is calculated independently, and the default probability of drawing a prize is 70%. When rewards are doubled, you have a 100% chance of drawing a prize.
Specific prize chances are as follows:
Default:
Candies x2: 20.00%
Pinball x2: 16.40%
Candies x3: 5.00%
Pinball x3: 4.00%
2-Bond Combo: 8.00%
3-Bond Combo: 1.00%
Tatari Capsule: 5.00%
Bento: 2.00%
Tatari Wishbox: 1.00%
Doubled Rewards for Next Draw: 7.00%
Grand Prize: 0.60%
No Prize: 30.00%
Doubled Rewards Mode:
Candies x2: 20.00%
Pinball x2: 25.00%
Candies x3: 7.50%
Pinball x3: 6.00%
2-Bond Combo: 15.00%
3-Bond Combo: 1.50%
Tatari Capsule: 7.50%
Bento: 3.00%
Tatari Wishbox: 1.50%
Doubled Rewards for Next Draw: 12.00%
Grand Prize: 1.00%
Passes
1. Complete quests during the event to earn Dive Keys, which can level up your Pass level and unlock rewards.
2. Quests are refreshed every 7 days and will only tally progress for the current week. Any previously ongoing quests will no longer be available after being refreshed, though you will keep your keys and level for the current Pass.
3. Purchasing the Deepsea Dive Pass will unlock premium rewards. You can make this purchase anytime during the event, at which point you'll simultaneously unlock premium rewards corresponding to your current level.
4. When you reach level 40 for the Pass, every additional 100 keys you earn will unlock repeating rewards.
5. After obtaining the Pinball Tree storage perk, each tree can store an additional 100 pinballs. This can stack with the Weekly Pass perk. After the current event ends and the perk expires, already stored pinballs in trees will still be available to claim.
6. After the event ends, any unlocked but unclaimed rewards will be automatically issued. These include free rewards, unlocked premium rewards, and any repeating rewards.
Recommended Tatari
1. The Recommended Tatari page shows deployment rates for Boss Challenge, Horde Invasion, and Island Goldrush. It also provides corresponding formations as references.
2. Deployment rates are based on the top 1% of players in each game mode. Deploying different evolution forms counts towards the same Tatari. Deployment rates and formations refresh daily.
3. Deployment rate calculation varies between different game modes. For Boss Challenge, deployment rates from when the boss was previously featured are used; for Horde Invasion and Island Goldrush, deployment rates are compiled from the past 7 days.
4. If an event or game mode is currently unavailable, you won't be able to see formations for it.
Friends