








Commission types and the game's mode tutorials
Duet Night Abyss commissions and modes
Commission types
11
Capture
Defeat and take control of the target

Defence ∞
Protect Lunoxplorer and defeat the enemies
Defence

Excavation ∞
Assist Lunoxplorer with her terrain excavation and safeguard the Excavators

Expulsion
Defeat enemies to complete the expulsion

Termination
Defeat the enemies to complete the Termination

Relocation
Approach the vehicle and transfer it to the destination

Escort
Rescue the target from the cell and escort them to safety!

Mediation
Prevent the "Finale Flare" of The Forsakens from exploding and stop the conflict from escalating

Exploration ∞
Secure the Serum and continue with the investigation

Hedge
Prepare the serum to complete the commission
Commission rules
14Commission: Exploration ∞
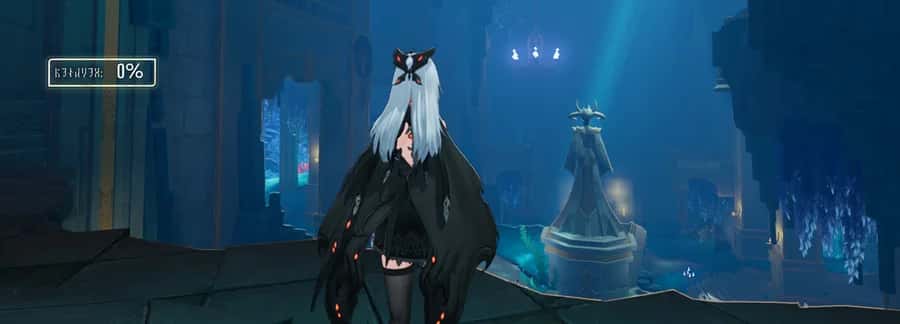
Exploration Serum concentration begins at 0%. Activate the device, then raise it through various means.

Exploration There's a chance that enemies will drop Serum when they're defeated. Picking it up increases Serum by 5%.
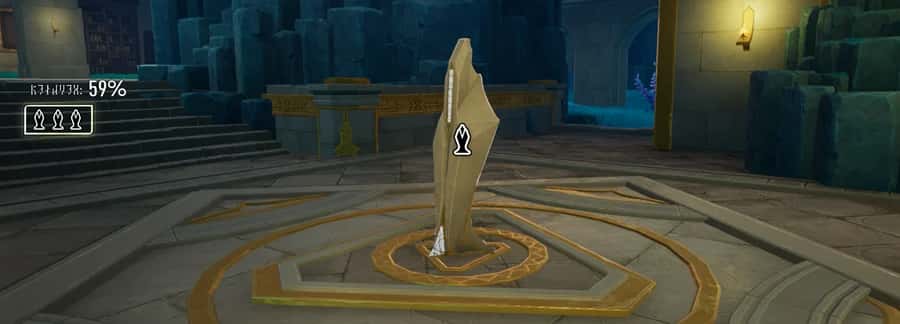
Exploration Find Serum storage points, each of which increases Serum by 15%. The icon on the left shows the number of Serum storage points discovered.
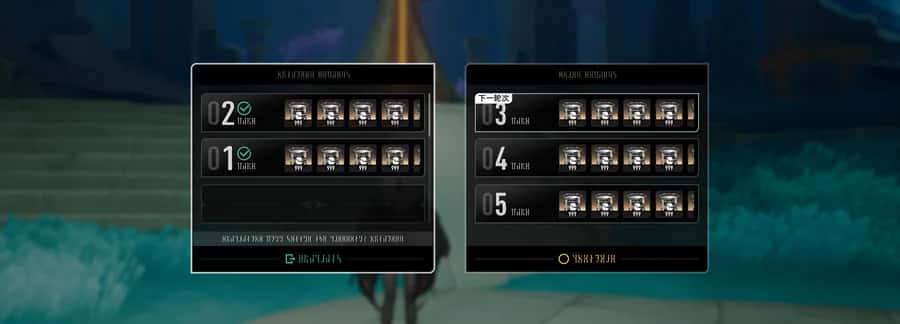
Exploration When Serum concentration reaches 100%, you may retreat or press on. If you continue, Serum will reset to 0%.
Commission: Hedge
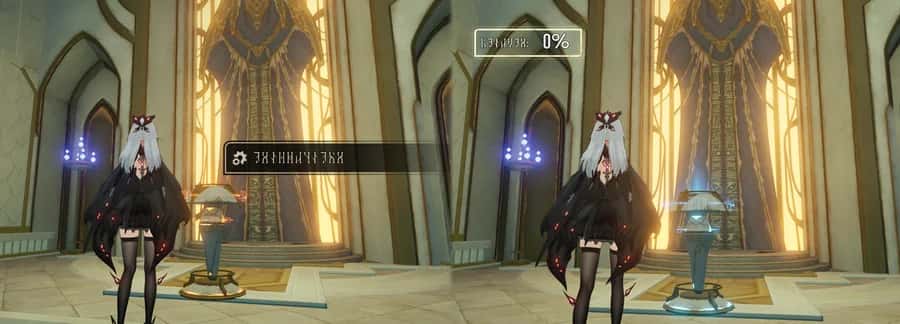
Hedge Activate the device to begin the commission
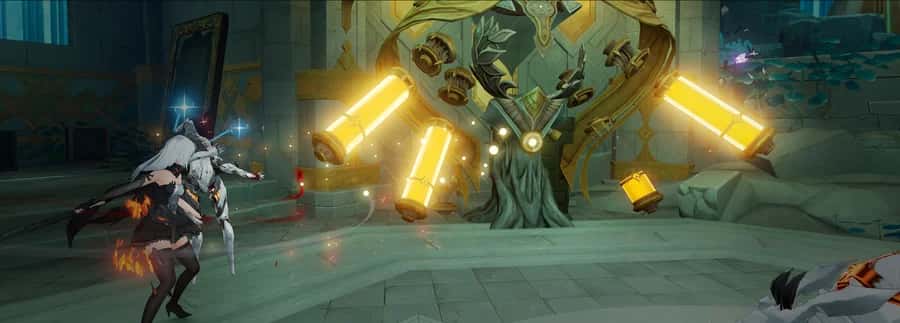
Hedge Locate the Potion Station and defeat nearby enemies to recover Serum
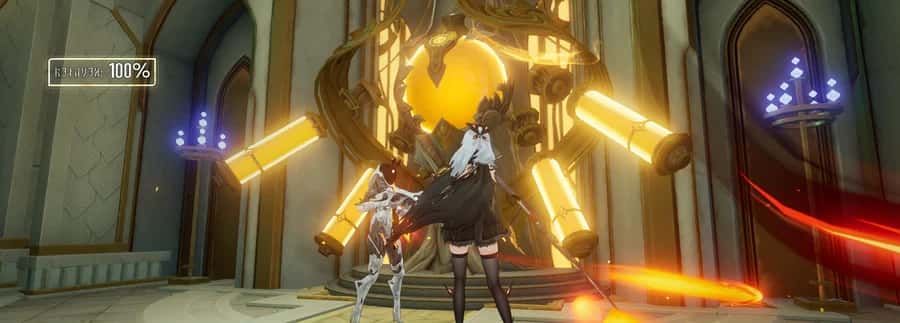
Hedge Commission complete once Serum at the Potion Station reaches 100%
Commission: Defence ∞
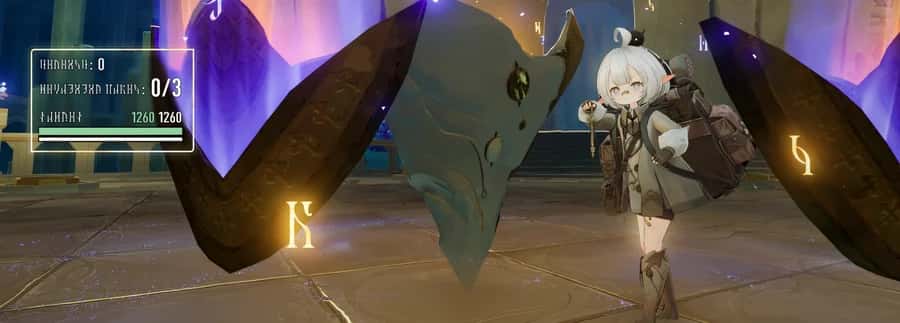
Wave Defence Protect Lunoxplorer from the three waves of enemy attacks. The commission fails if the device she's inspecting is destroyed.
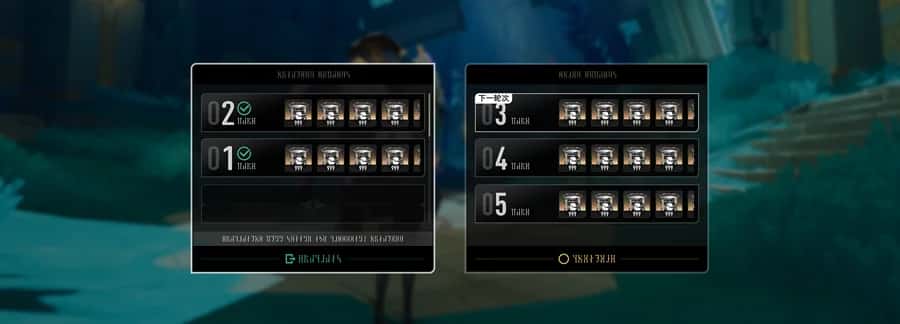
Wave Defence You can choose to evacuate after every three waves or continue.
Commission: Defence
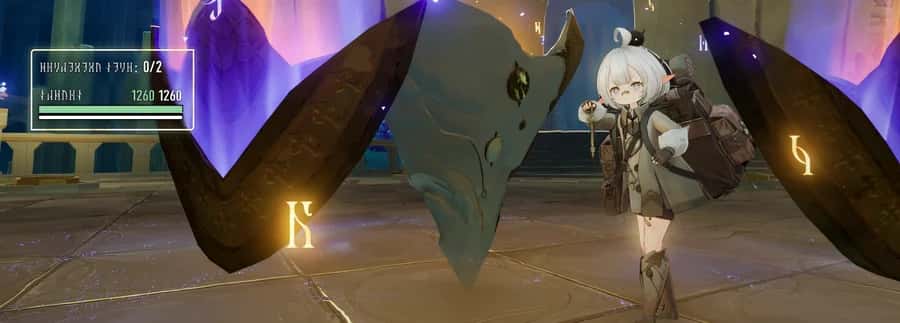
Defence Protect Lunoxplorer through two waves of enemy attacks. The Commission fails if the device she's working on is destroyed.
Commission: Capture
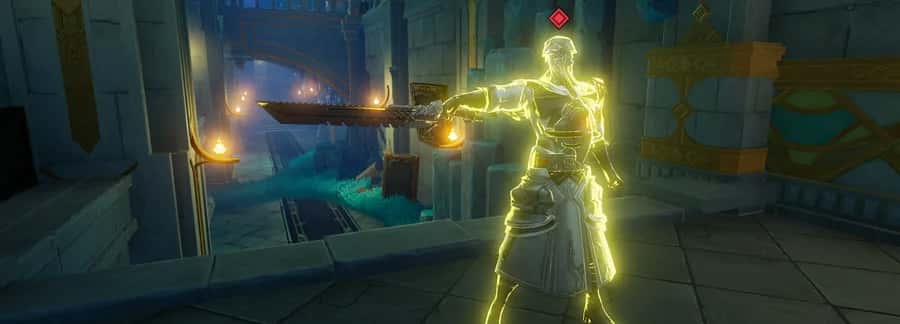
Capture Catch up to and defeat the designated target.

Capture Approach the target and hold the interaction key within the time limit to complete the capture.
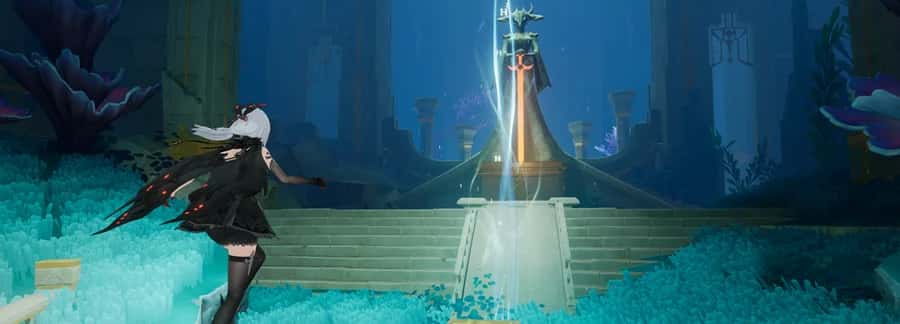
Capture Then, go to the Evacuation Point to complete the commission.
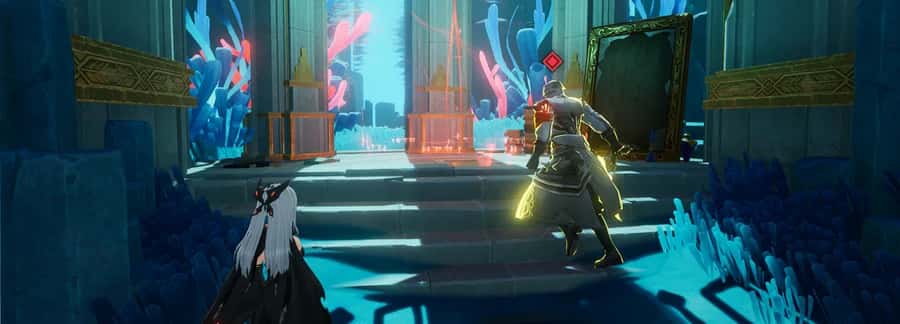
Capture Commission fails if the target manages to make their escape.
Commission: Excavation ∞

Excavation Go activate the Excavators. Three Excavators can be activated in each round. Excavators with different levels have different excavation efficiency.

Excavation Excavators require Excavator Modules to run, which can be obtained by defeating certain monsters.

Excavation After collecting an Excavator Module, approach an Excavator for automatic installation.
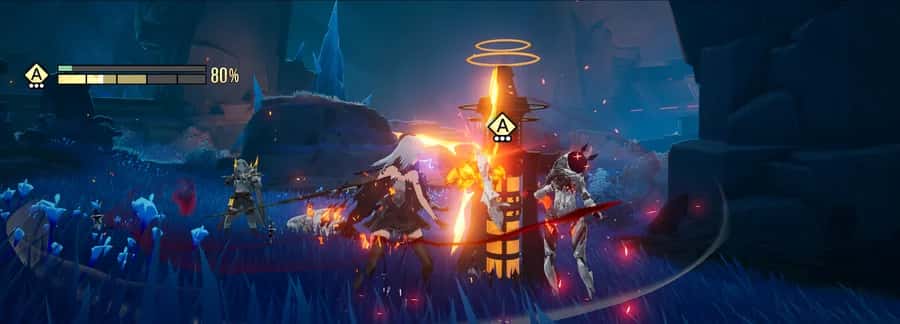
Excavation Keep an eye on the excavation progress and the remaining number of Excavator Modules. Safeguard the Excavators to ensure their uninterrupted operation.
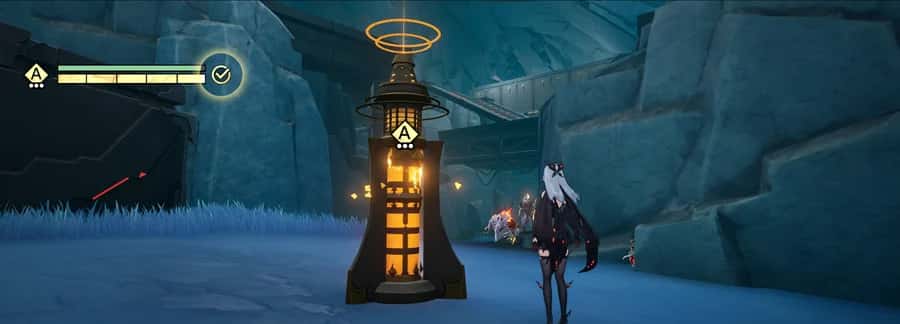
Excavation Excavators dispense Coins during excavation. The commission is completed after three Excavators have been activated and at least one of them reaches full excavation progress.
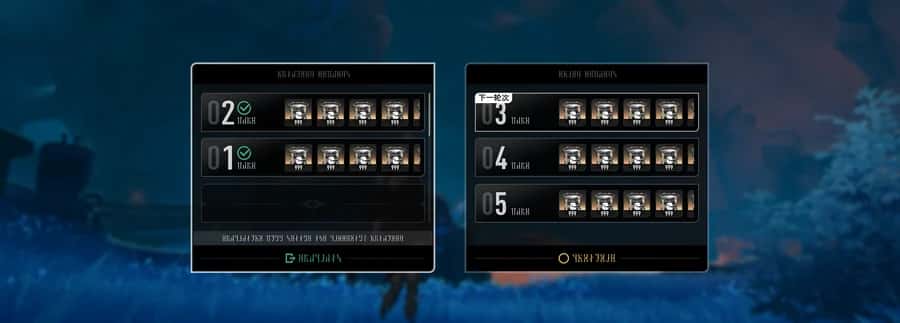
Excavation Completing an Excavation commission allows for a choice between retreating or continuing to activate new Excavators for more Coins.
Commission: Mediation
Mediation Find and expose the detonator of "Finale Flare"
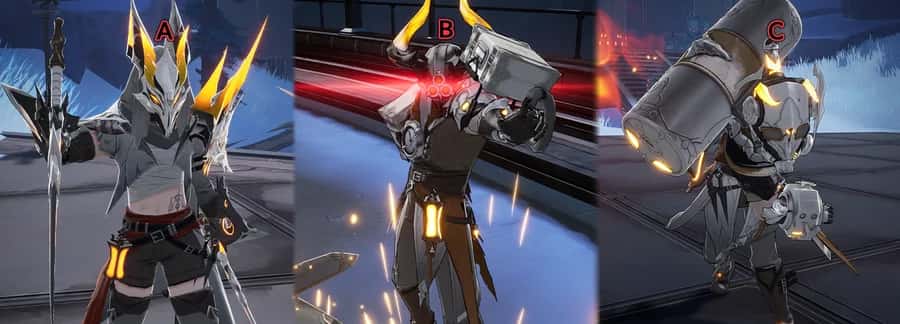
Mediation Before exposing the detonator of "Finale Flare," you can defeat the leader of The Forsakens in the area first to make the subsequent challenge easier.
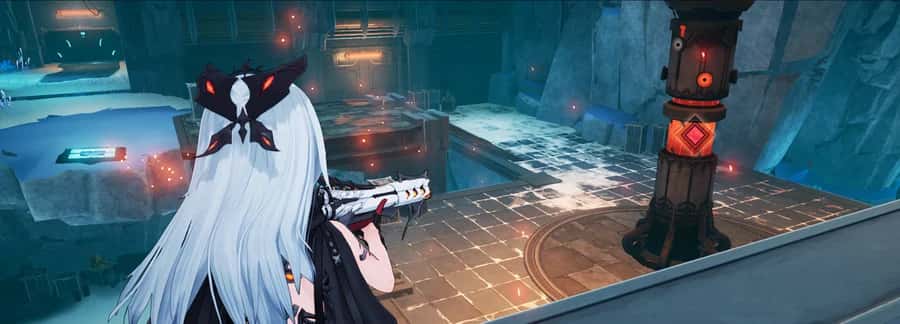
Mediation Once the detonator of "Finale Flare" is exposed, quickly destroy it to neutralise the mechanism.
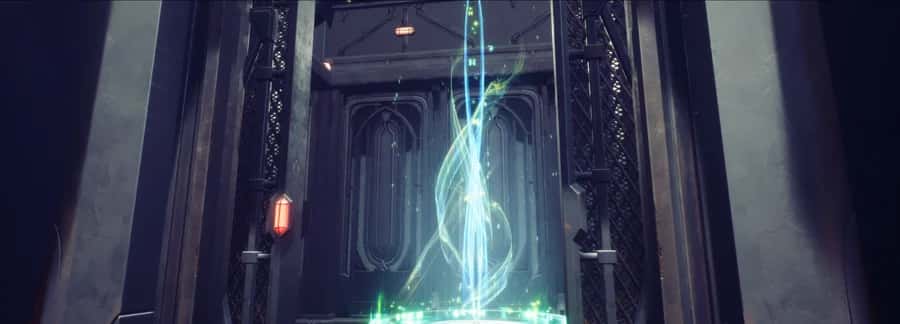
Mediation After destroying the detonator of "Finale Flare," head to the Evacuation Point as fast as possible.
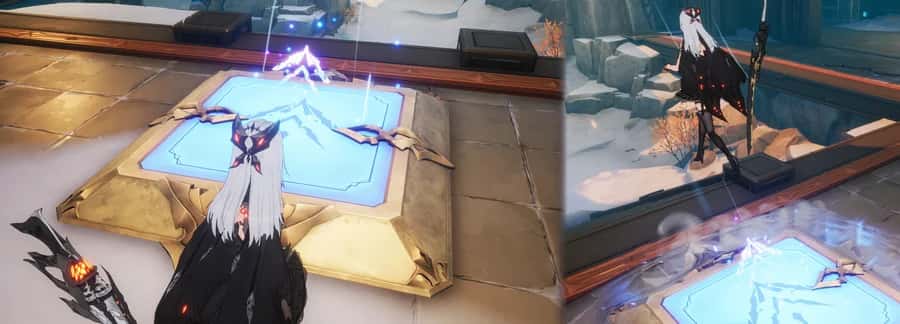
Mediation Bouncepad helps you make a swifter retreat.
Commission: Escort

Escort Locate the Secret Cell that's holding the target, crack the mechanism, and secure the target.

Escort Try to avoid detection by the enemy Patrollers around the Secret Cells. If spotted, defeat them quickly to prevent them from sounding the alarm.

Escort If you fail to stop the Patrollers from sounding the alarm, the target will be in danger. Find the target before the countdown expires, or the Commission will fail.
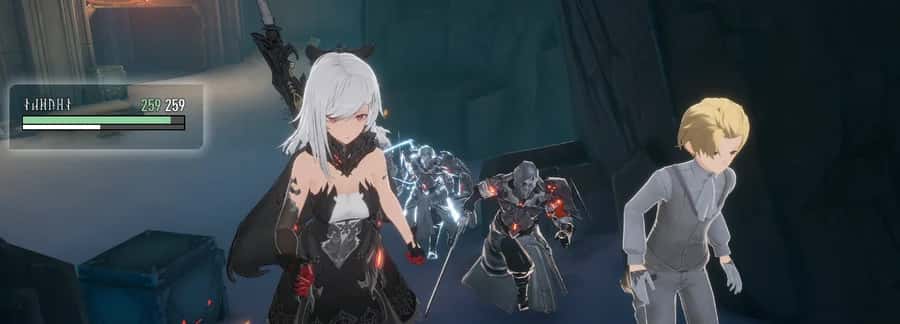
Escort After rescuing the target, escort them to the Evacuation Point. Please vigilantly ensure their safety throughout the trip.
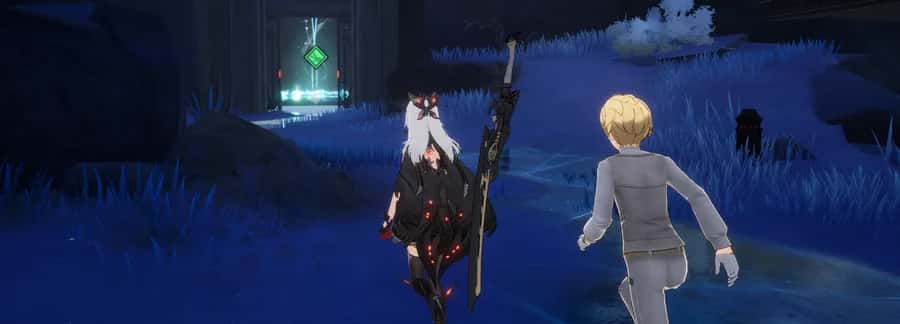
Escort The Commission is considered complete once the target is successfully escorted to the Evacuation Point.
Commission: Relocation

Relocation Approach to activate the vehicle. Shield will be consumed to maintain activation until the destination is reached.

Relocation Obstacles on the route will block the way. Destroy them to proceed.
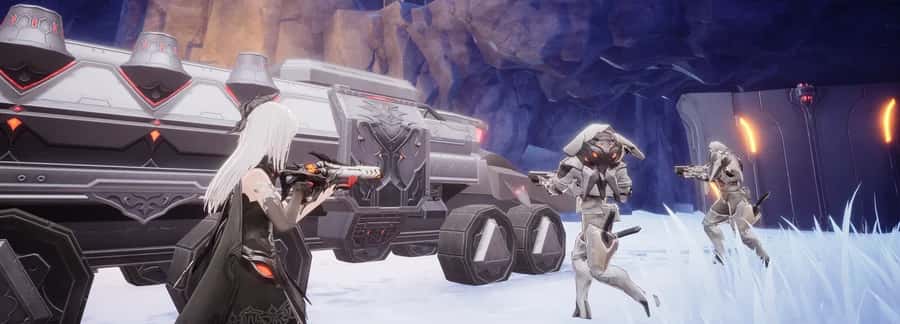
Relocation Enemies at checkpoints will hinder the vehicle's progress. Eliminate all enemies to continue.
Commission: Termination
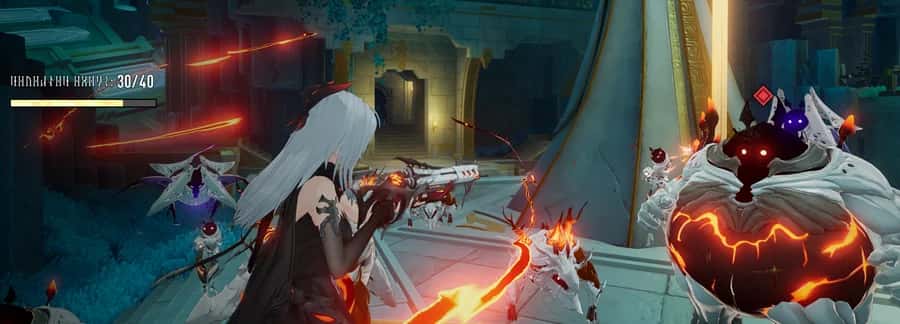
Termination Terminate a specific number of enemies within the stage.

Termination You may retreat once you have terminated enough enemies.
Commission: Expulsion
Expulsion Complete the request by driving off the required number of enemies
Commission: Dismantle

Dismantle Crack the mechanism to expose the device's core
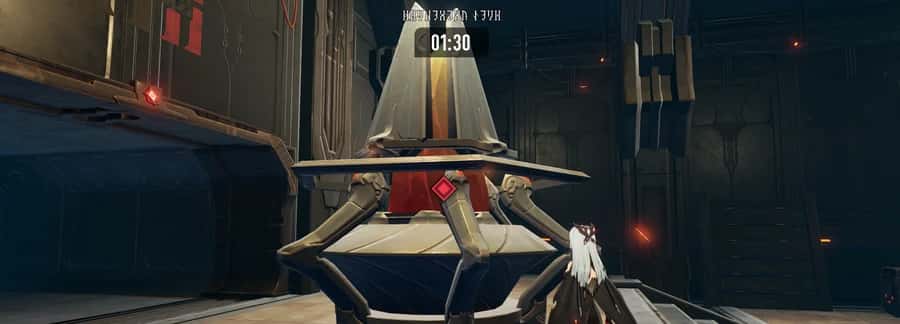
Dismantle Dismantle all three devices within the time limit
Commission: Chase
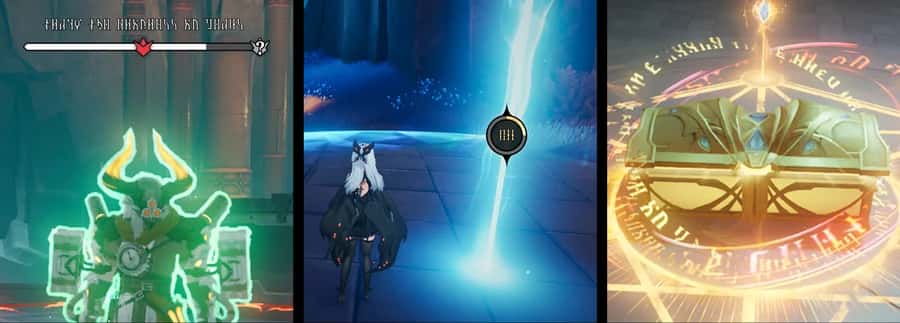
Chase This tournament consists of three matches testing tracking, defence, and brawl skills.
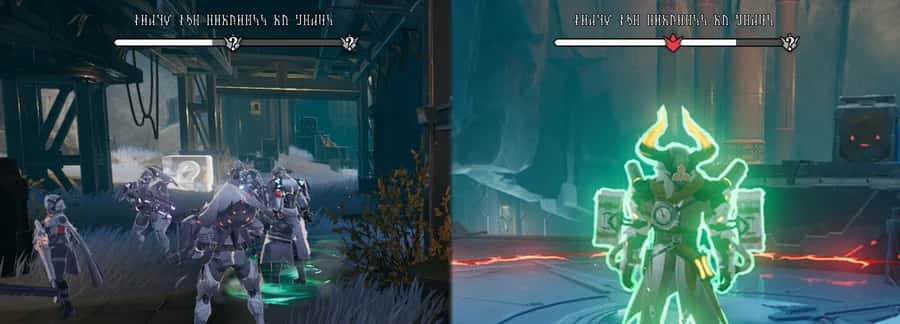
Chase In Match One, gather clues from Clue Chests or rivals to locate and eliminate other teams' seeded players.
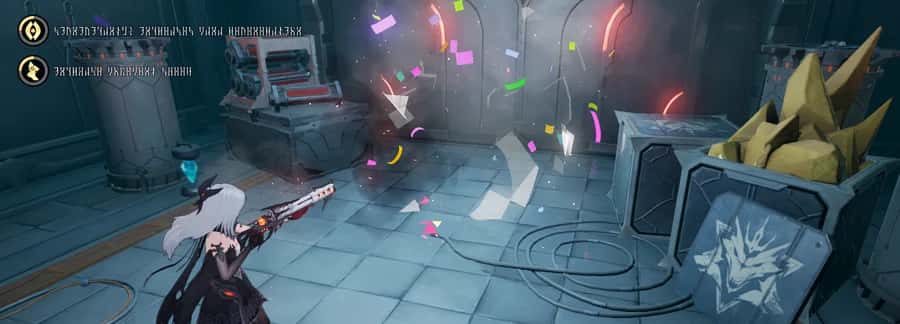
Chase Destroying Clue Chests may reveal surprises prepared by the organisers.

Chase In Match Two, withstand interference from rival teams and stay within marked zones to secure them.
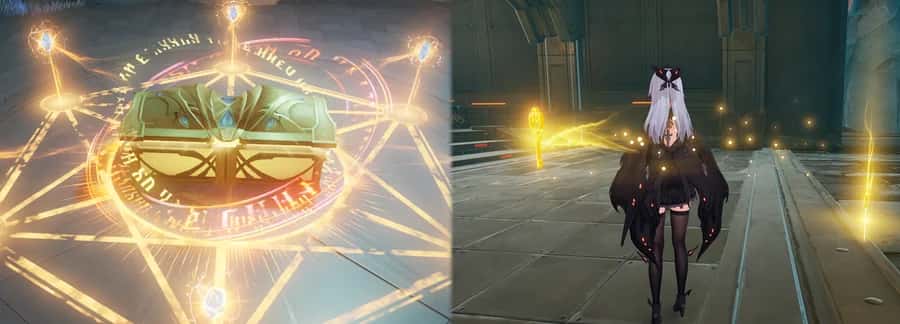
Chase In Match Three, all teams battle for the Prize Chest. Defend it and gather all the 6 keys!
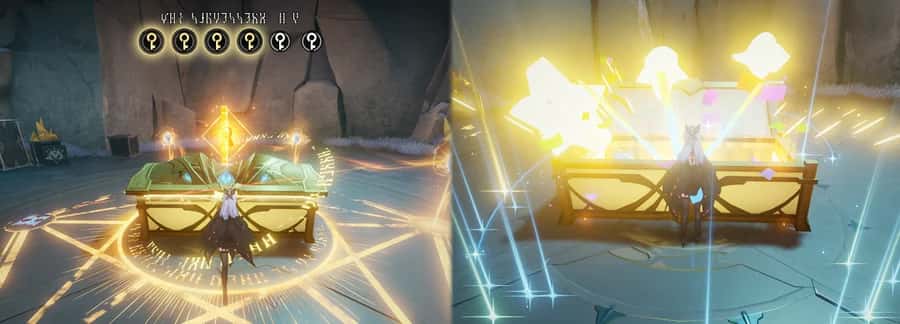
Chase Unlock the Prize Chest with six keys to secure final victory
Commission: Showdown
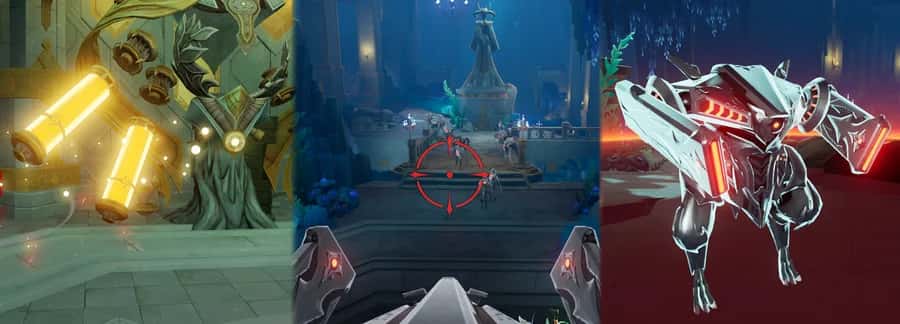
Showdown The tournament features three matches. Contestants must eliminate opponents, defend stationary vehicles, and finally escort a moving vehicle to the finish line.
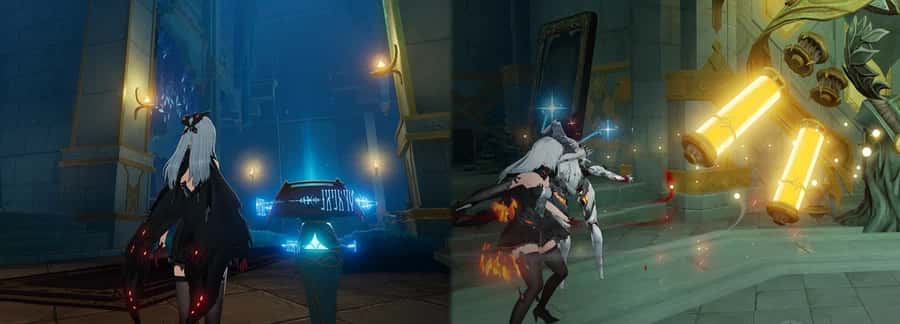
Showdown In the first match, contestants must activate the counter and eliminate enough opponents around it.
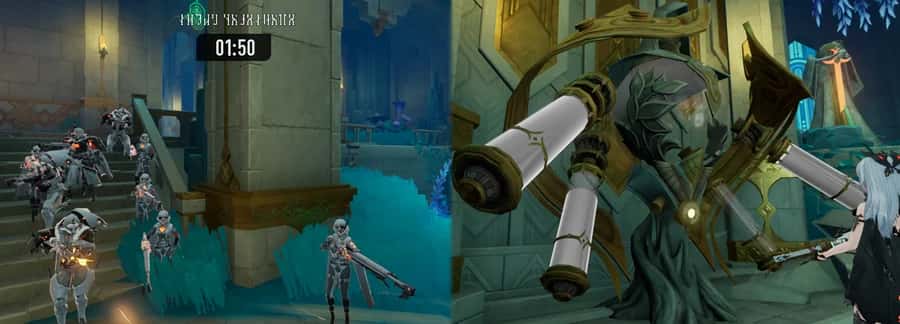
Showdown After a while, the counter will stop and must be reactivated.
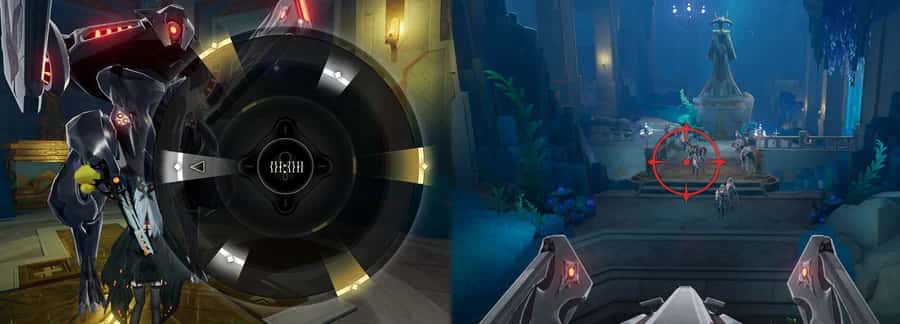
Showdown In the second match, contestants must activate the stationary vehicles and protect them from other teams.
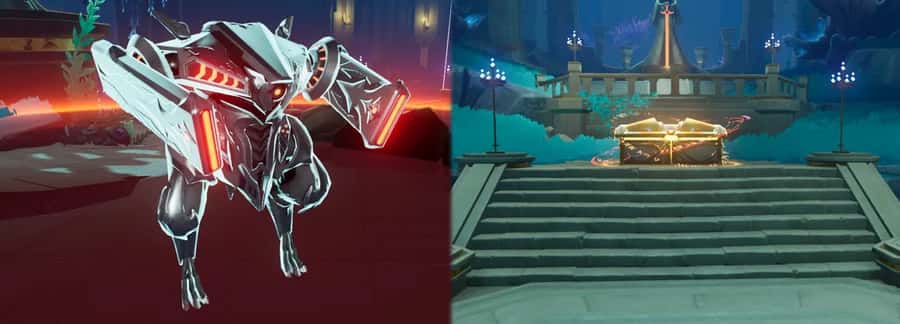
Showdown In the third match, contestants must locate the moving vehicle and escort it to the finish line to claim final victory.
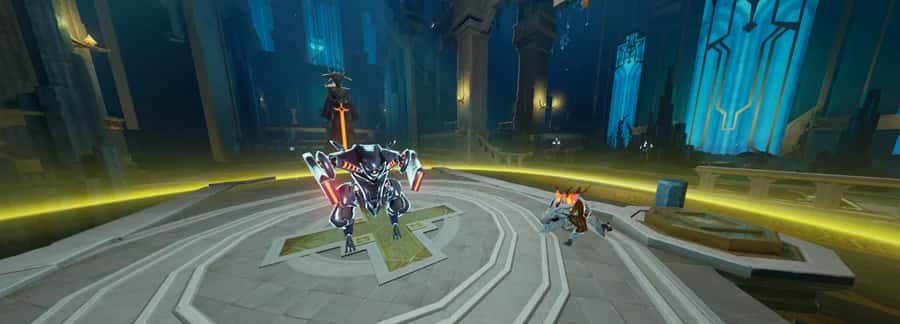
Showdown The moving vehicle will stop if no allied contestants are nearby. It will move more slowly if enemy contestants are nearby.
Other modes
37Nocturnal Echoes

Defeating the bosses of certain main quests unlocks the corresponding Nocturnal Echoes challenges.

Bosses in Nocturnal Echoes challenges are much stronger than regular ones. You can acquire rewards from Nocturnal Echoes challenges 5 times per week.
Activate the Cursor
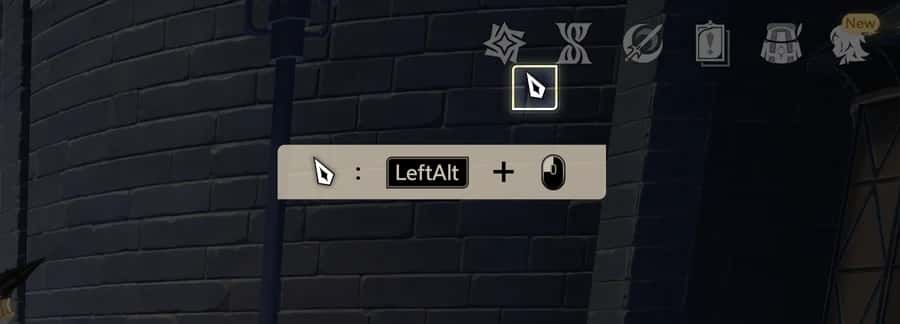
Hold &ShowCursor& to show the cursor to interact with the icons on the page.
Readables
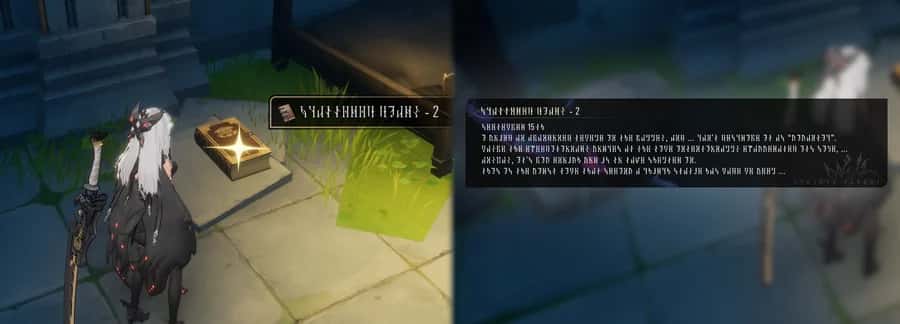
You can find readable items such as books, notes, and letters scattered around the world.
Impressions
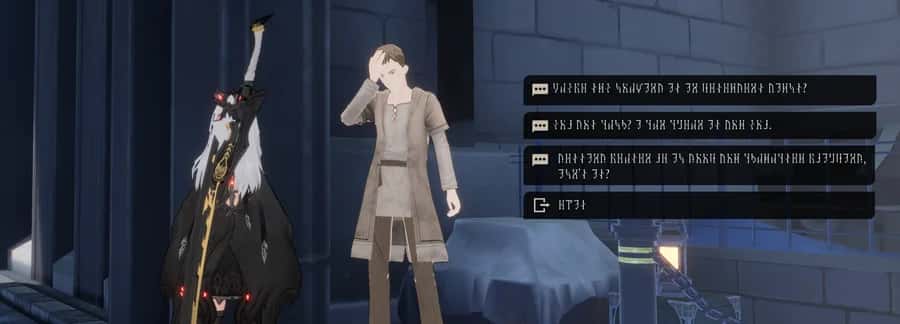
Your actions in a region continuously influence the Impressions locals have of you.
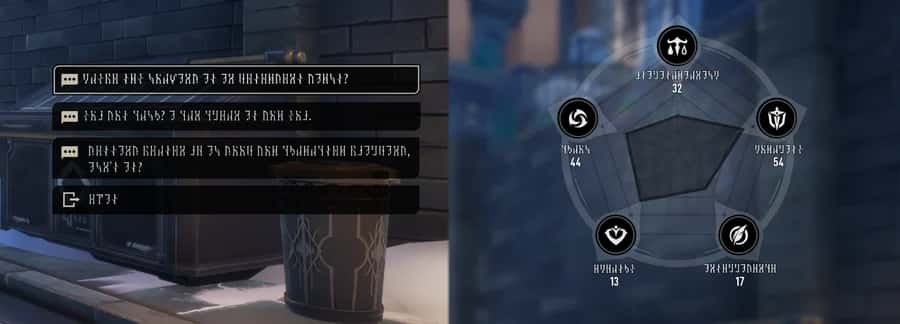
Five Impressions In main quests, side quests, and NPC dialogues, certain choices will affect your social image, which will be reflected through an evaluation system consisting of 5 dimensions: Benefit, Morality, Wisdom, Empathy, and Chaos.
Impression Checks
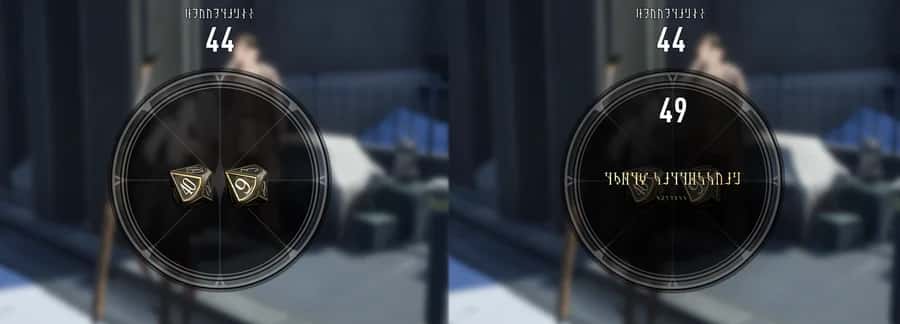
Occasionally, Impression Checks are triggered during side quests and NPC dialogues. Successfully passing these Checks advances the dialogue and gives rewards. Earn Impression points in the 5 dimensions to improve your success chances in these Checks.
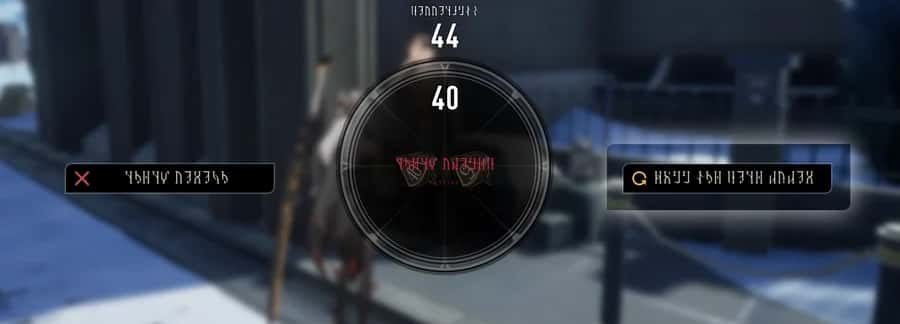
Impression Check Failed If you fail to pass an Impression Check, you can still use dice to try again. Dice can be obtained through side quests or forged by Lunosmith.
Impression: Folk Stories
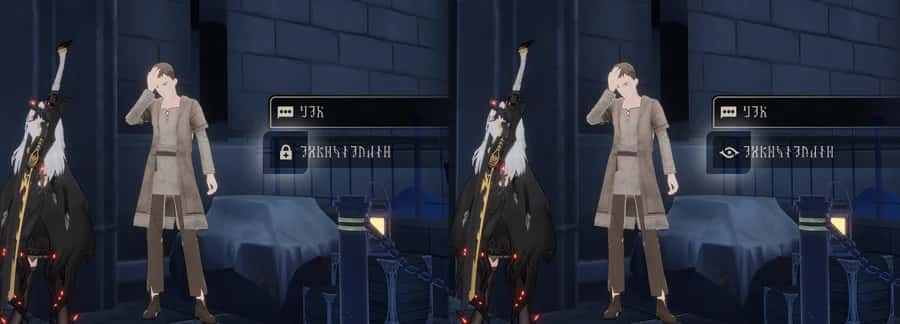
Folk Stories Folk stories provide detailed backstories of people from around the world. You will be able to access these stories once you get to know them.
Sandrealm Meditation

Sandrealm Meditation lets you revisit and battle past enemies in a controlled environment, helping you familiarise yourself with their moves and hone your combat skills.
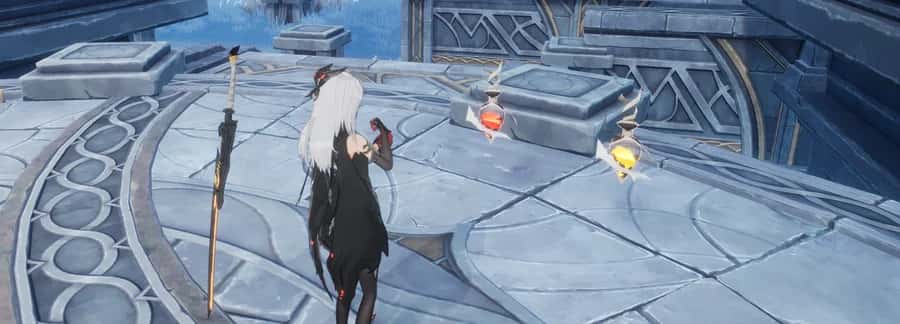
Pre-Set Supplies Within the Gritty Vortex in Sandrealm Meditation, you'll find combat supplies such as Ammo Supply Chests, Sal Volatile, and Cognizing Sal Volatile to facilitate your combat.

Character Quick-Switch Access Armoury at the top right of the screen to swiftly switch characters.
Exit Sandrealm Meditation
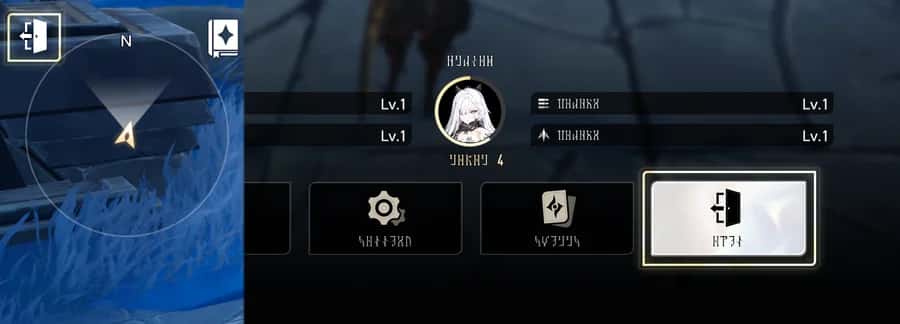
Click &OpenMenu& and select Exit to leave.
Team
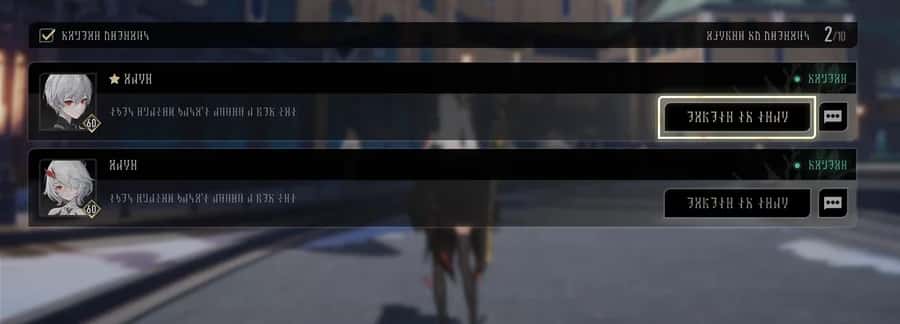
You can invite friends to form a team to complete a commission together.
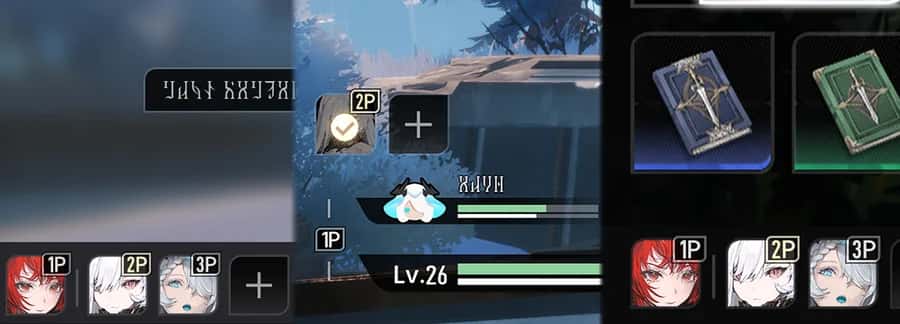
The team status is displayed at the bottom left of the Friends, Commissions, and Main pages.
Team: Private & Public Commissions
When doing a private commission alone or with friends, other players cannot join halfway.
When doing a public commission alone or with friends, other players can join halfway.
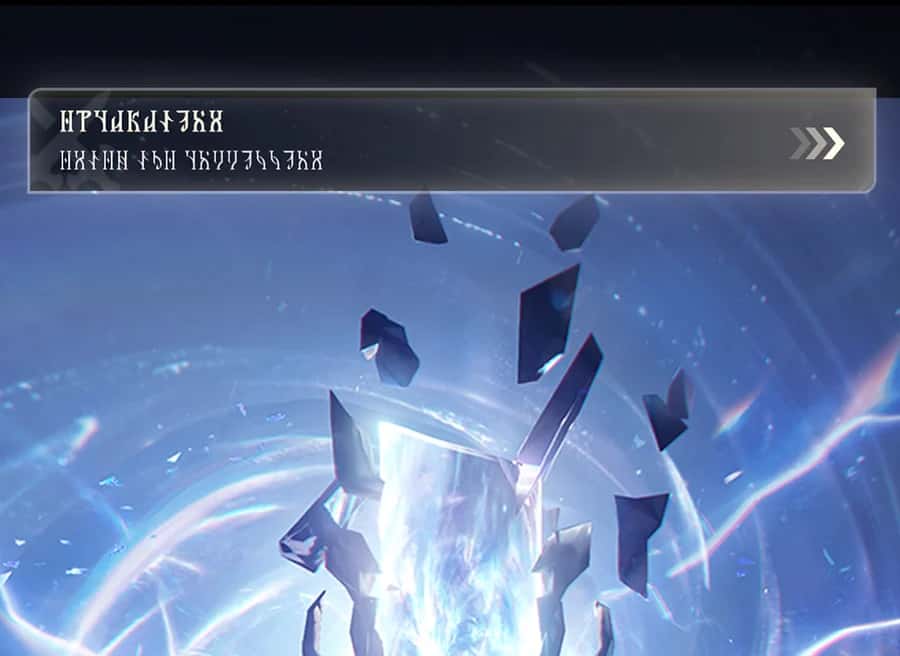
Team: Private Commission In solo mode, a private commission will start immediately once you select it.
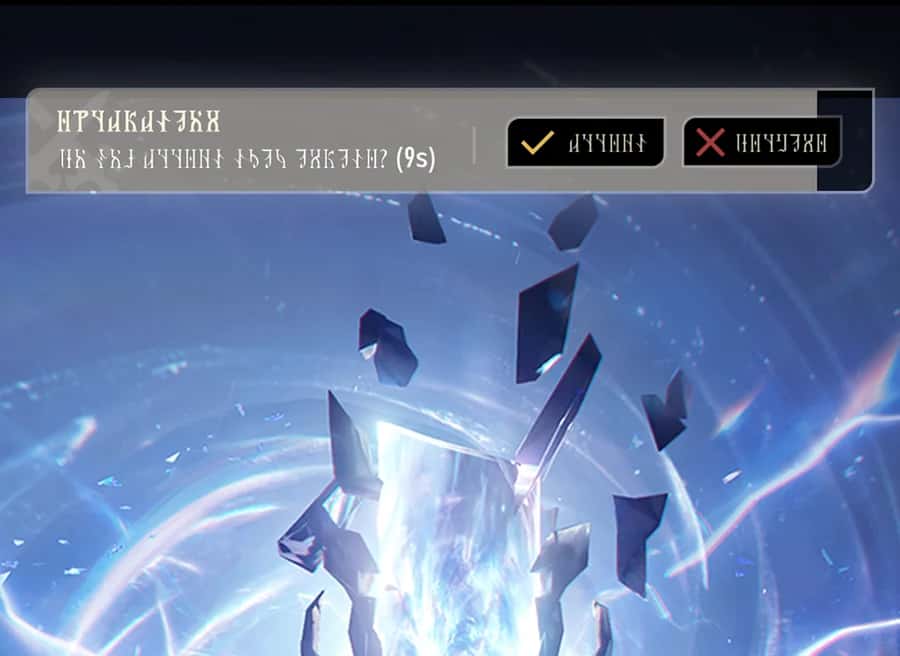
Team: Private Commission In co-op mode, a private commission will require all members to confirm within 10 seconds. Once everyone confirms or the timer runs out, the commission begins.
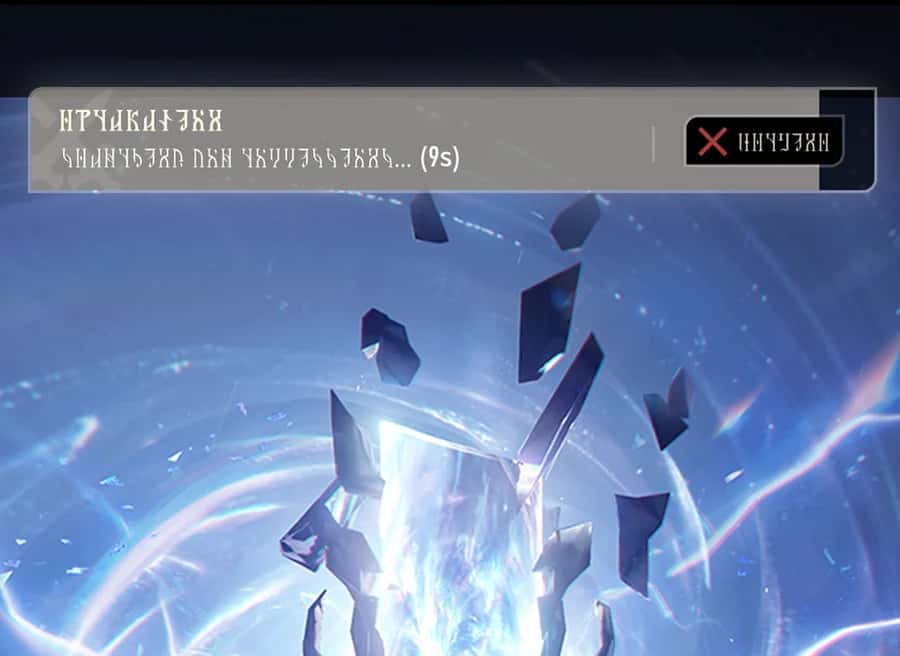
Team: Public Commission In solo mode for public commissions, the system will search for an ongoing commission for 10 seconds for you to join halfway. If no match is found, you will start the commission from the beginning. The search can be cancelled anytime during the 10-second window.
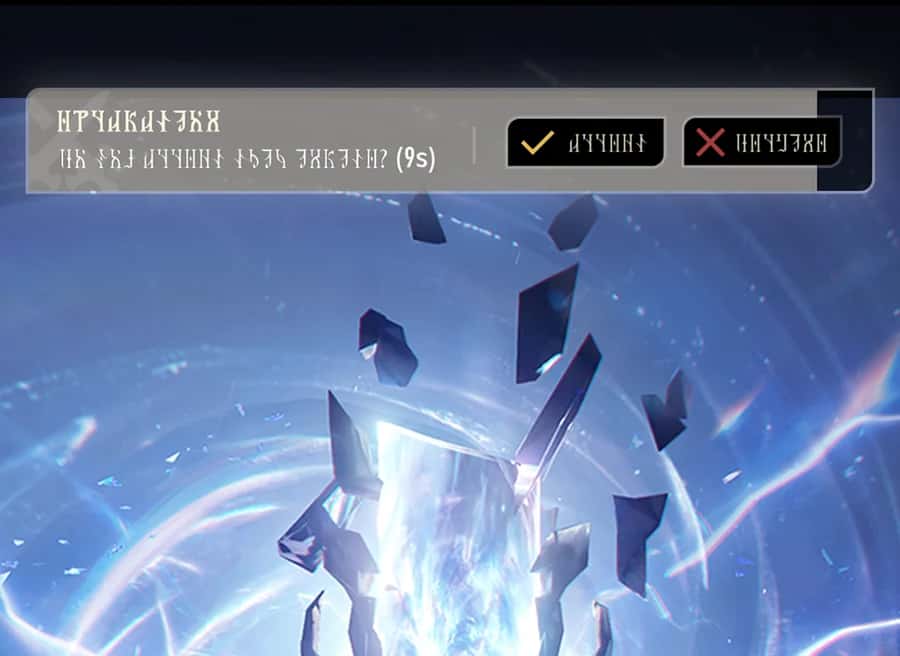
Team: Public Commission In co-op mode for public commissions, the system will search for an ongoing commission for 10 seconds for your team to join halfway; if one is found, it will start after all team members have confirmed. If no match is found, your team will start the commission from the beginning. The search can be cancelled anytime by anyone on the team during the 10-second window.
Team: Special Rules
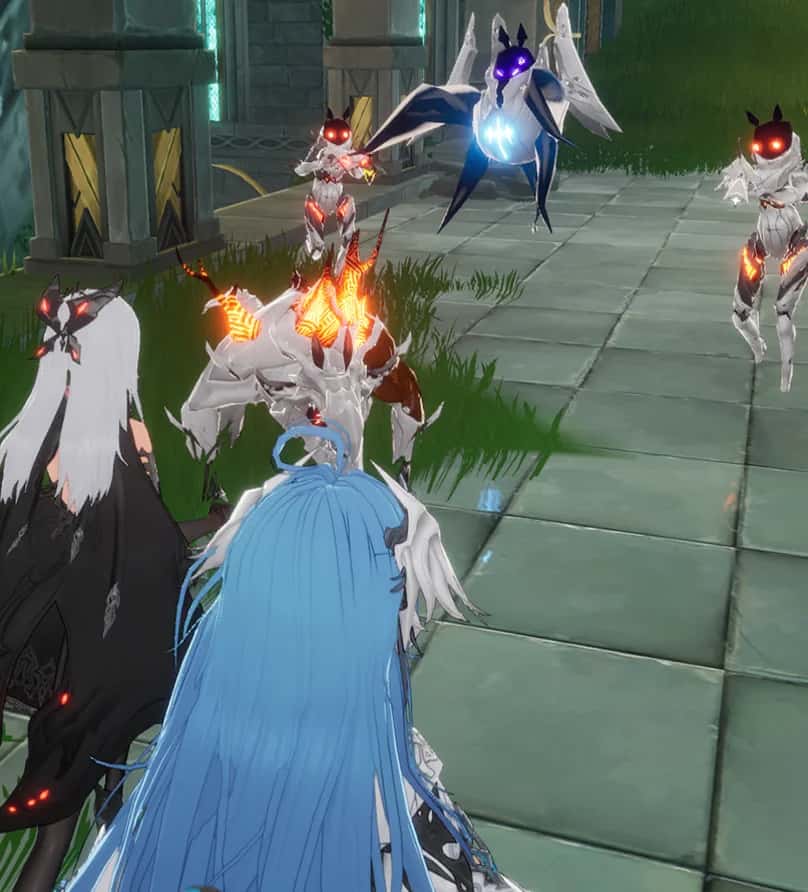
Whether in solo or co-op mode, the objectives of commissions remain the same. But the difficultyincreases with the number of players. The larger the team, the more enemies will spawn, and the higher their levels will be.
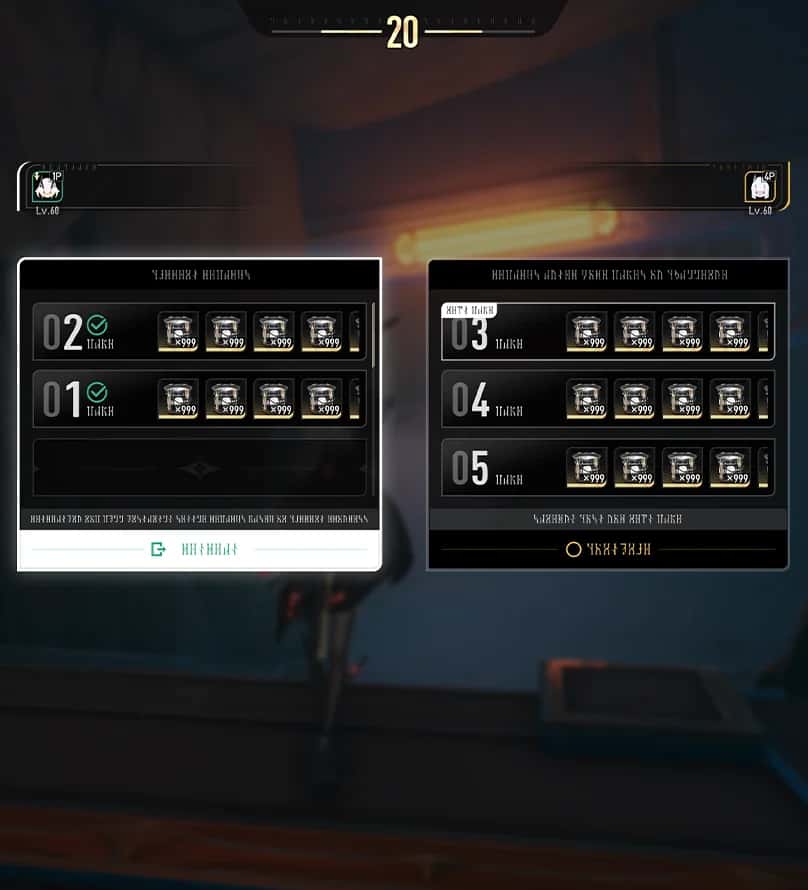
At the end of each round in any Commission ∞, a vote is held. Players who vote to continue will proceed to the next round, while those who choose to retreat will exit. Each player's choice doesn't affect that of the others.
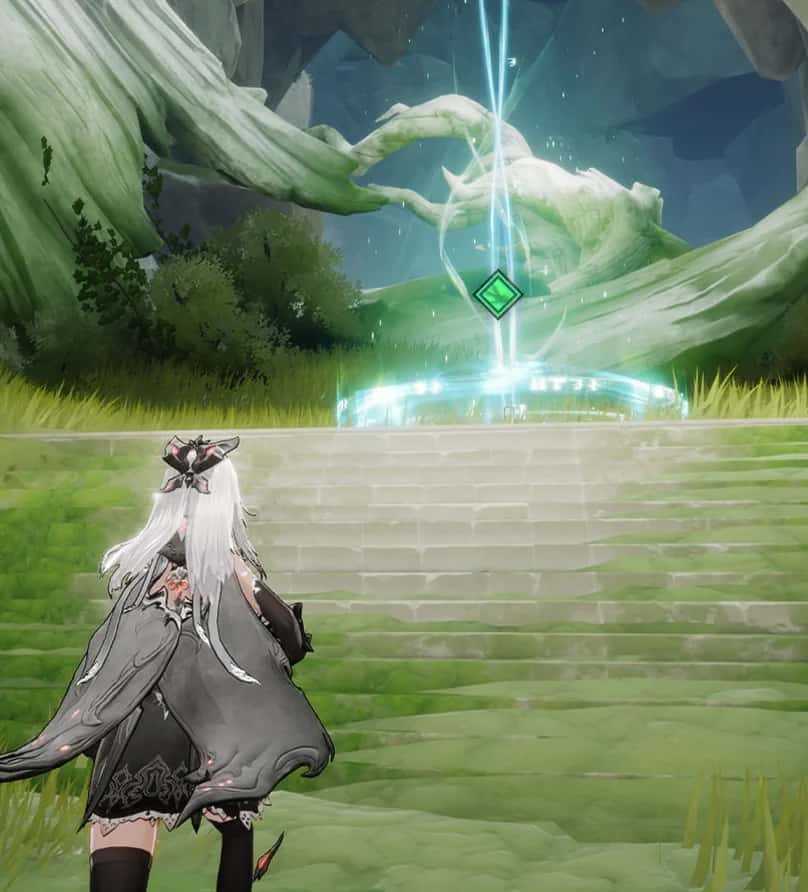
Once any team member reaches the Evacuation Point, a 30-second countdown will begin. The commission will automatically finalise when the timer expires, or if all team members reach the Evacuation Point during the countdown, the commission will finalise immediately.
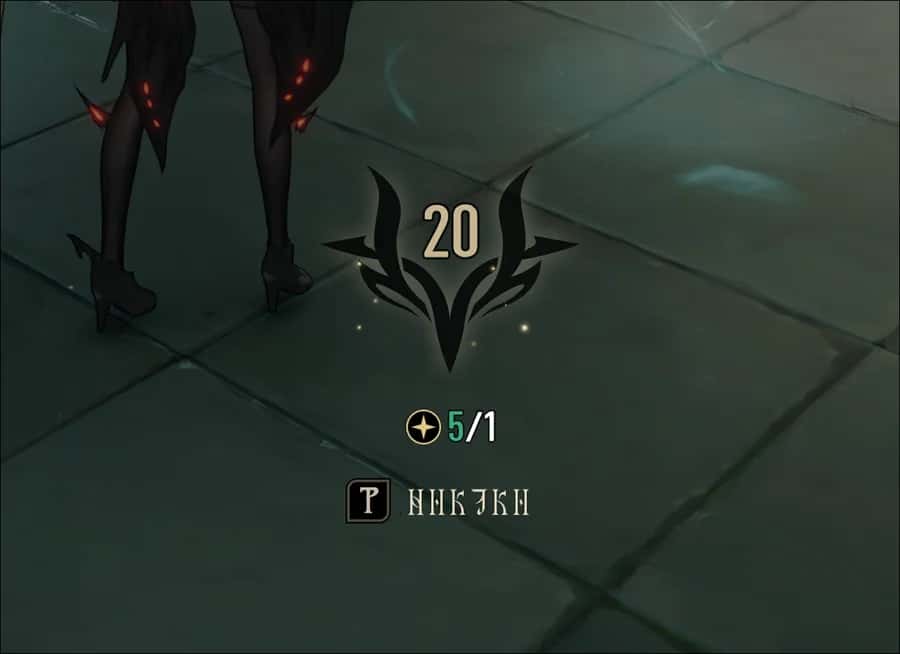
Team: Revival Rules Each team member has a limited number of revival chances. When defeated, a 20-second timer will begin. If you don't select "revive" before the timer runs out, the commission will fail.

Team: Revival Rules When a team member chooses to revive during a co-op commission, other players can assist by approaching them, speeding up the revival process.
Team: Temporary Squad
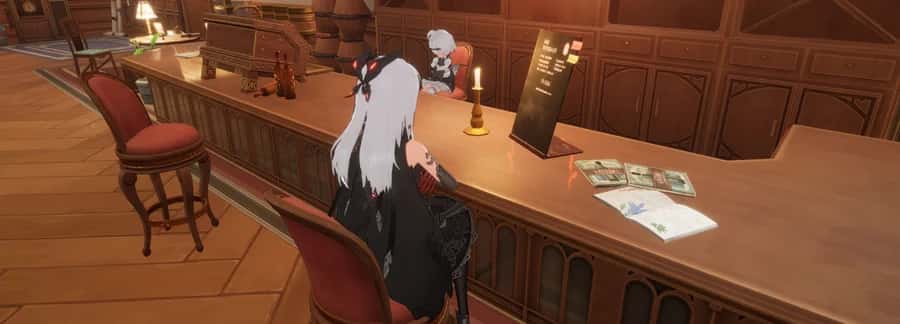
Teams formed prior to starting a public commission will remain intact after the commission ends, while players who joined halfway will leave the team after completion.
Dynamic Quests
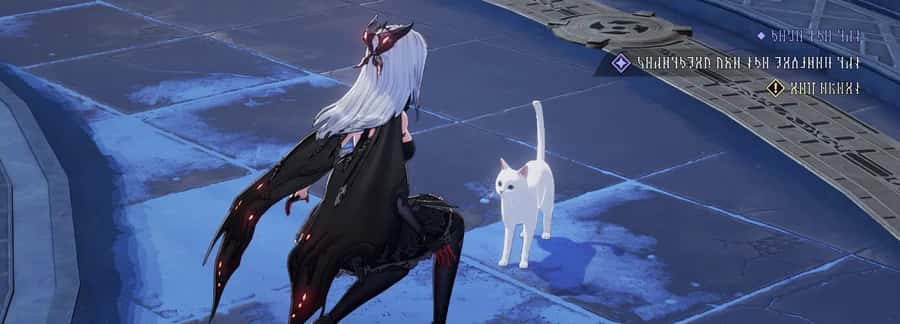
From time to time, dynamic quests will occur throughout the world. Your involvement may alter their outcomes.
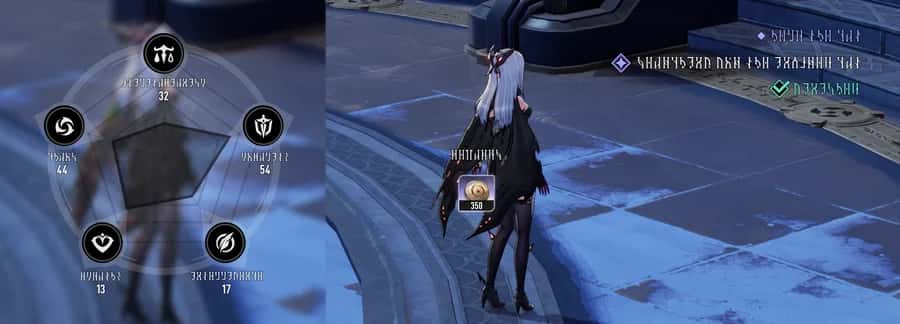
In some dynamic quests, your choices will affect your Impression ratings across five different dimensions.
Multi-Floor Maps

Map Floors Some areas feature multi-layered structures, allowing you to switch between different map floors for easier navigation.
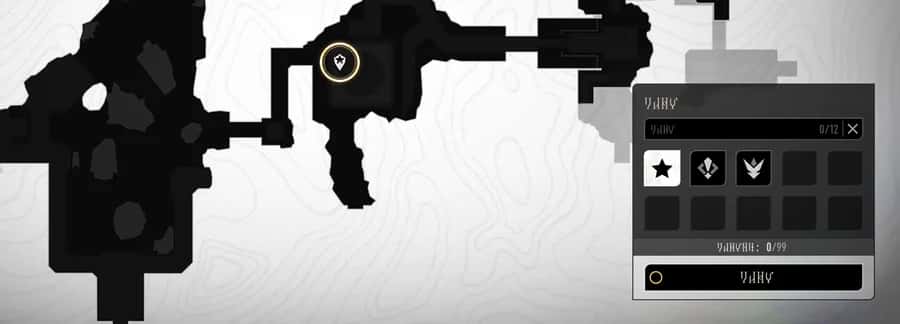
Map Markers Setting Setting and tracking markers on the map makes exploration easier. To remove markers you no longer need, simply select on them again.
Geniemon Encounter
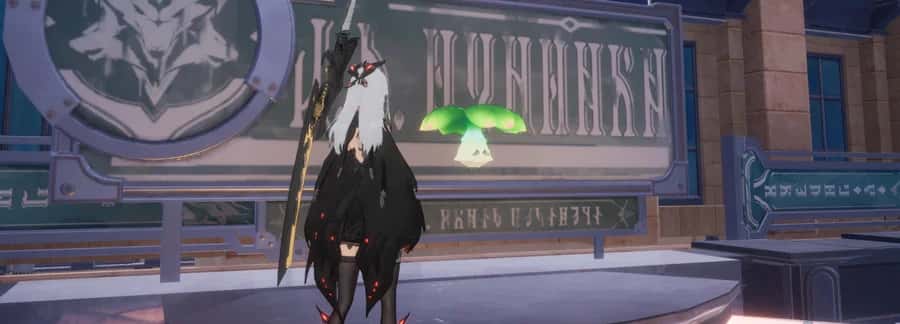
Geniemons is now available. You may encounter Geniemons from various locations across the world now. They can provide a variety of assists in battle.
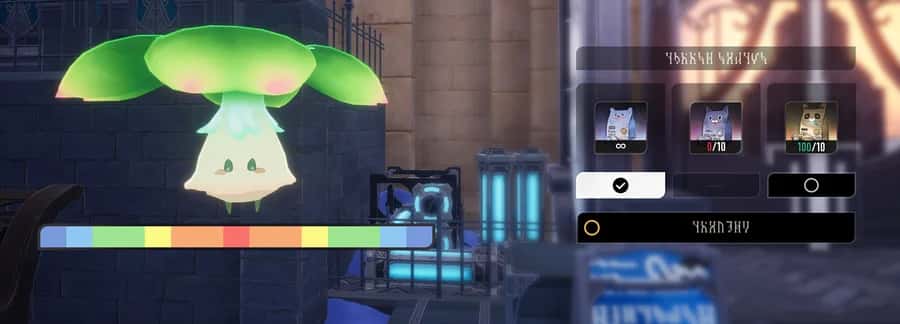
Use high-quality Treats and time your feeding attempts wisely to greatly increase your chances of befriending a Geniemon.
Impression: Lunoeggy's Shop
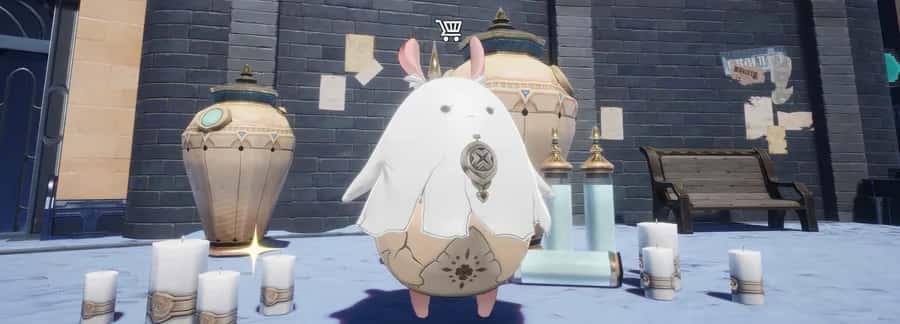
Lunoeggy's shop offers a wide selection of valuable items.
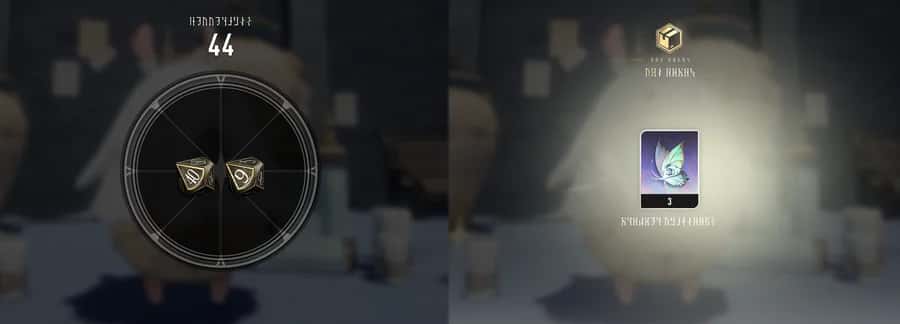
Complete Lunoeggy's designated Impression Checks to earn generous rewards.
Side Quests & Town Exploration
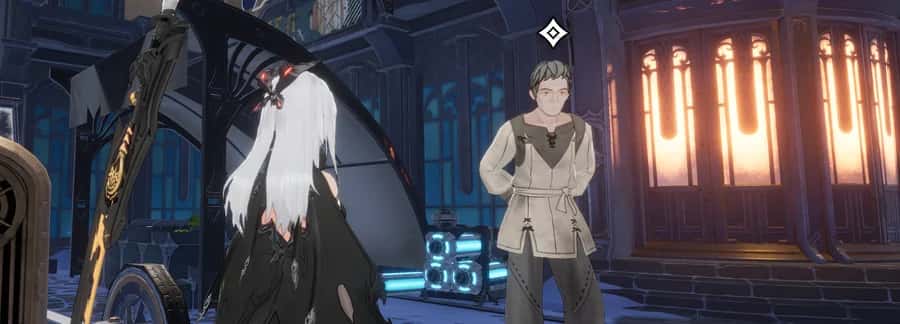
While exploring a town, interacting with certain local residents may trigger hidden side quests.
Covert Commissions

New Covert Commissions refresh every hour.
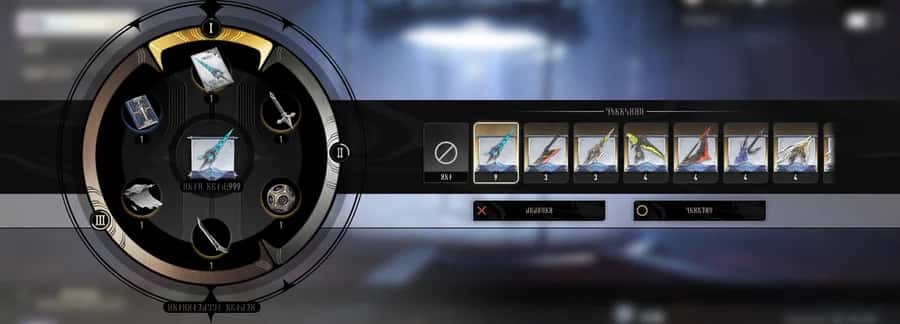
Each Secret Letter offers six possible rewards across three rarity tiers.
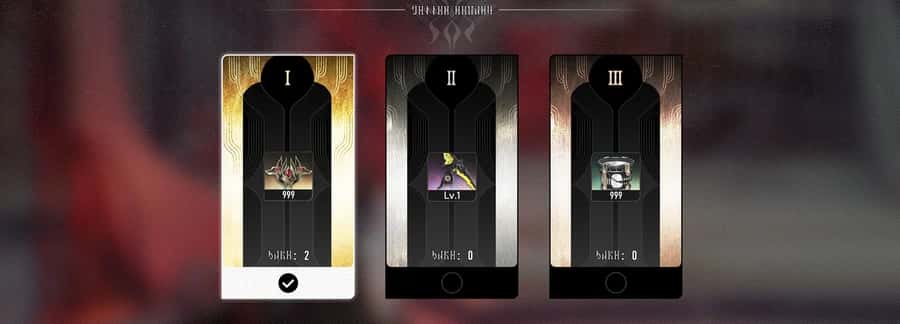
Upon completion, three out of the six rewards will be randomly presented. You may choose one to claim.
Time for a thrilling fishing session!

Casting and Reeling In Once you've cast your line, watch for the reel button to flash, that means a fish has taken the bait! Reel it in quickly before it gets away.

Reel Battle During the reel-in, keep an eye on the gauge to the right. Hold the reel button to apply tension, align the indicator with the fish marker and hold steady until the catch is yours!

Fish for Bigger Fish Landing a large catch may trigger a Fish for Bigger Fish chance! Use your current catch as bait and cast again, you might land an even rarer prize.
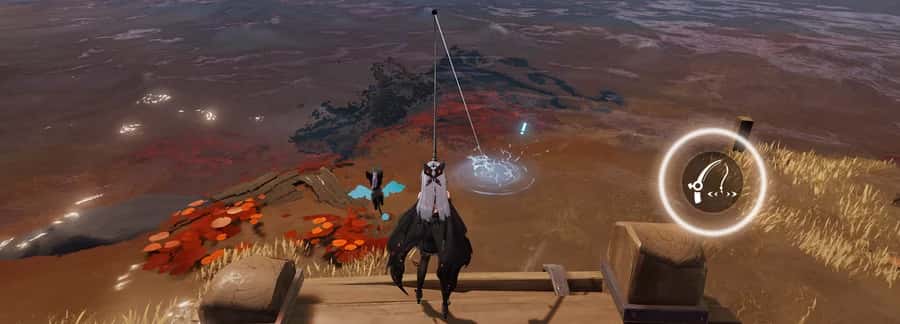
Fishing with Geniemons When fishing with a Geniemon with the "At peace" Potential, reeling in is automatic.
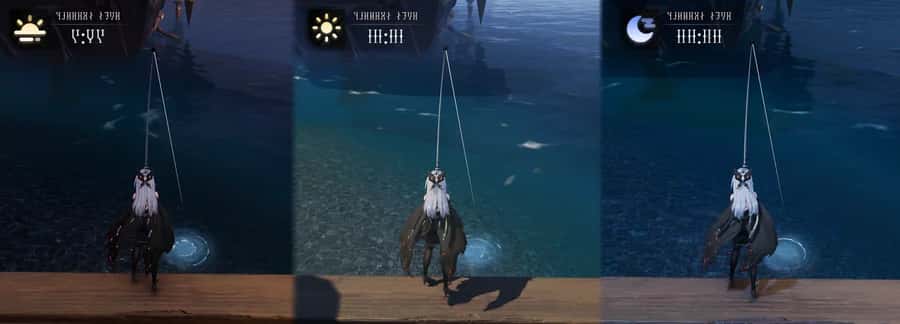
Fish Bite Day and Night Some fish only appear at certain times. You can change the time of day from the Time Cycle menu.
Go track down the Paniemon!

The cleverest of all Geniemons, their traces can be found all over, if you look closely.

Follow them, and you just might stumble upon something delightful.
Atlasium
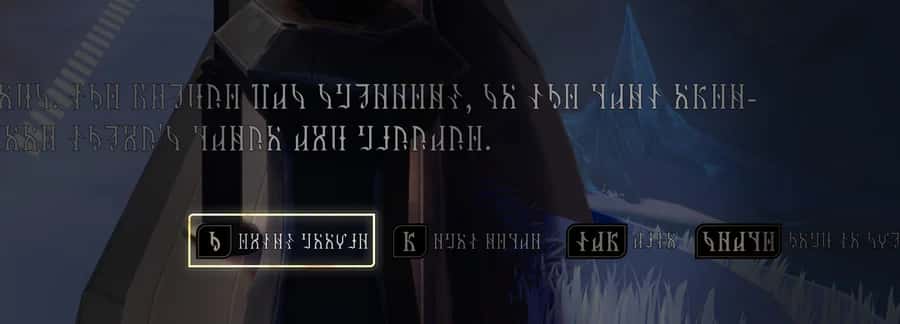
During story dialogues, when the View Entry button appears in the lower right corner, you can select it to get more info.
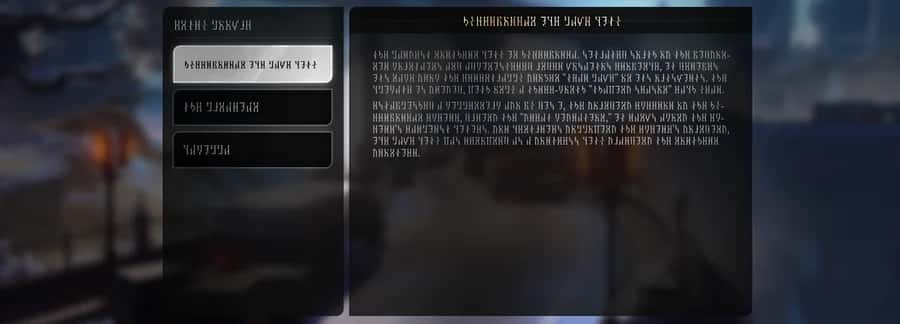
In Atlasium, you can view all the entries that have been unlocked.
Special Side Quest

You may encounter some Special Side Quests. They are marked with a blue indicator in the quest list.
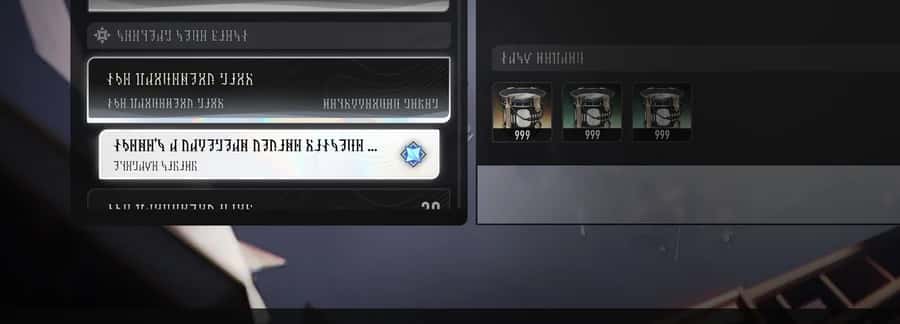
Special Side Quests might also appear during exploration. Completing them may unlock new features or functions.
Immersive Theatre
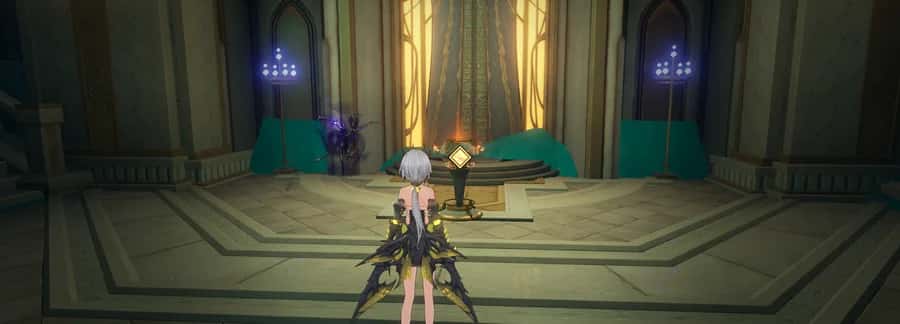
Operate the device to begin the Immersive Theatre challenge.
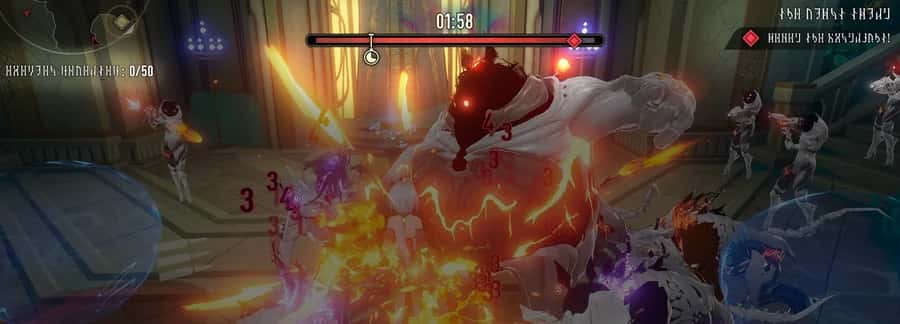
Opening Act As the curtain rises, performers disguised as enemies take the stage. Defeat the required number of enemies within the time limit to proceed.
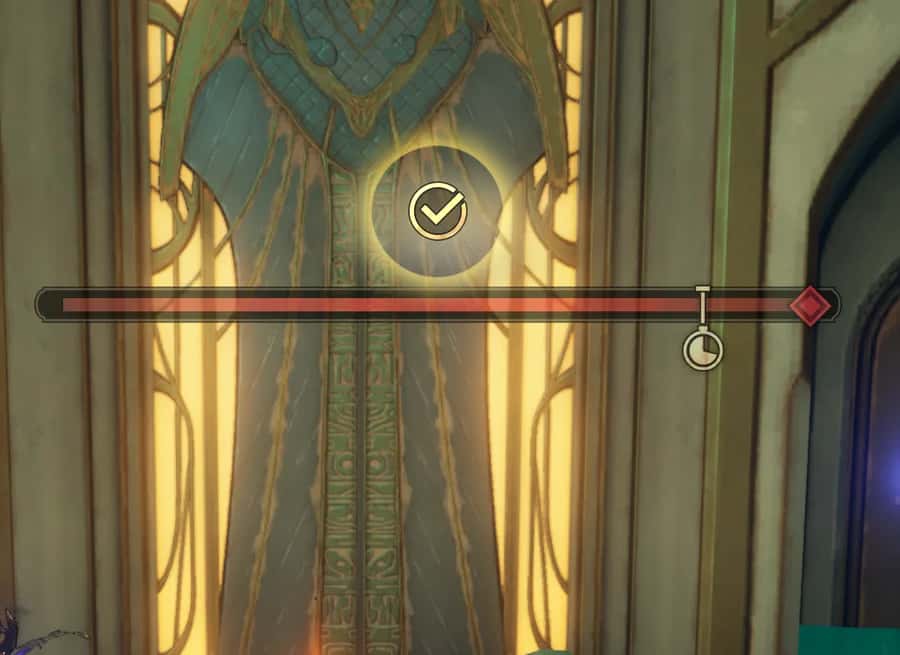
Victory & Defeat Success: Eliminate the target number of enemies within the time limit to unlock the next stage.
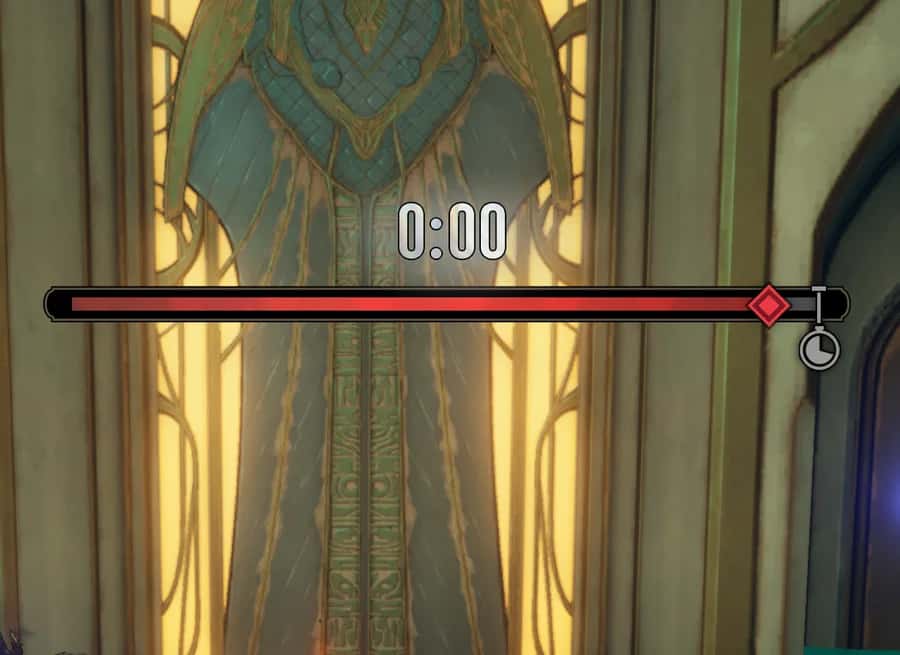
Victory & Defeat Failure: If you fail to meet the goal, the challenge will end immediately.
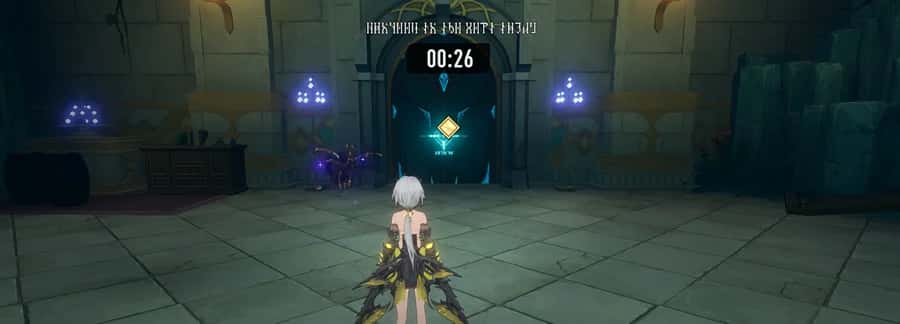
Next Challenge Once the path forward opens, proceed to the next stage before the countdown ends, or the challenge will fail.
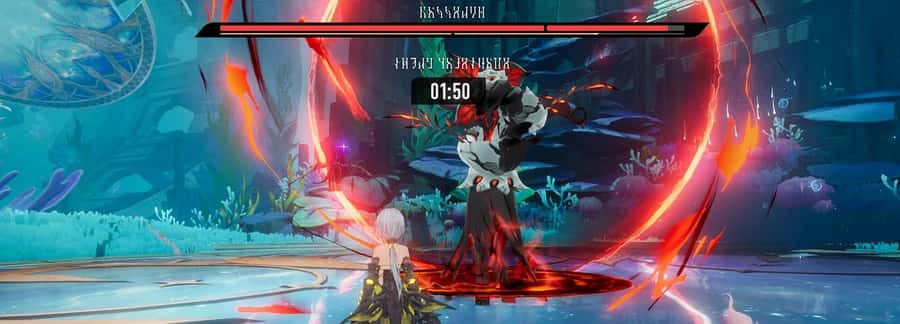
Final Act The fifth and final Act features high-difficulty enemies. Defeat them within the time limit to complete the Immersive Theatre.
Lunoxplorer's Advensphere

Lunoxplorer has left badges called Advensphere across Atlasia, marking the paths of her journeys. Collect them and return them to her to earn recognition and rewards.
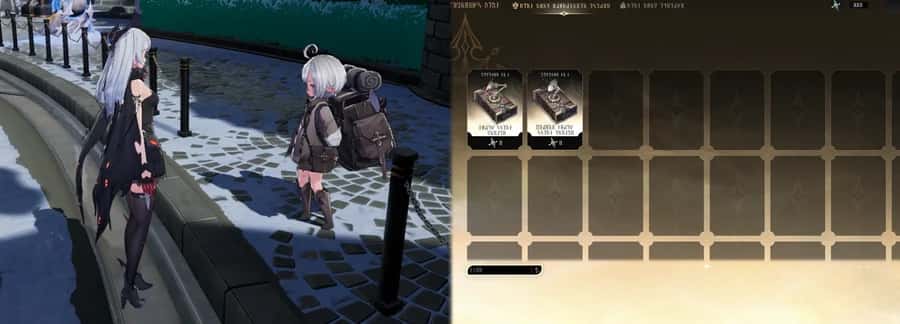
Lunoxplorer has left badges called Advensphere across Atlasia, marking the paths of her journeys. Collect them and return them to her to earn recognition and rewards.
A Lost Sheet
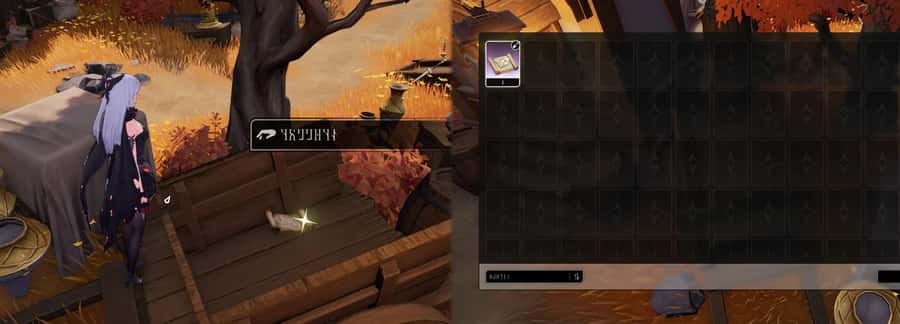
While exploring, you may come across pages left behind by unknown hands, each marked with a secret location.
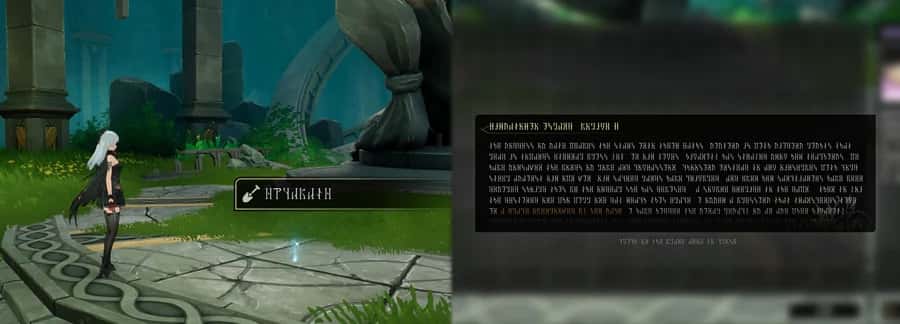
Follow the page's clues to the right spot, and a hidden treasure may be yours.
Deduce
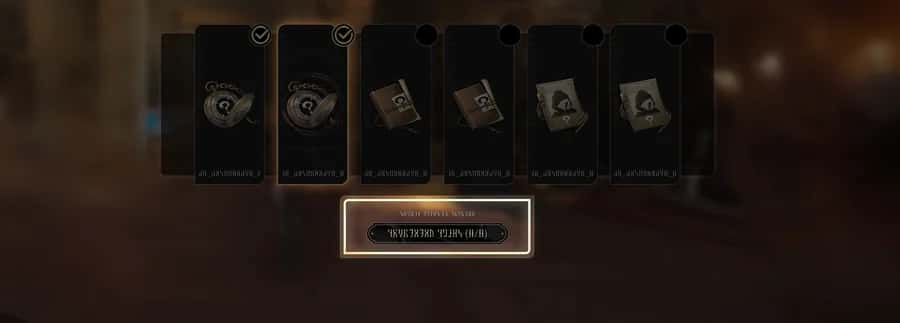
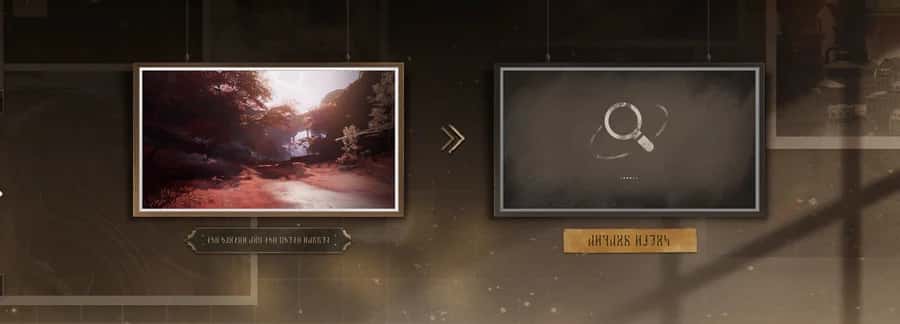
Reflect Reflect on one or more clues to uncover new leads.

Submit Clue Present key clues to complete the deduction.
Co-op Areas

Some areas are Co-op Areas, where you may encounter players from different timelines.
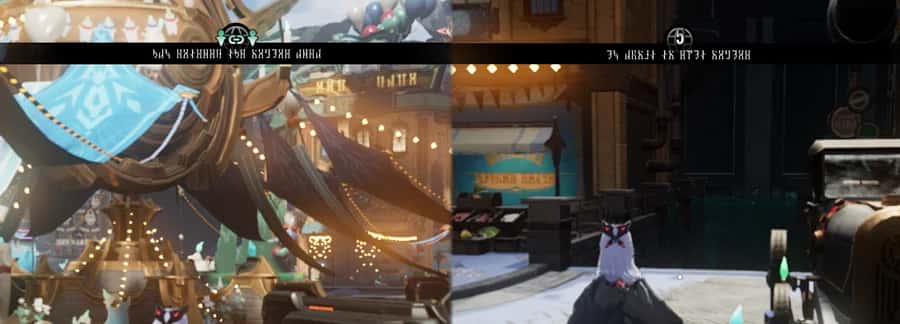
Entering these areas automatically enables co-op mode. Leaving them disables it.
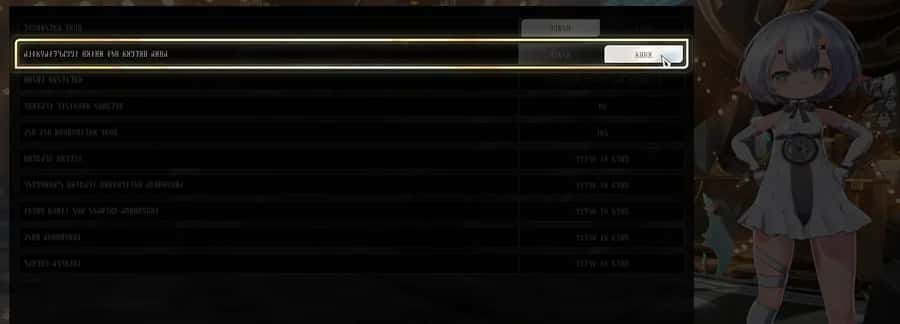
You can toggle Auto-Join on or off in Settings.
Time Cycle

In Huaxu, you can change the time of day from the Time Cycle menu.
Mounts
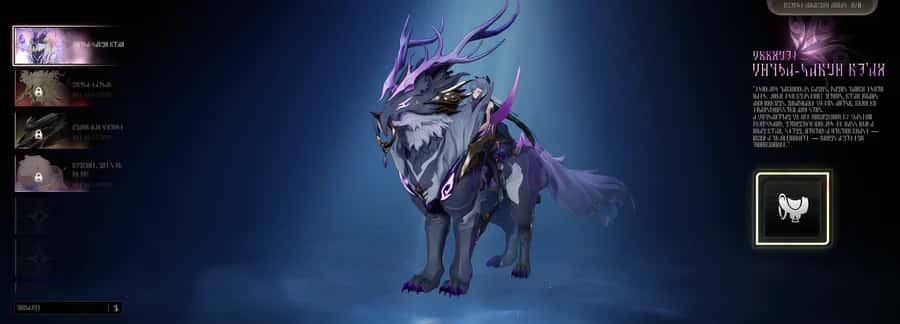
In the Cosmetics interface, under the Mounts tab, you can preview all mounts.
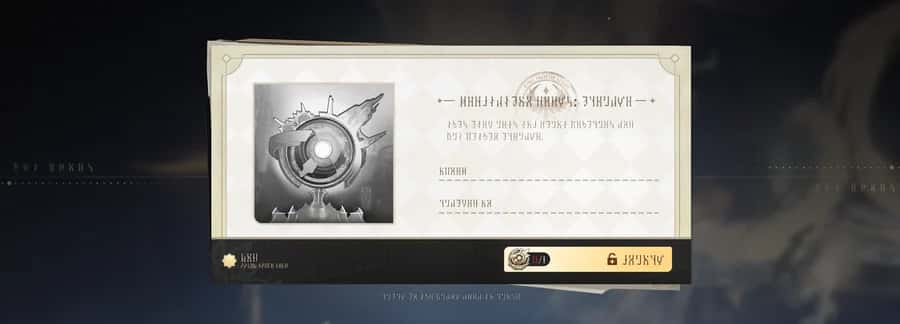
Reputation Perk Raise the Reputation Level of the corresponding area to obtain the Reputation Perk, allowing you to fly in the corresponding area with Mounts.

Mount Before mounting, you need to add the corresponding Mount into your Tactical Backpack.
Invitational
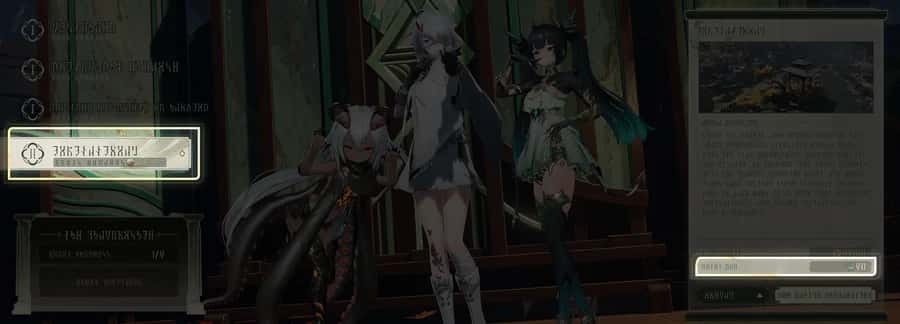
In this special arena, Coins can be exchanged for a limited number of Invitations each week. After each extraction, bonus Coins are awarded based on the Tokens earned, at a fixed rate.
Cosmetics
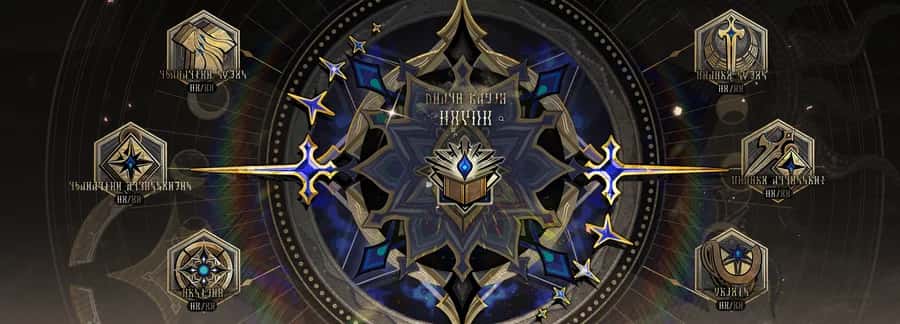
Collecting cosmetics or applying colouring increases your Glamour Score.
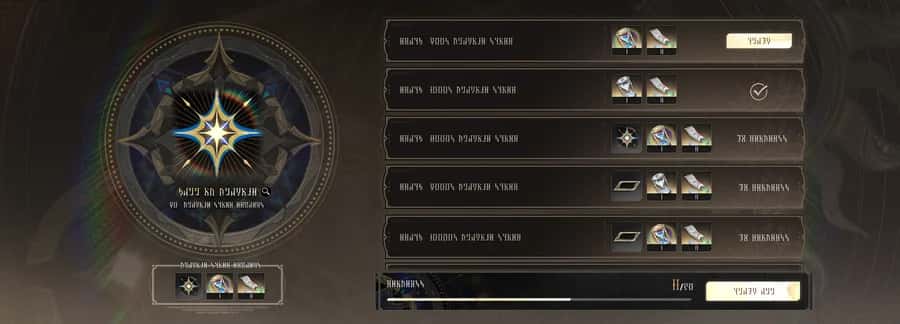
Raising your Glamour Score unlocks rewards.

Increase your Glamour Score to show off your style on the Glamour Rankings.
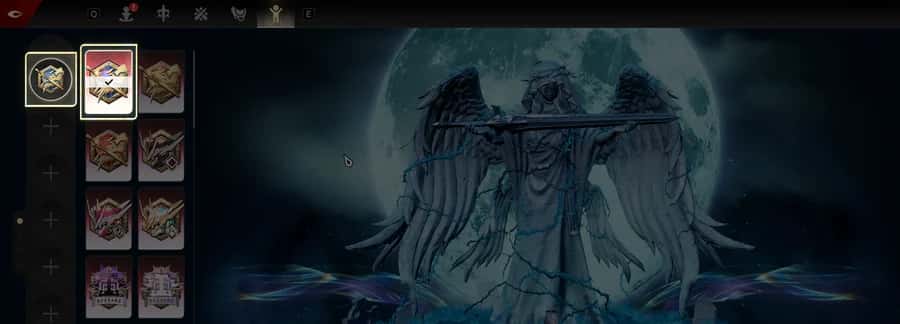
In the Cosmetics ... Posture page, you can preview unlocked Postures and assign them to your Posture Wheel.
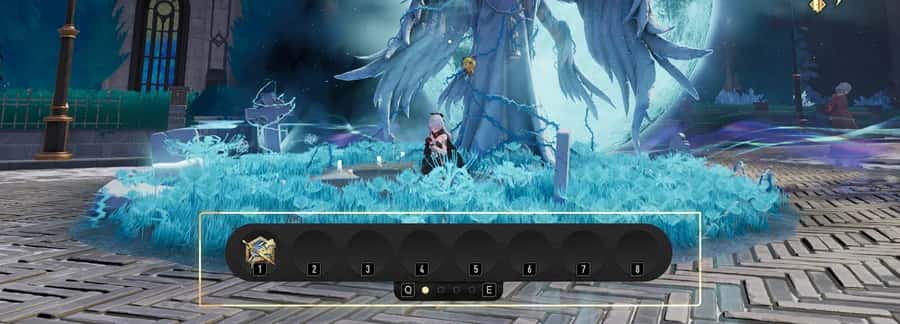
Press F6 to open the Posture Wheel and quickly use a Posture.
Abyssal Commissions
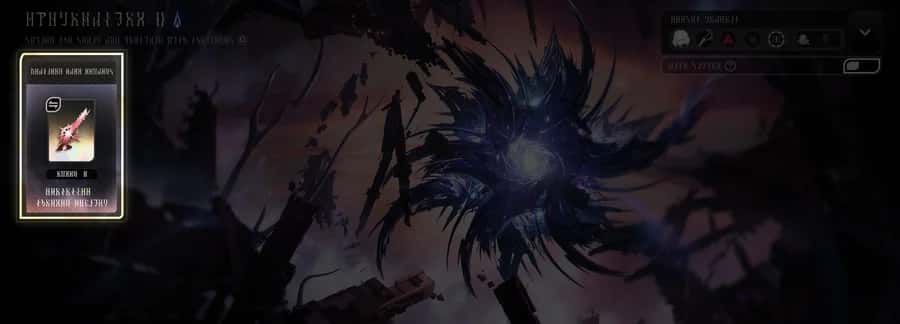
In Abyssal Commissions, you have a chance to obtain the selected Calamity Weapon material. You can adjust which material you are looking for before entering.
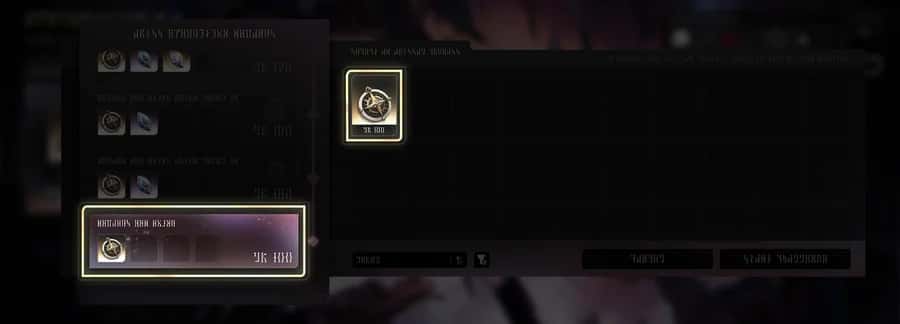
An Abyssal Compass is required to enter Abyssal Commissions. The higher the Compass level, the better the rewards.
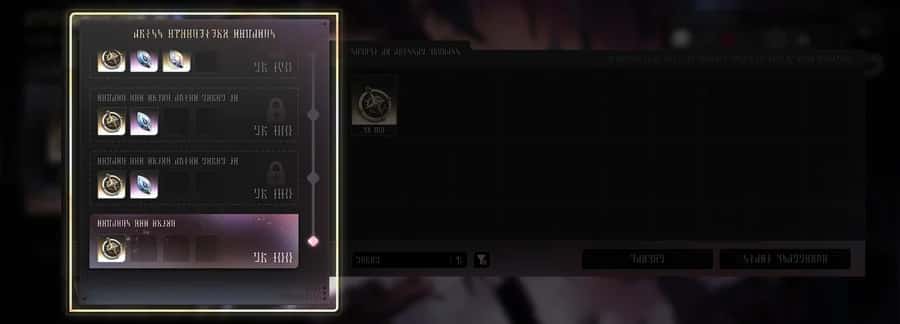
The more rounds you complete in an Abyssal Commission, the higher the Compass level.
Guild Tasks
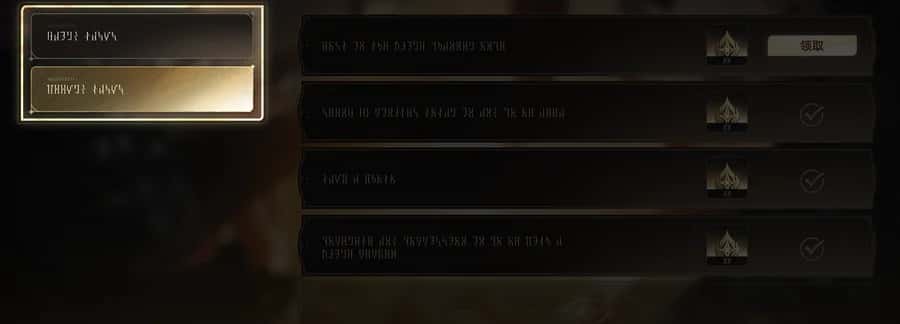
Guild Tasks are divided into Daily and Weekly. Completing them increases your Personal Activity.
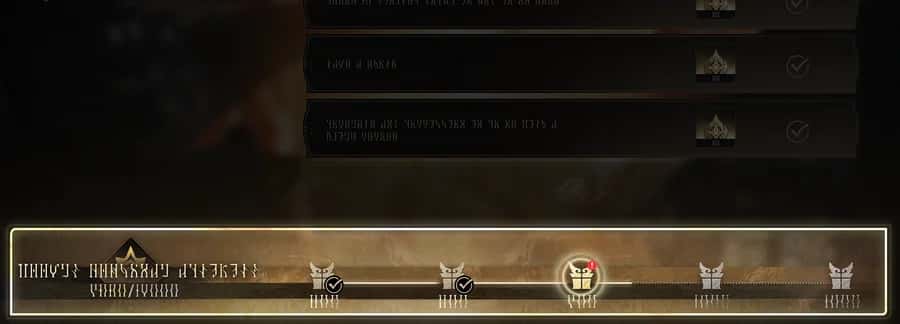
Completing Memo also increases Personal Activity. Increase Personal Activity to earn rich rewards.
Guild Private Chat
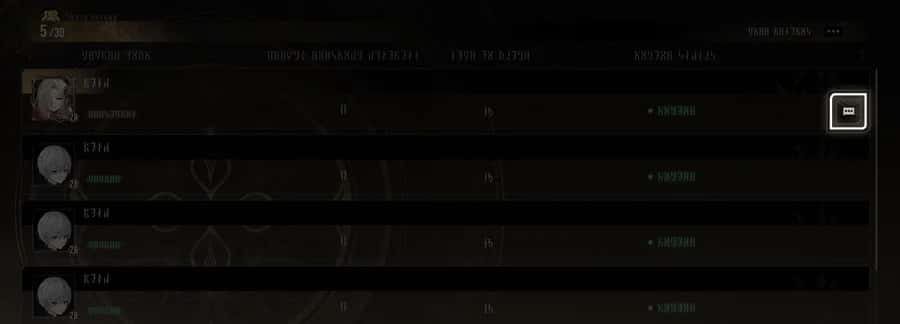
You can chat privately with Guild members
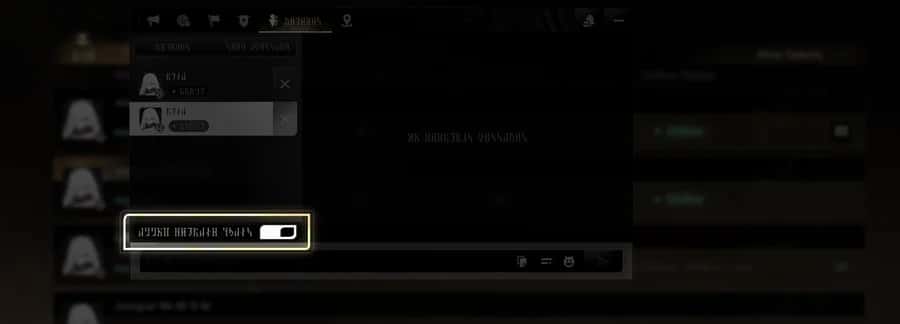
You can set whether to enable private chat in the chat settings.
Ironworks Conveyor Belt
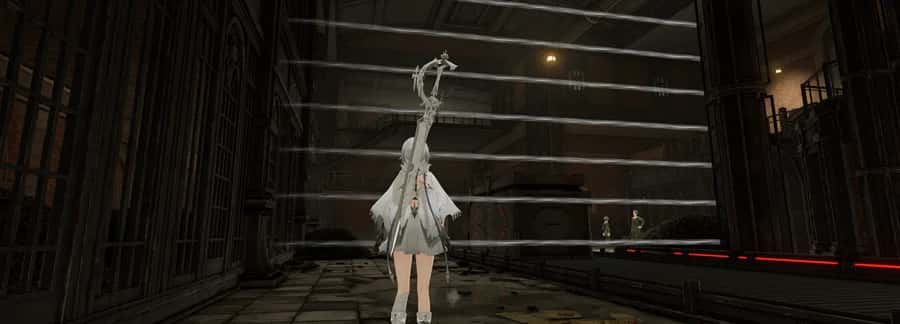
High-temperature steam occasionally erupts from the conveyor belt, blocking the way.
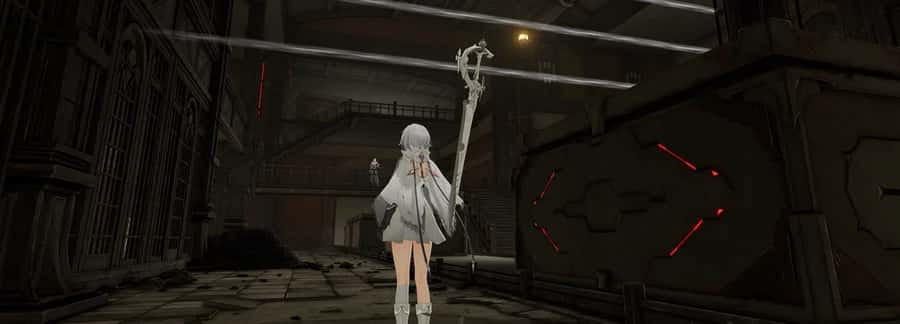
When parts pass by on the belt, you can use them as cover against the steam.
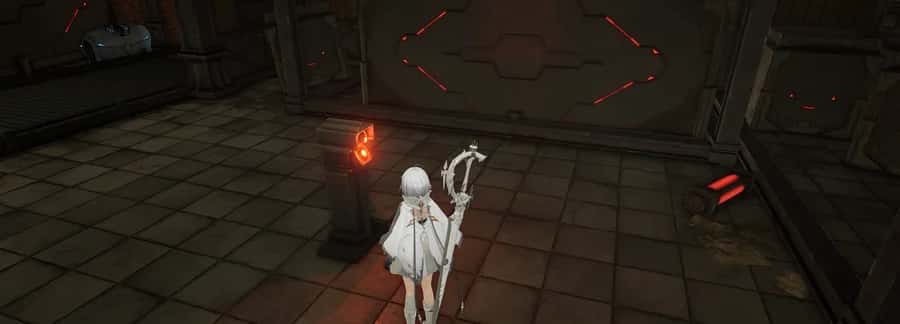
When the conveyor belt switch indicator is red, the belt is stopped.
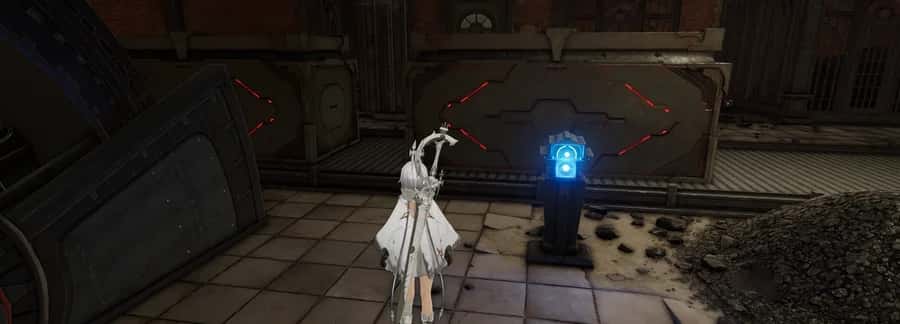
Attack the switch to start the conveyor belt.
Observation
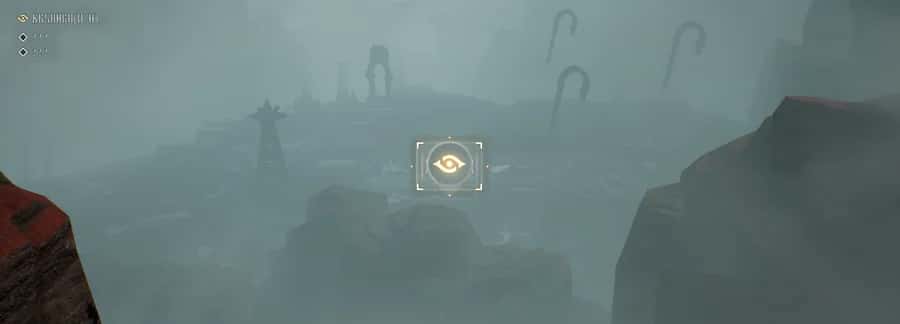
Enter Observation Mode, aim at an Observation Point, and click &Interactive& to inspect.
Investigation Log
Open the Investigation Log via quest log to review your collected clues and memories.
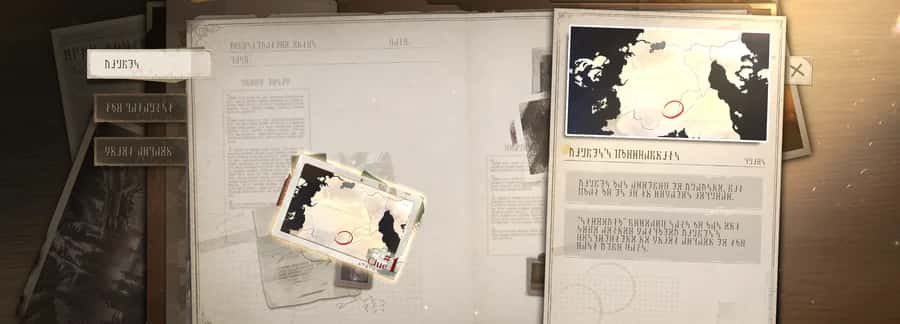
Organise Clues The Investigation Log tracks both revealed and undiscovered clues. You can gather more clues by advancing the story, exploring areas, and collecting documents.
Notes Notes records the memories and key moments from your journey.
Exploration and puzzles
63Teleport
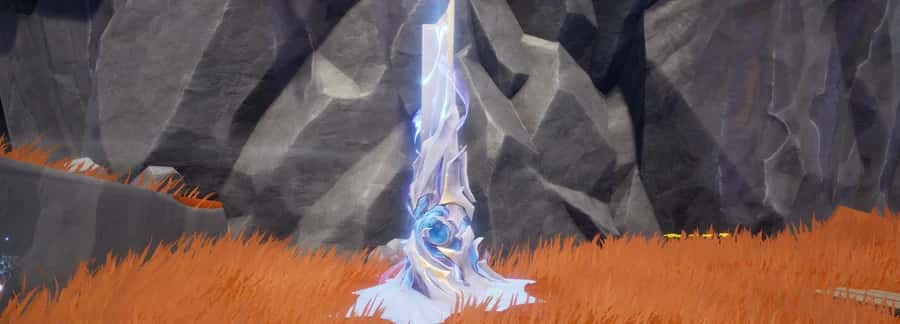
Oneiric Avian Spirit Approach to summon the Oneiric Avian Spirit to record the current Avian Tower.
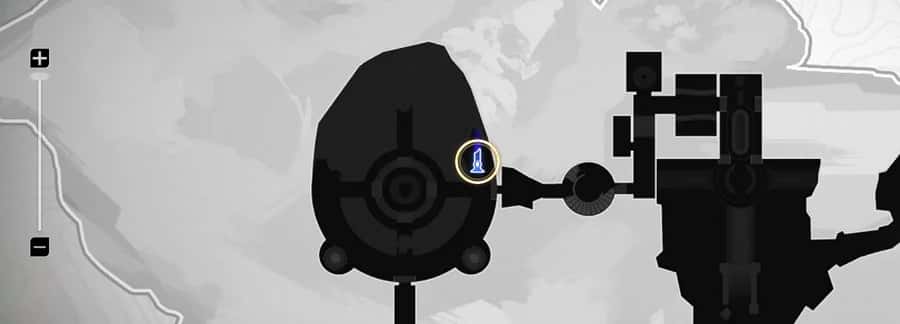
Press &OpenMap& to open Map and teleport to any recorded Avian Tower.
Magic Lock: Roulette
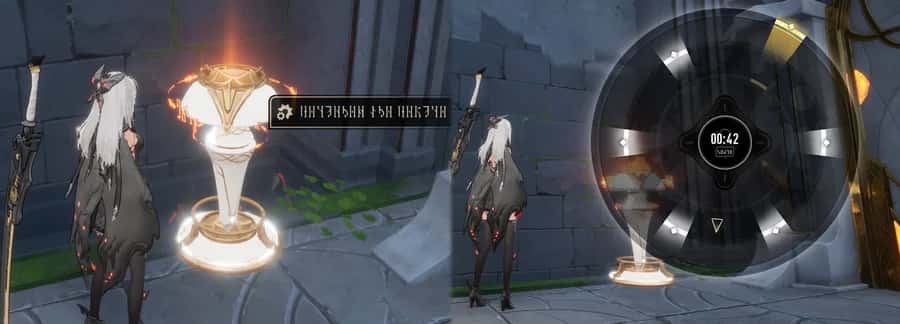
A common door lock mechanism. Light up all white areas within the allotted time to unlock this type of magic lock.
Magic Lock: Maze
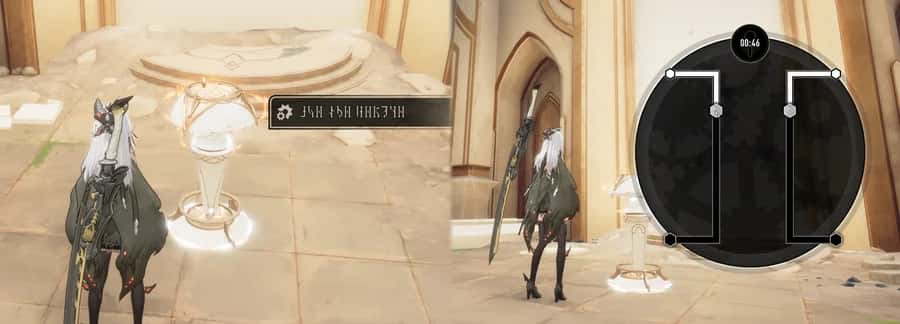
A common door lock mechanism. Drag the hexagonal widget along the correct path to the endpoint within the allotted time to unlock this type of magic lock.
Auto-Defence Mechanisms
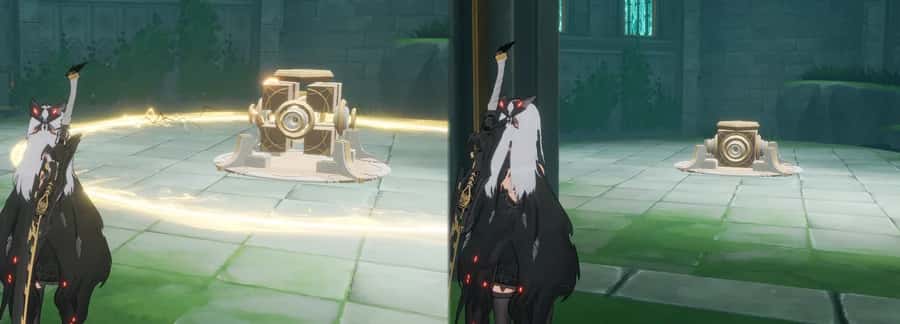
Auto-defence mechanisms target all units within range.
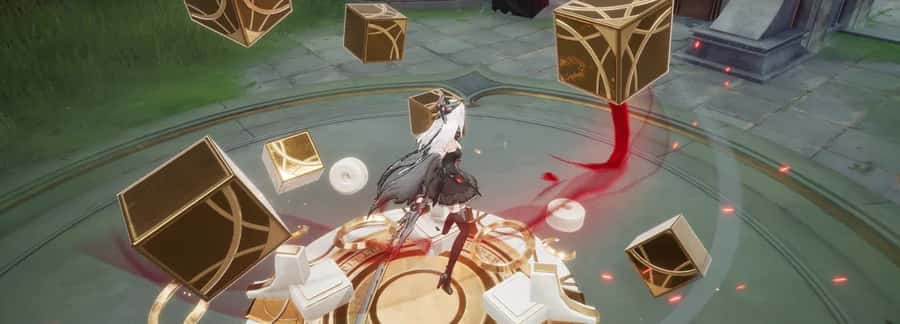
They can either be avoided or neutralised.
Destructibles
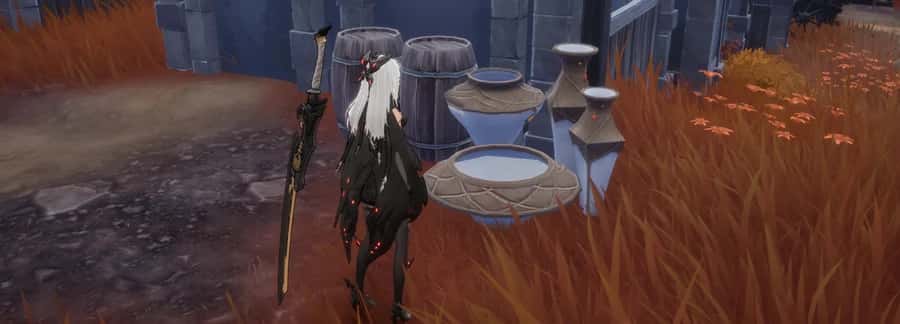
Some items can be damaged upon attack. You may find hidden supplies from them...
Lunoxplorer's Challenge
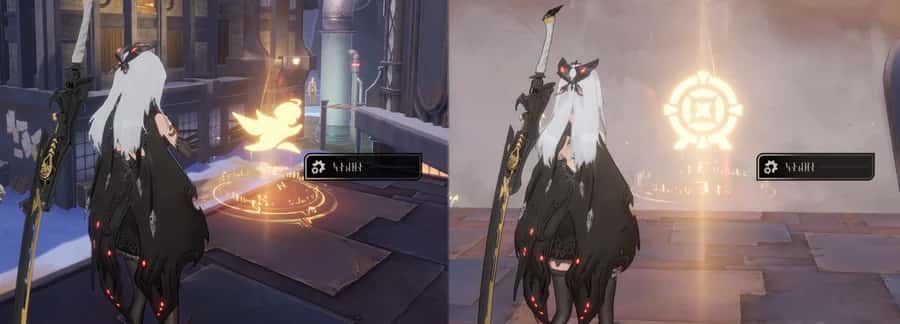
Lunoxplorer has set challenges worldwide. Approach one and press &Interactive& to start the challenge.
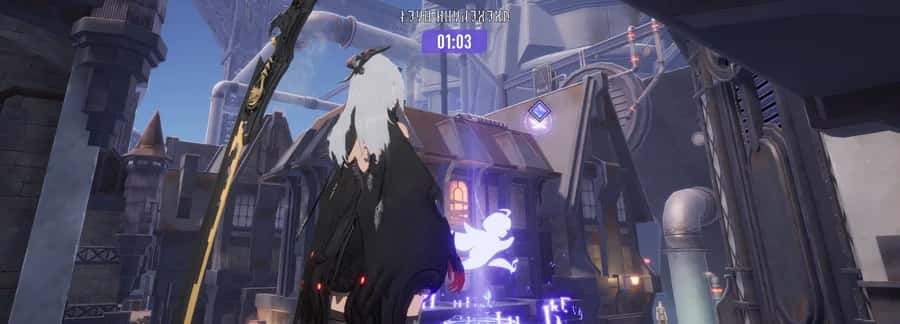
Speed Challenge Complete the challenge by following the guide to reach the target location within the specified time.
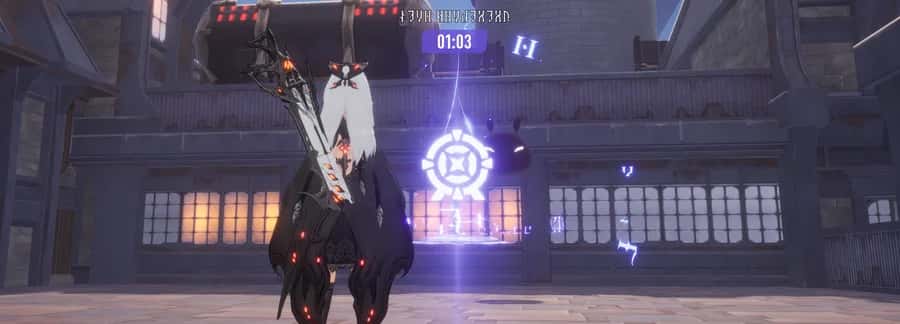
Shooting Challenge Complete the challenge by following the navigation to shoot the designated targets within the time limit.
Flame Trap
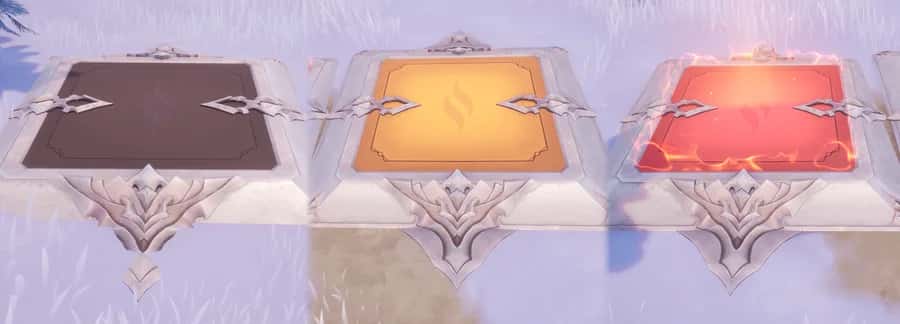
Flame Traps will activate when attacked, dealing damage to all targets passing through. Some Flame Traps deal higher damage but require a longer cooldown before reactivation.
Magic Lock: Pointer
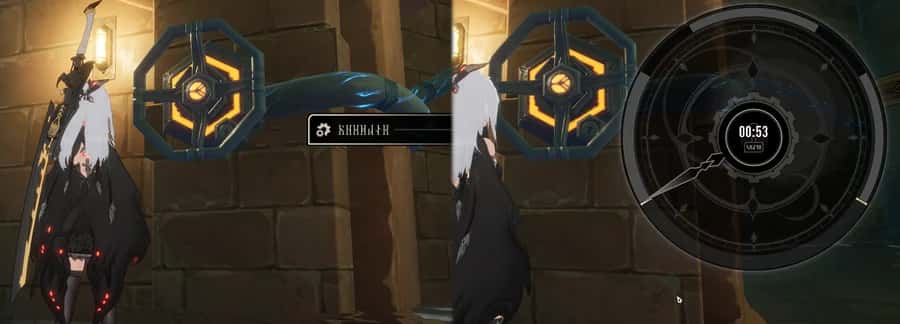
A common door lock mechanism. Continuously moving the pointer to break through the drag ranges within the time limit can unlock this type of magic lock.
Transformers and Cables
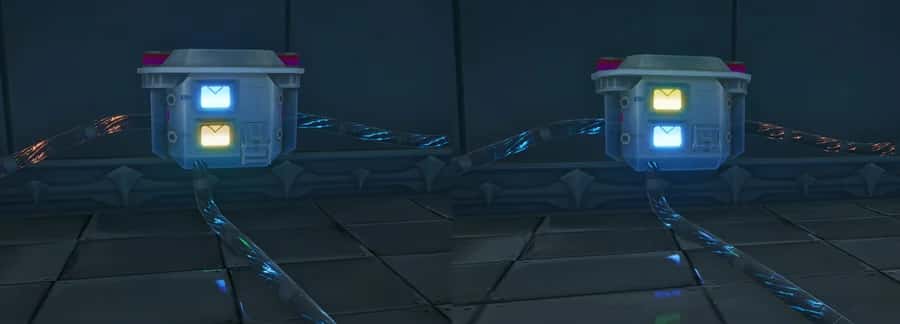
Activate/Deactivate Transformers Interact with the Transformers to activate or deactivate their connected devices. Check the colour of the cables to tell which devices are active.
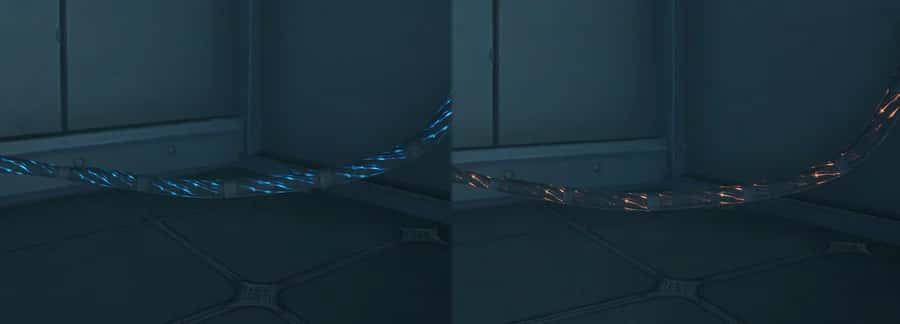
Activation Status of Cables & Devices Check the colour of the cables connected to the devices to determine their status: Blue: The device is active. Orange: The device is inactive. Look nearby for the necessary transformers to activate it.
Avian Spirit Trials
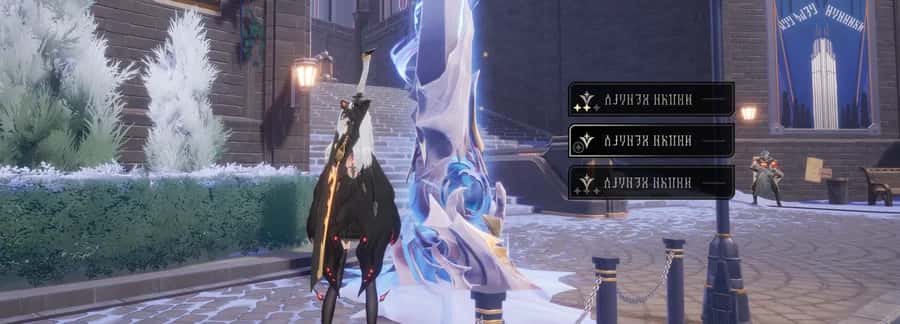
You can challenge [Avian Spirit Trials] by meditating at the recorded Avian Towers.
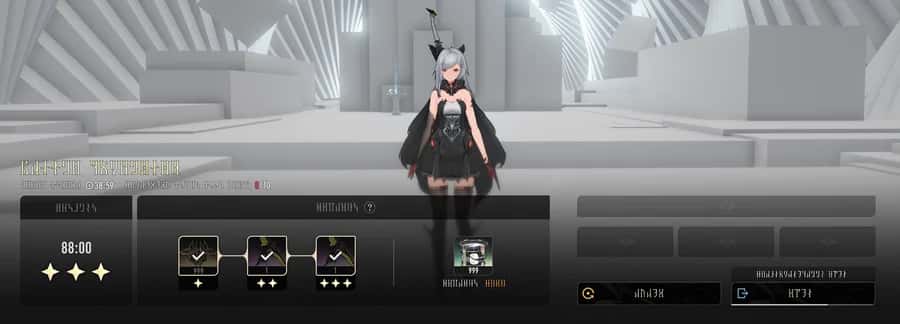
Avian Spirit Trial Rewards You will receive star-rated rewards after your first successful completion of the Trials. You can replay these Trials to achieve higher ratings and earn better rewards.
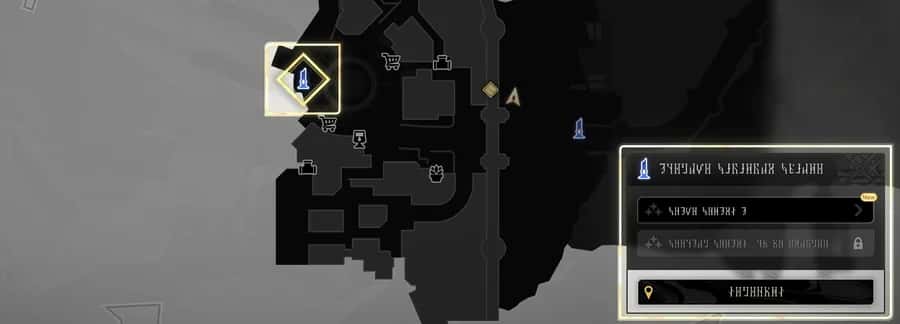
You can challenge [Avian Spirit Trials] by clicking the recorded locations on the map.
Phoxynamo Wheels
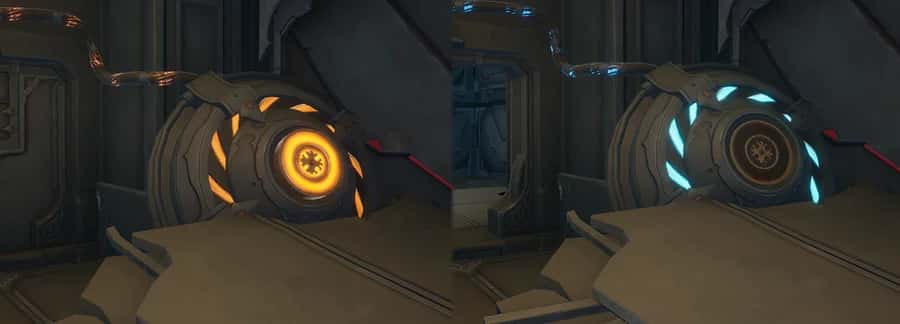
Attacking a Phoxynamo Wheel will toggle its activation status. If the Phoxynamo Wheel is blue, it is active. If it appears orange, it is inactive.
Turret 4
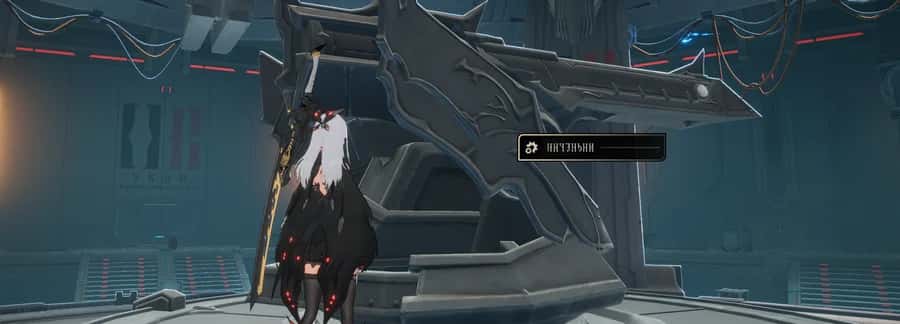
Approach Turret 4 and press &Interactive& to activate it. Turret 4 is equipped with High-Explosive Shells and Rapid-Fire Rounds.
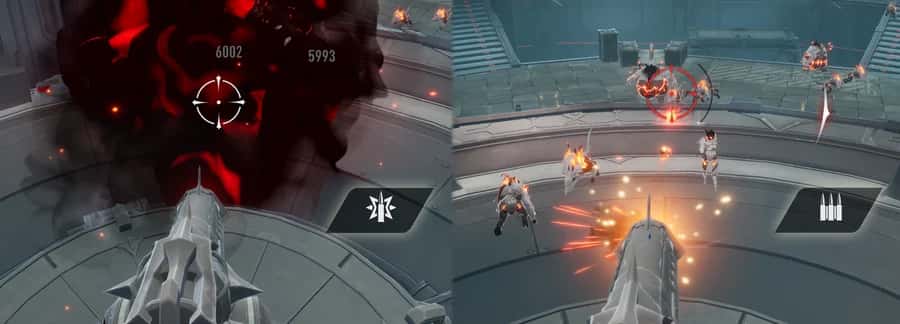
High-Explosive Shells deal area damage but have a longer reload time. Rapid-Fire Rounds deal single-target damage quickly but will cause overheating after a certain number of shots, temporarily preventing further firing.
Danger Zone
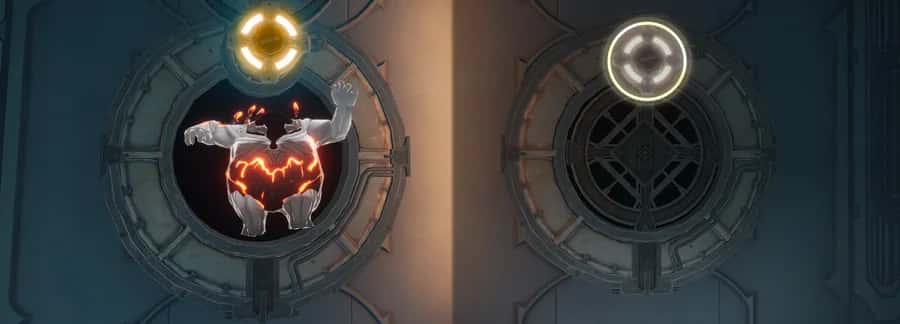
Enemy units periodically spawn from within this passage. The passage can only be sealed by attacking specific weak points with the correct approach.

Enemy units periodically spawn from within this passage. You can either interact with certain devices or defeat all the enemies to seal the passage.
Automatic Reset of Phoxynamo Wheels

Some Phoxynamo Wheels will automatically revert to their original state after a set time following a status change.
Grappling Hook

Grapple Points are scattered across the world. Press &Interactive& to launch the grappling hook and travel faster.
Luno's Device
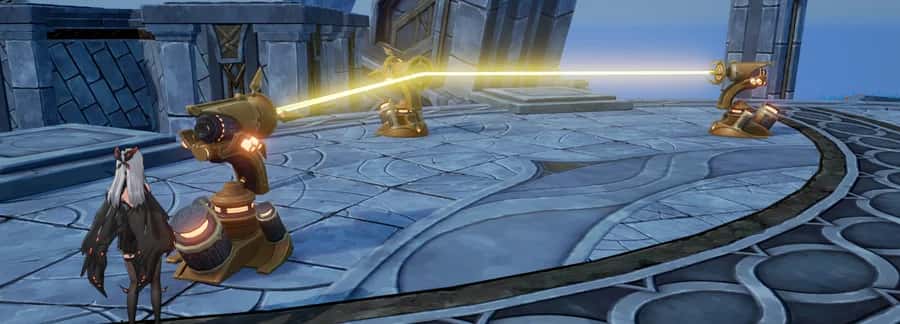
This measuring device was placed here by Lunoxplorer. Once activated, it gathers the data she seeks. Rotate it into position and activate it to claim the rewards she left for kind-hearted travellers.
Mechanical Nexus
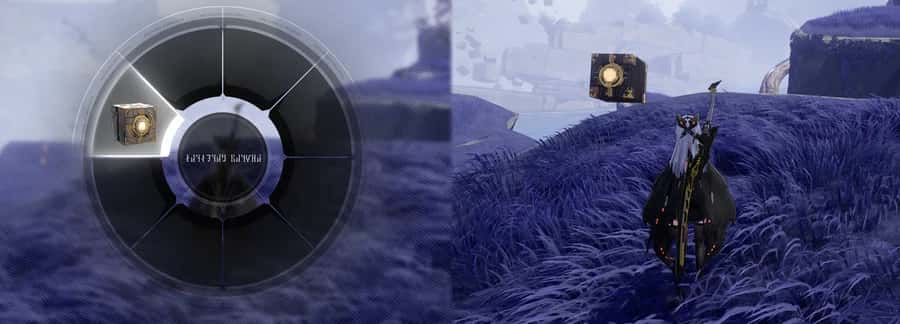
You can equip and summon the Mechanical Nexus from your Tactical Backpack.
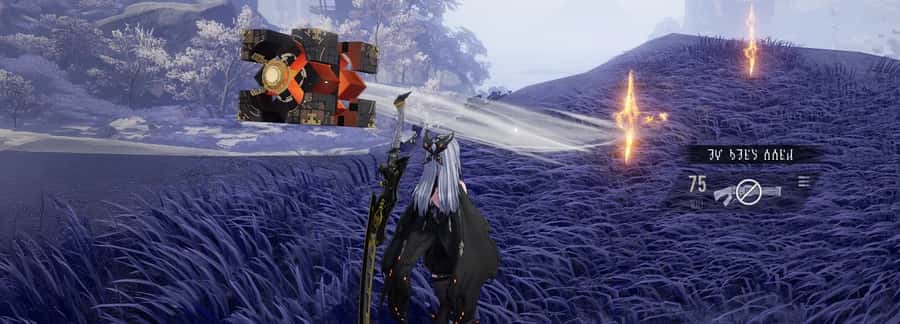
Mechanical Nexus: Pull After summoning the Mechanical Nexus, hold &Fire& to enter pull mode and interact with Jishu Sect mechanisms and puzzles.
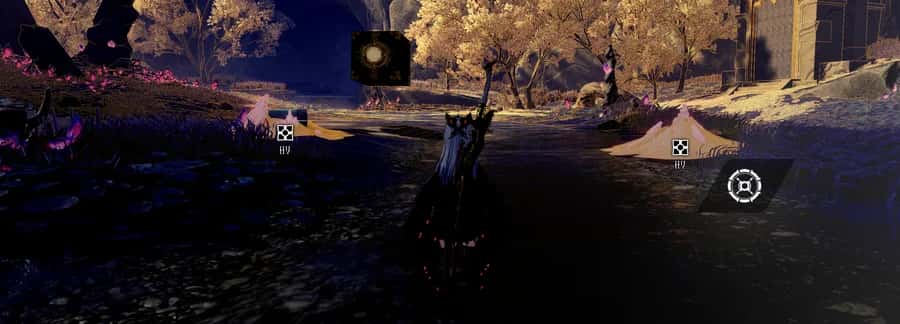
Mechanical Nexus: Scan After summoning the Mechanical Nexus, press &Skill3& to scan for nearby interactable mechanisms.
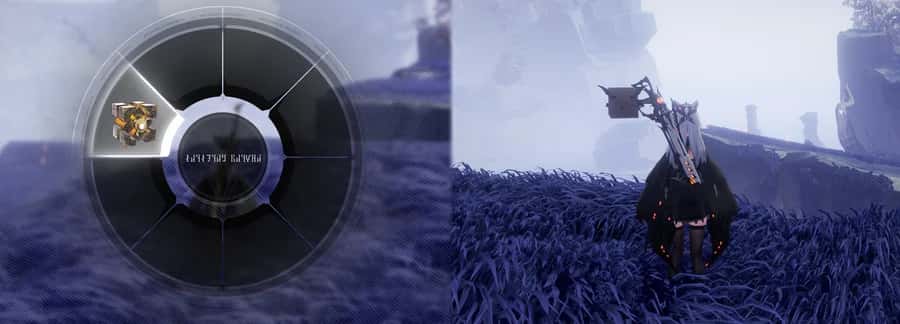
Recall the Mechanical Nexus After summoning the Mechanical Nexus, open your Tactical Backpack and select the device to recall it. Doing so restores access to ranged weapon attacks and Geniemon skills.
Taixu Rune

Taixu Runes drift through the air in Huaxu. Use the Mechanical Nexus's pull mode to collect them.
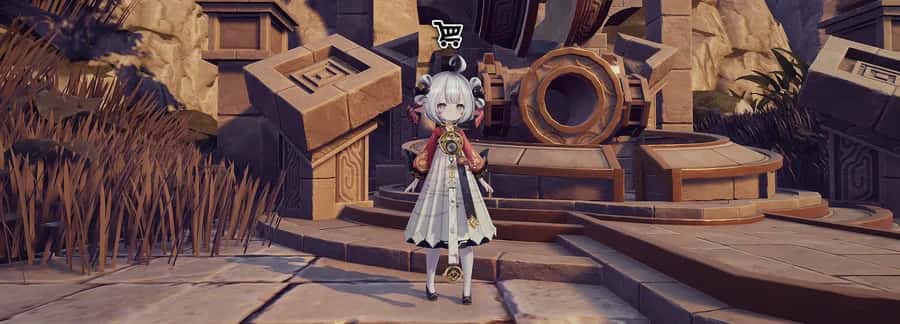
Taixu Runes can be exchanged for rewards at Lunocarp's Lucky Egg Stall.
Gritblight
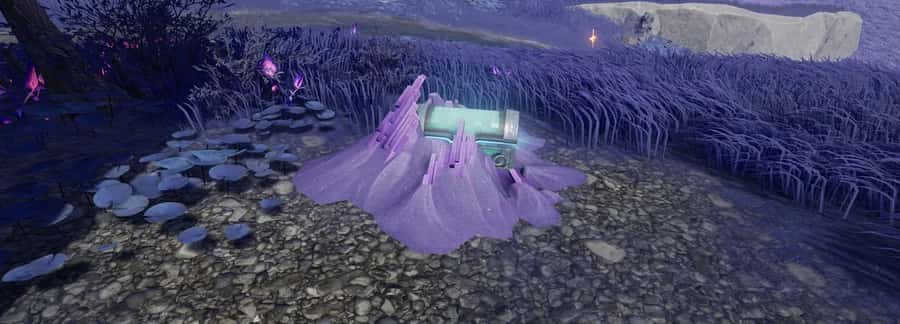
Due to the Scourge of Zhuyin, some characters, chests, and mechanisms in certain parts of Mistwharf are buried beneath Gritblight. In this state, they cannot be interacted with normally.

Use the Mechanical Nexus's pull mode to clear away Gritblight.
Dual-Shape Propeller

Use the Mechanical Nexus's pull mode to rotate the blades, generate wind, and open the gate.
Pearl in the Bottle
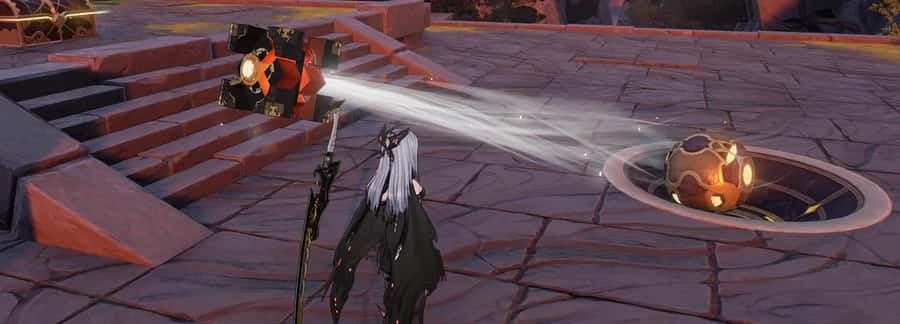
Use the Mechanical Nexus's pull mode to draw the Jishu spheres into their matching pedestal and solve the puzzle.
Stone Flips
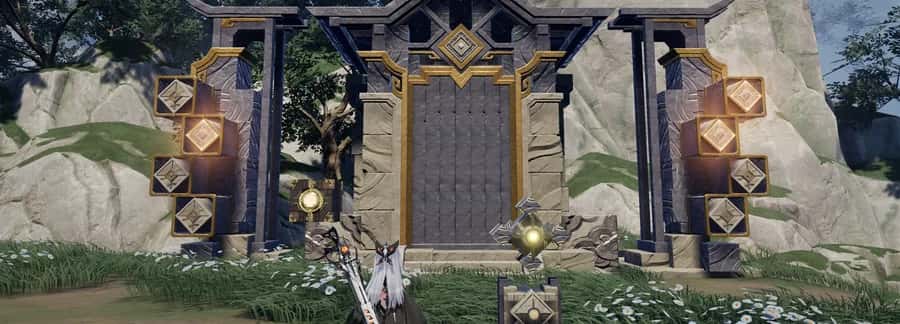
Interacting with the switch causes the blocks on either side of the door to rotate, revealing their patterned faces.
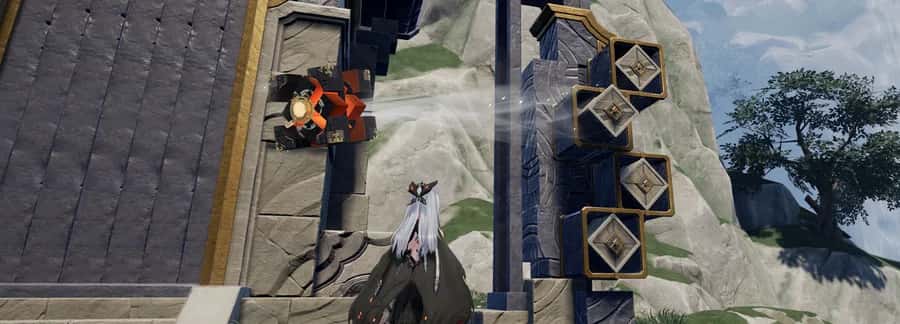
Interacting again rotates the stones further, revealing their ringed faces. Use the Mechanical Nexus's pull mode to pull the patterned block free and unlock the chest.
Drifting Petals
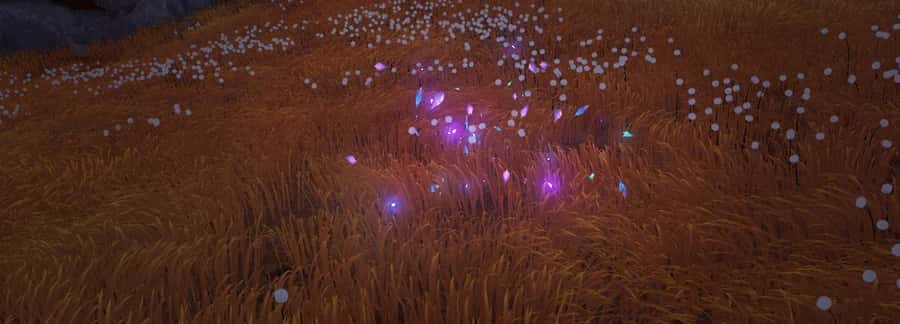
Use the Mechanical Nexus's pull mode to sweep away the drifting petals and reveal the hidden Wishen.
Oblivion Rift
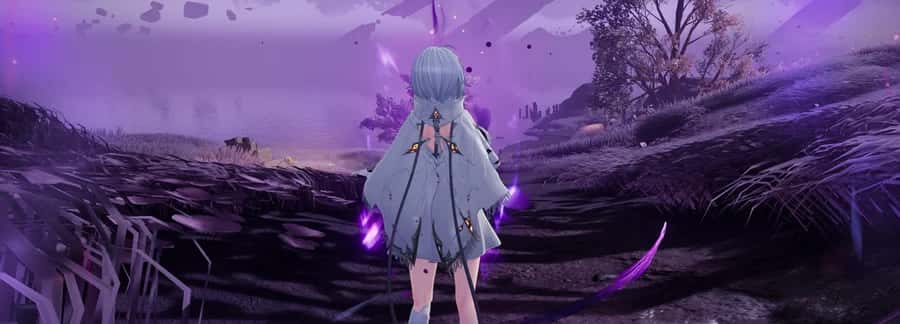
The Oblivion Rift continually erodes any living being that falls into it. While within its influence, your HP will steadily drain.

Waters of Forgetting lie pooled throughout the Oblivion Rift. Coming into contact with them greatly accelerates your HP loss.
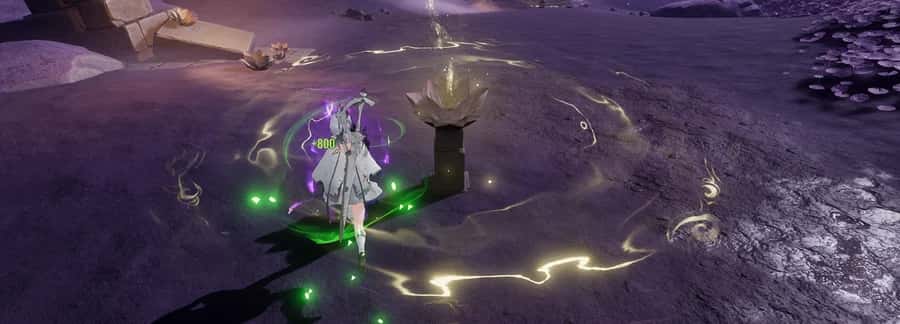
Making proper use of the safe zones created by Lantern Blossoms is key to escaping the Oblivion Rift.
Lantern Blossom
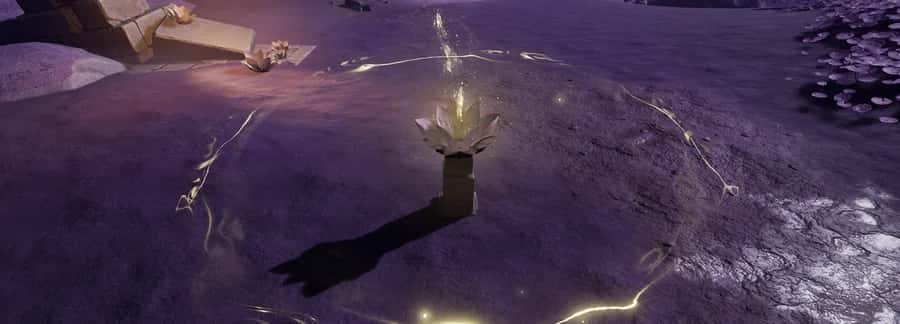
Lantern Blossoms lie scattered throughout the Oblivion Rift, bearing the wishes of the living. Within their glow, you steadily recover HP and are shielded from the Rift's erosion.
Sky Lantern
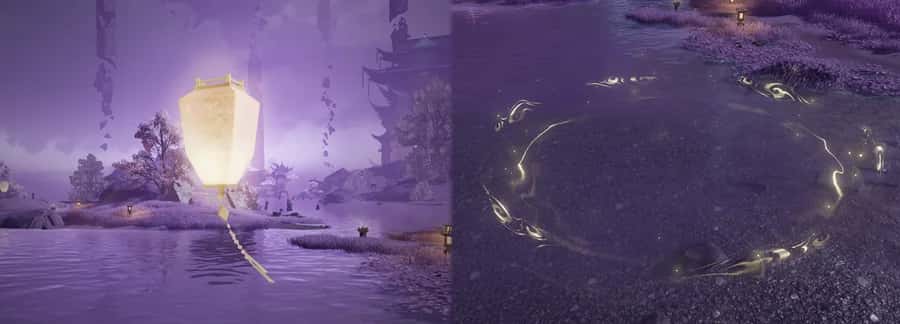
Sky Lanterns float above the Waters of Forgetting. Shattering one with a ranged weapon causes its Lantern Blossoms to fall and form a constantly shrinking safe zone on the water's surface, helping you withstand the Rift's erosion. You may move within this zone and steadily recover HP.
Canoe
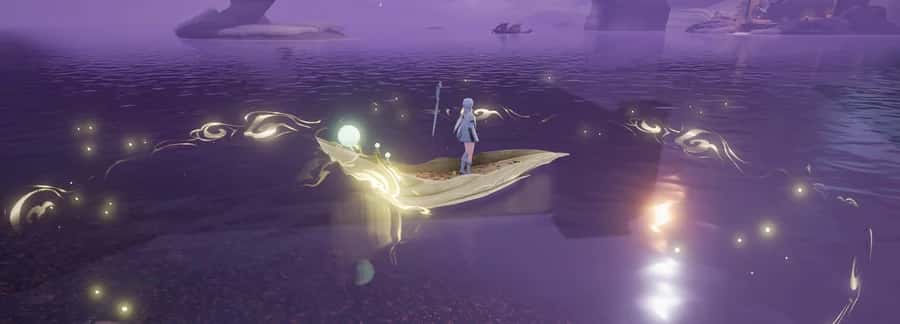
A canoe drifts on the Waters of Forgetting. When lit, it creates a safe zone centred on itself and constantly moving, helping you withstand the Rift's erosion. You may move within this zone and steadily recover HP.
Aeolian Chime
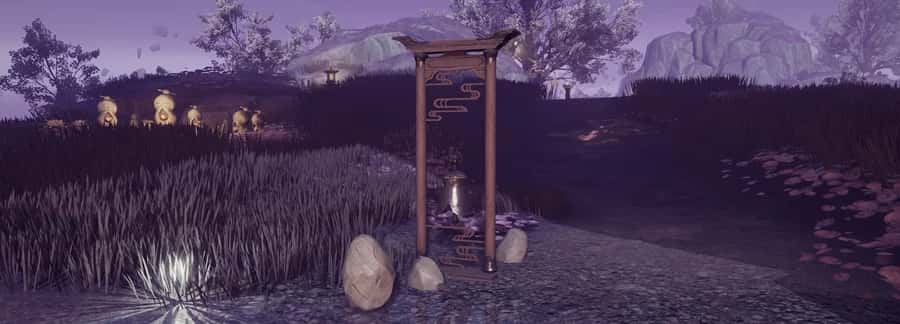
Ring the Aeolian Chime and it will respond to your wish, awakening hidden mechanisms or memories of bygone days.
Enlightenment Stele
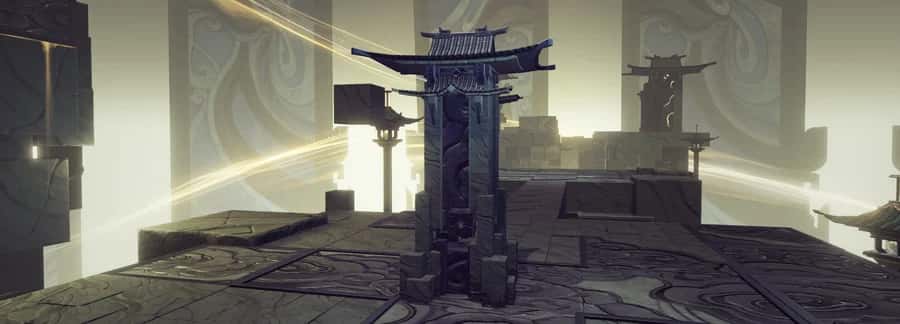
Knock on an Enlightenment Stele to activate mechanisms of the Myriad-Snare Hunting Array and alter the structure of the area.
Puzzle Array
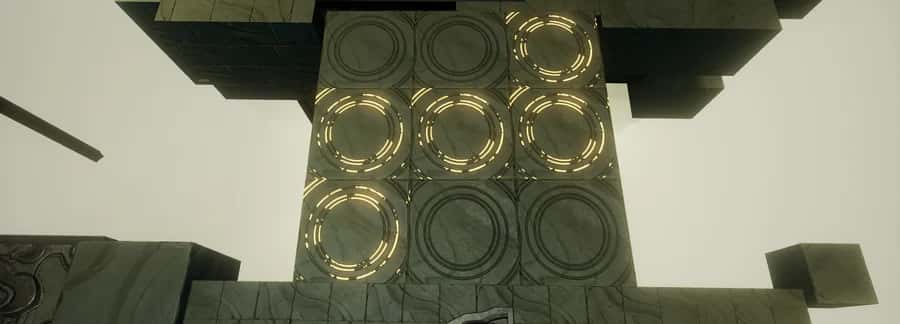
Striking certain Enlightenment Steles reveals a path formed from interlocked tiles.
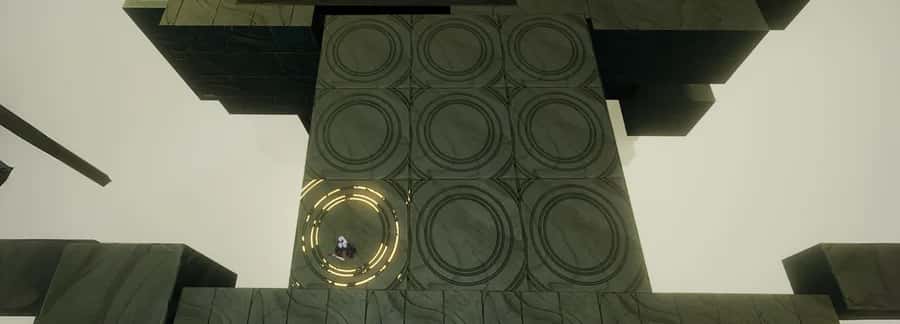
Stepping on the correct tile causes golden patterns to light up. Step on all tiles in the correct order to unlock the next Enlightenment Stele.
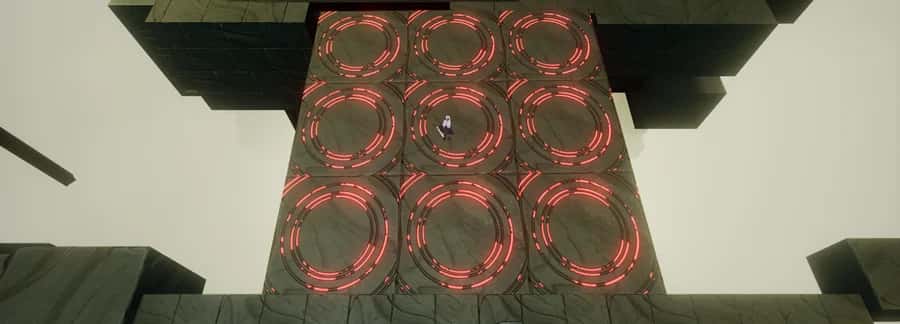
Stepping on an incorrect tile sends you back to the starting point and resets the Puzzle Array.
Destructible Rocks
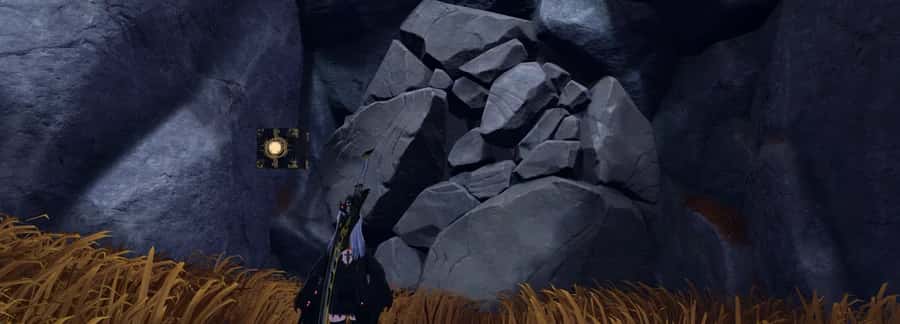
Some cave entrances are blocked by rocks.

These rocks can be broken with melee or ranged weapons, melee attacks are more efficient.
Foul Buds
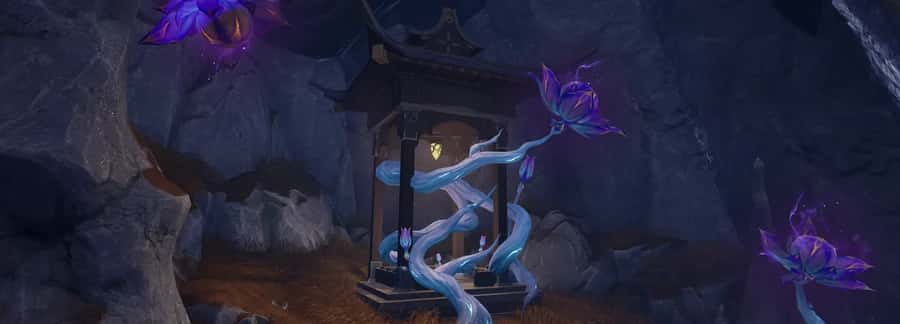
Some buds have been corrupted by Gritblight and continually pollute the surrounding area.
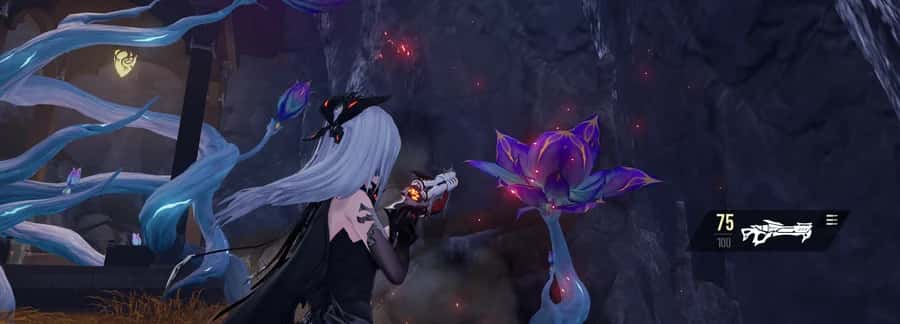
Destroy all clusters of Foul Buds within the time limit to purify the area.
Zhuyin Scale

When the base of a Zhuyin Scale is buried beneath Gritblight, it cannot be harvested directly.
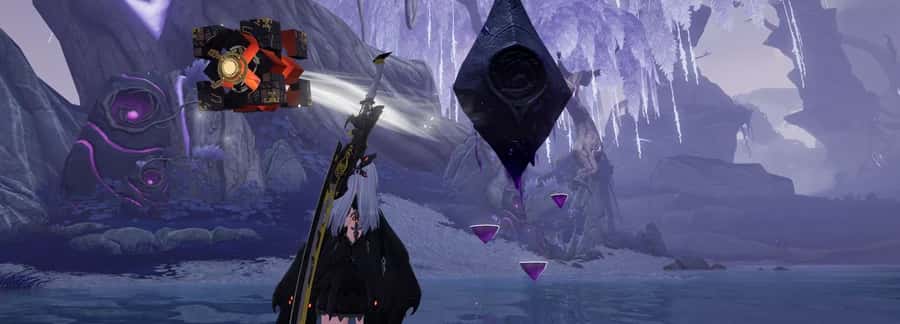
Use the Mechanical Nexus's pull mode to clear away Gritblight.
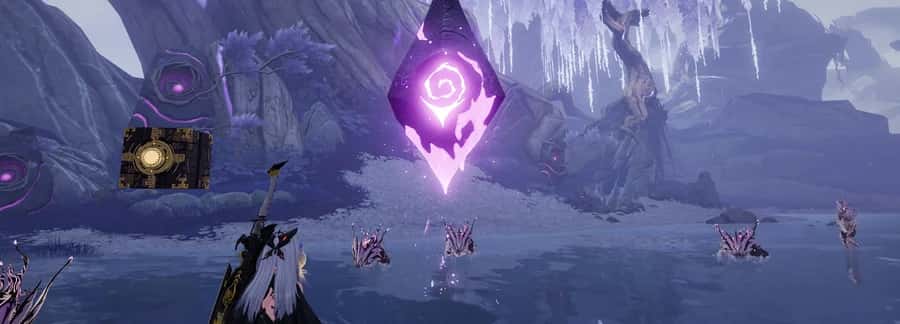
Once the Gritblight is fully cleared, the activated Zhuyin Scale will attract Filthoids. Meanwhile, more Gritblight will reappear nearby and gradually condense.
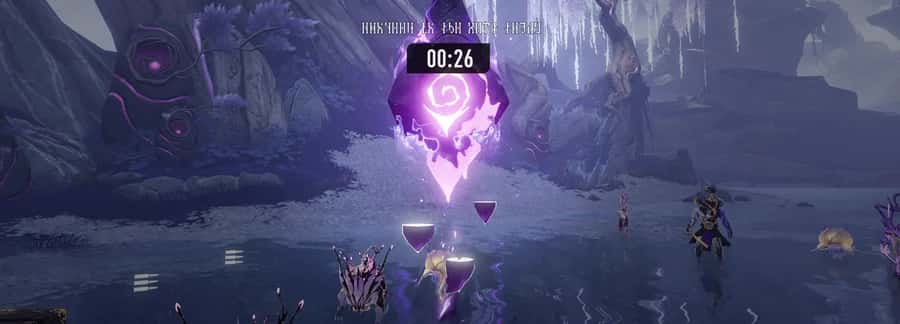
Defeat all Filthoids before the Gritblight fully condenses to harvest the Zhuyin Scale successfully.
Acceleration Rune

Touching an Acceleration Rune greatly increases your movement speed and Helix Leap distance.
Luminous Jade
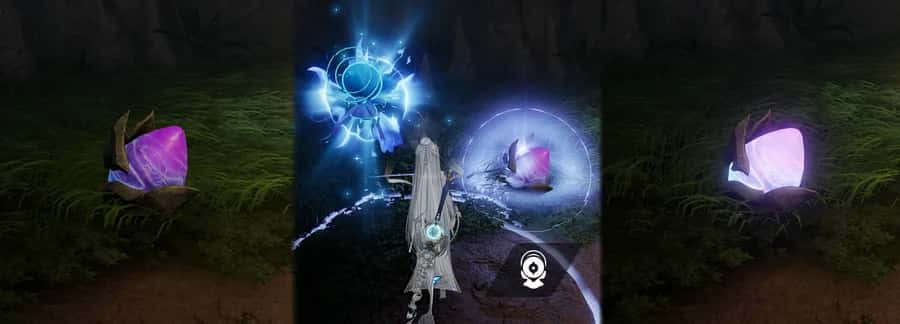
Strike a Luminous Jade with a Wishen skill to light it.
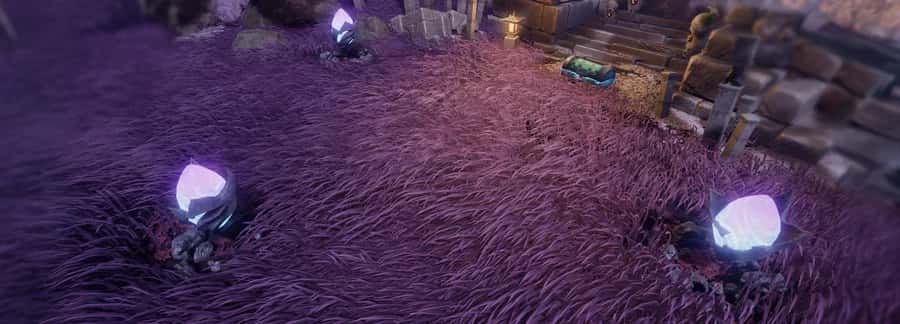
Light an entire group of Luminous Jades within the time limit to unlock the chest and claim its rewards.
Foul Bloomcore
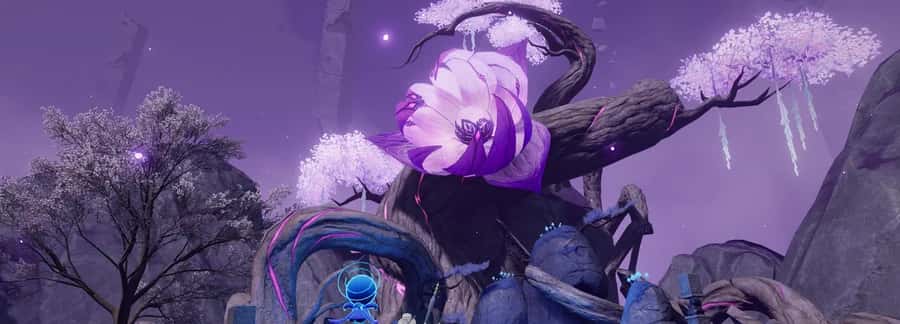
A Foul Bloomcore continually pollutes its surroundings.
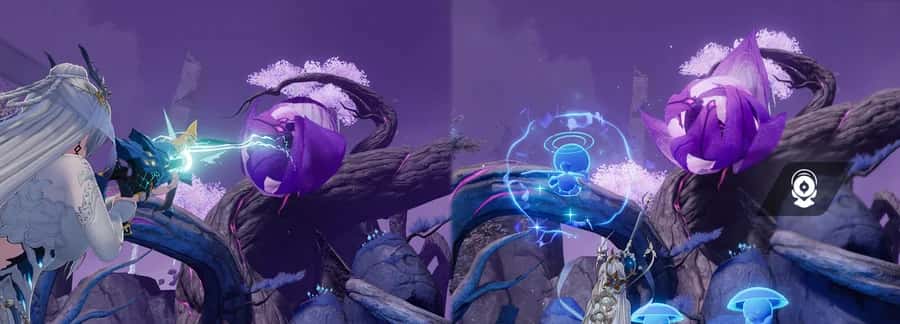
Attack a Foul Bloomcore with ranged weapons or Wishen skills to close its petals and draw in Filthoids.
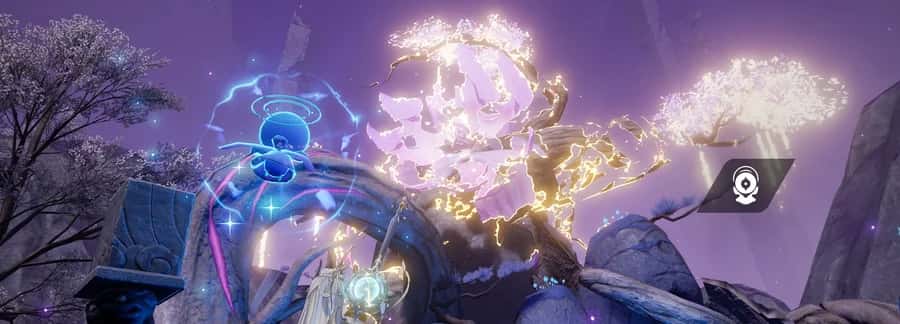
Once all Filthoids are defeated, the petals reopen to reveal its core. Strike the core with a Wishen skill to destroy the Bloomcore and purify the area.
Mechanical Puzzle Board
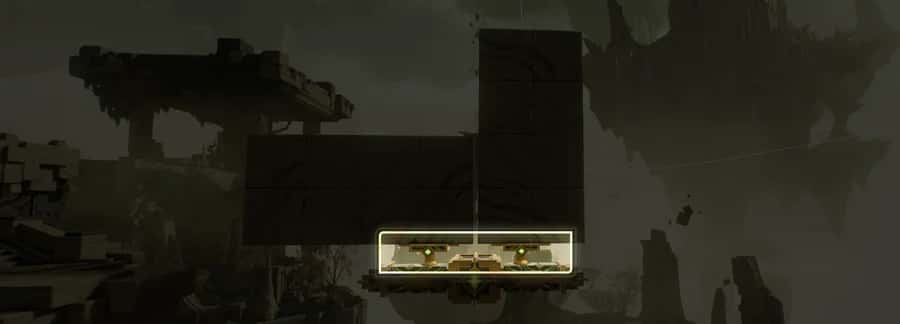
The Mechanical Puzzle Board consists of pivots and platforms. Pivots can lock onto adjacent platforms.
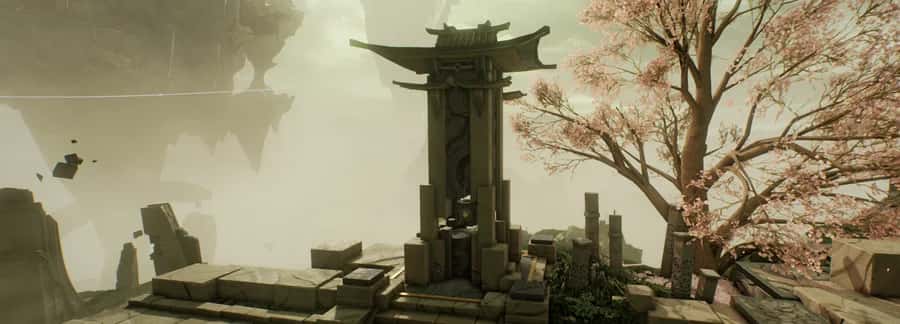
After activating the Mechanical Puzzle Board, interact with the Enlightenment Stele again to reset it.
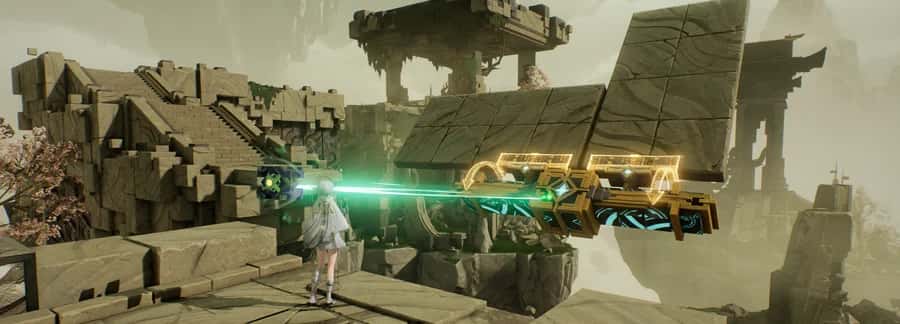
Pivot Shoot the pivot with Mechanical Nexus: The Bane to rotate it. If it is connected to adjacent platforms, they will rotate with it.
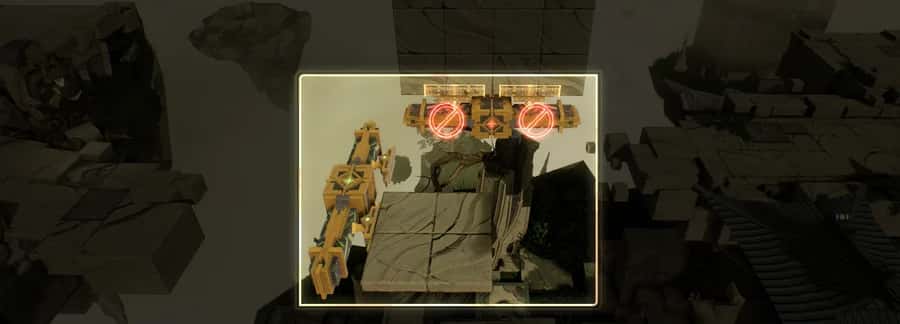
Pivot If rotating the pivot would cause any connected platform to overlap another, the pivot will turn red and cannot be rotated.
Ingenious Assembly
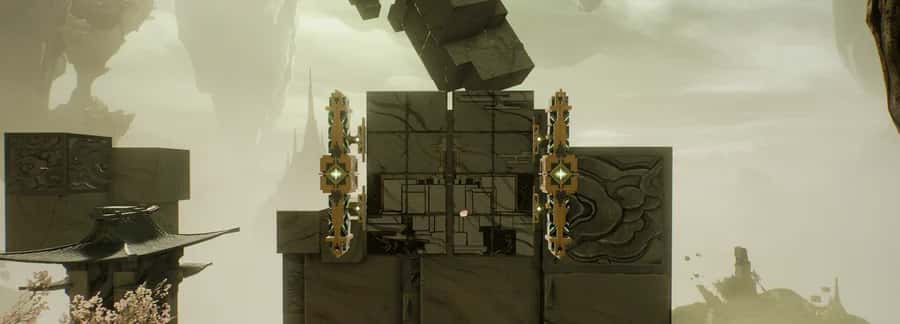
Some platforms display fragments of an image. When pieced together correctly, the surrounding scene will change to match the completed image.
Heavenwrought Cannon
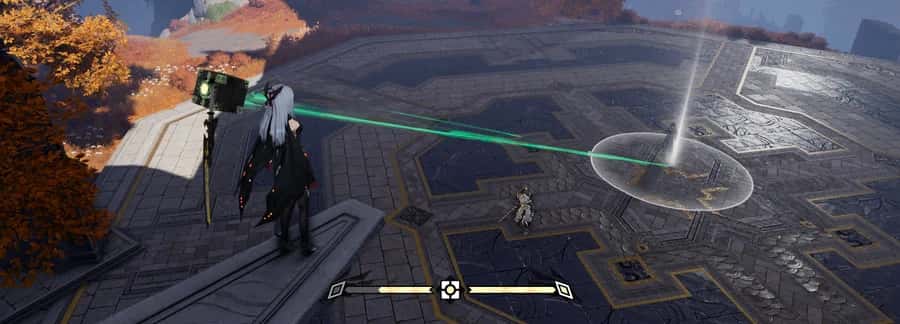
Use Mechanical Nexus: The Bane to mark a target point and command the Heavenwrought Cannon to fire.
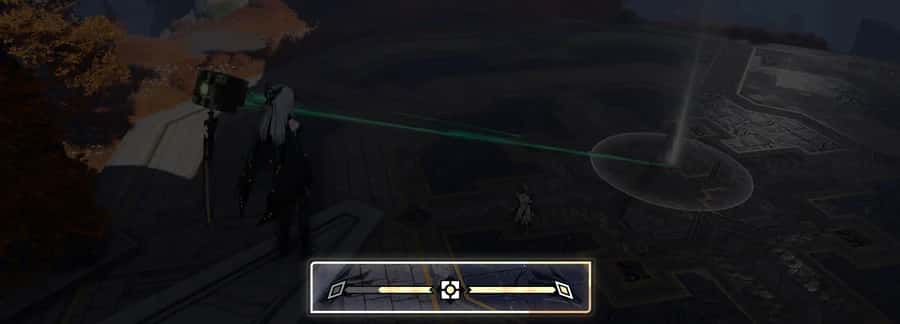
The Heavenwrought Cannon has a cooldown between shots. It deals massive damage to enemies.
Where's Xiaoyao?
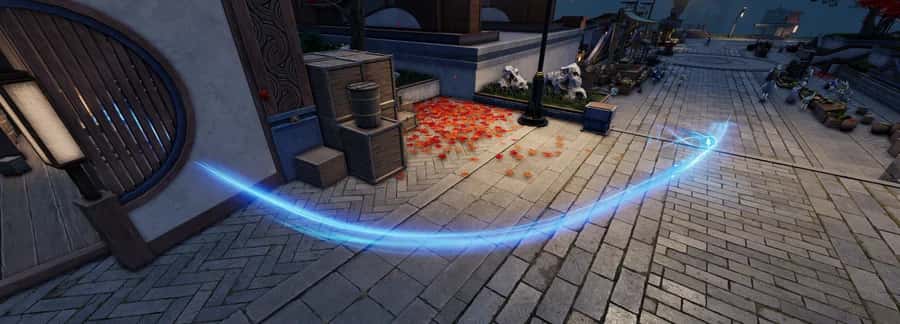
Once exposed, Xiaoyao may flee and possess another nearby object. Follow its trail and catch it. If you do not catch it in time, you will lose the trail and the chase will end.
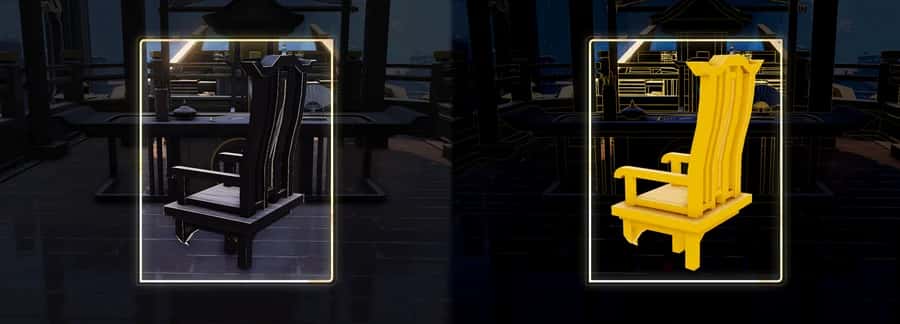
Xiaoyao will sometimes possess nearby objects, altering their appearance. Use the Mechanical Nexus's scan function to identify them.
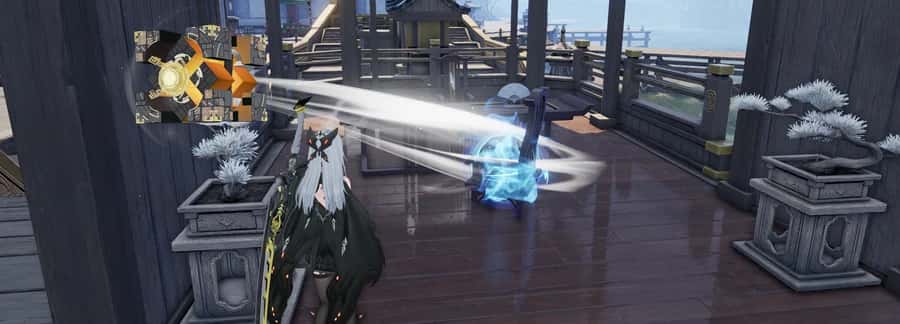
Use the Mechanical Nexus to draw Xiaoyao out of these possessed objects.
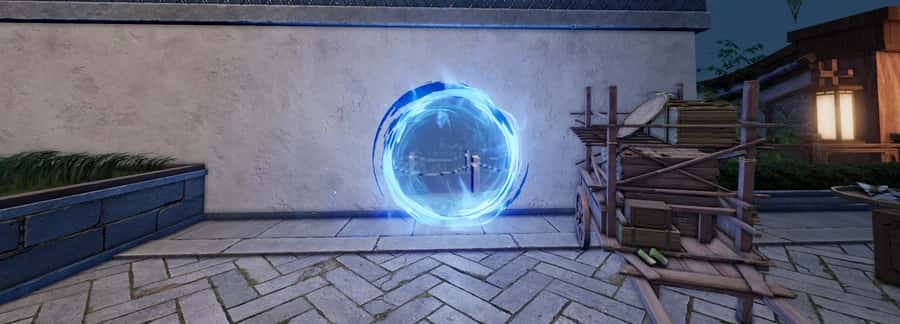
When Xiaoyao flees, it may leave behind Wishen's Paths, which let you travel quickly to other locations.
Basalt Sentinel

Basalt Sentinels housing the spirits of the forebears are scattered throughout the Taixu Mausoleum. They can be destroyed, but shattering them may incur the forebears' wrath, unleashing enemies or hidden traps.
Justiciar Basalt Sentinel
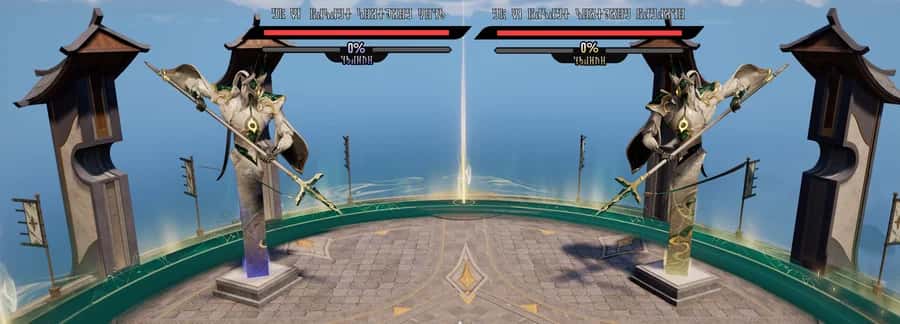
Magistrates of Yingtian continuously channel energy into the Justiciar Basalt Sentinels. During this time, the Justiciar Basalt Sentinels gain invincibility. If the charge bar fills, the barrier will form completely and you will lose the battle.
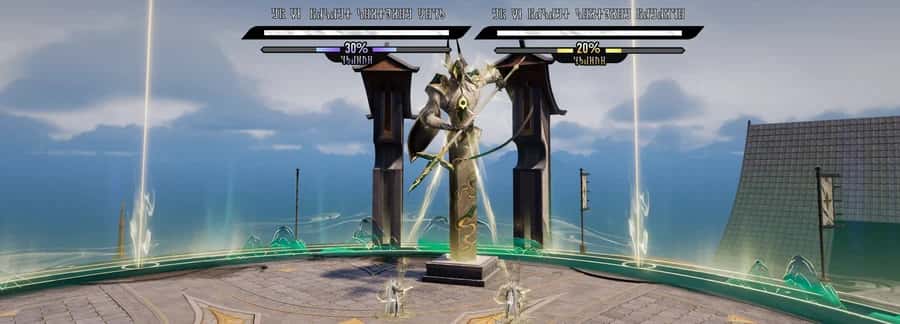
Defeat the Magistrates of Yingtian powering the Justiciar Basalt Sentinels to remove their invincibility. Once it is removed, you can damage them. Destroy both Justiciar Basalt Sentinels to lift the blockade.
Drifters' Secret Signals

To stay in contact, the Drifters have left coded marks shaped like birds on rock walls throughout the Eastern Outskirts.

Attacking a coded mark releases a phantom mech-bird, which flies to the next location and creates another mark. Follow the marks to find the signal left by the Drifters. If enemies are nearby, attacking the mark will have no effect.
Yanfinch
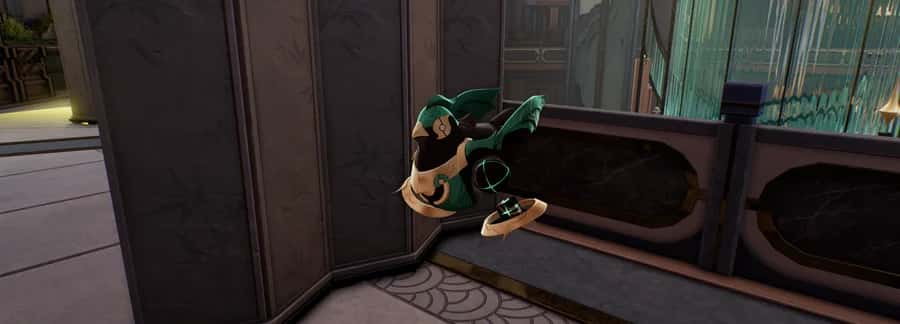
Yanfinches patrol along fixed routes. Be careful not to let them spot you.
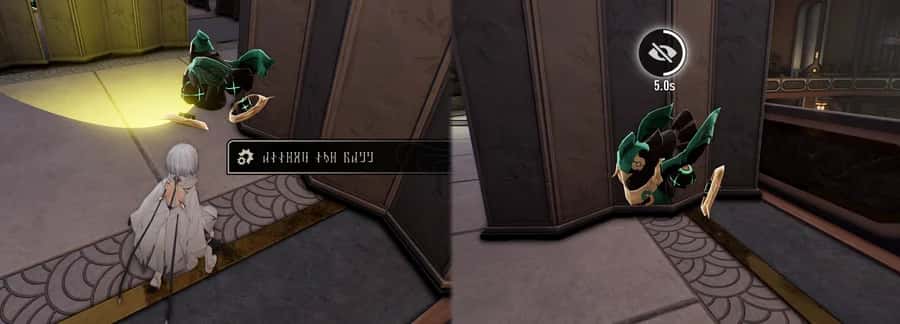
Approach a Yanfinch from behind to disable it temporarily. Once it recovers, it will resume its patrol.
Mechanical Nexus: The Bane
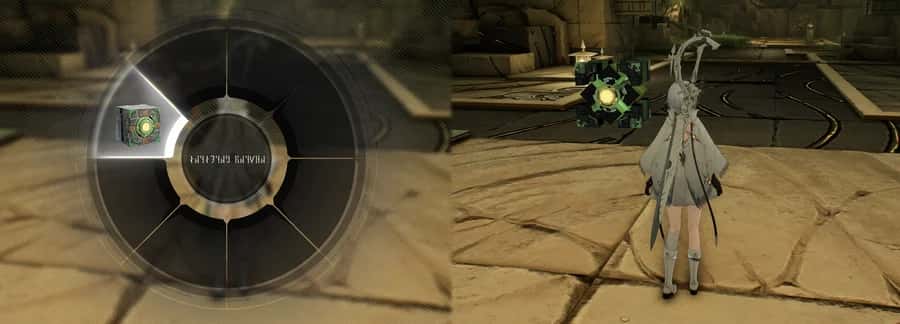
You can equip and summon Mechanical Nexus: The Bane from the Tactical Backpack.
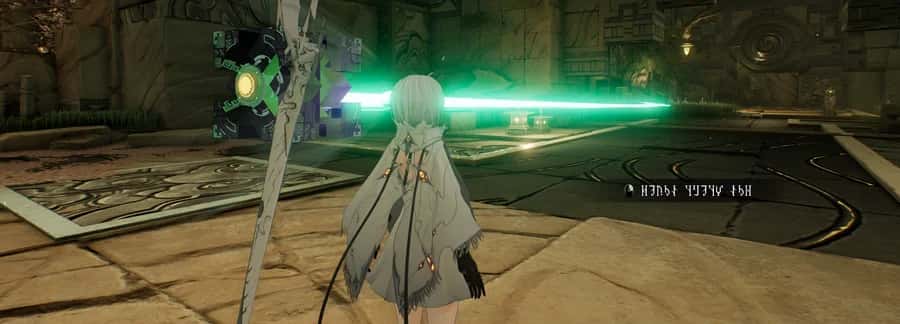
After summoning Mechanical Nexus: The Bane, press &Fire& to fire a laser and interact with certain mechanisms.
A World Turned Upside Down
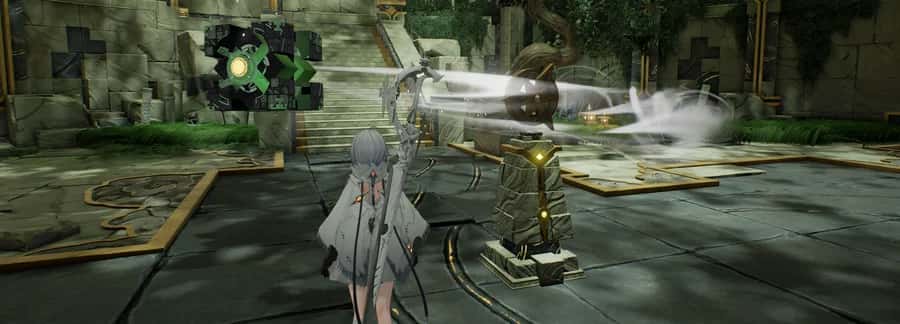
Use the Mechanical Nexus to rotate the Dual-Shape Propeller and alter the structure of the Labyrinth of Yanyin.
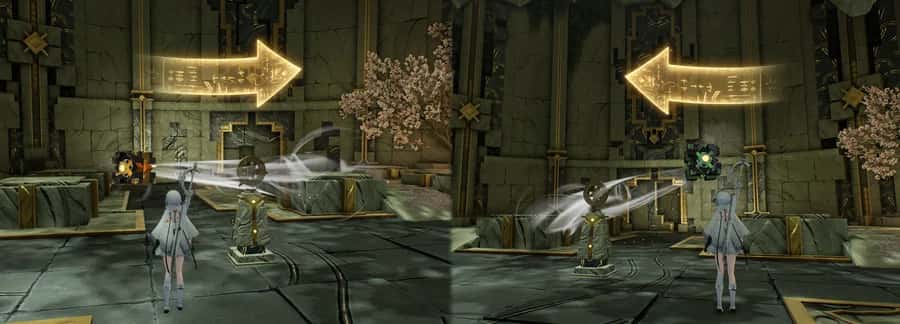
Use the Mechanical Nexus on the left side of the Dual-Shape Propeller to rotate the rooms in the Labyrinth of Yanyin clockwise. Using it from the opposite side rotates them counter-clockwise. The direction of rotation depends on where you stand when activating the Dual-Shape Propeller.
Containers and Relics
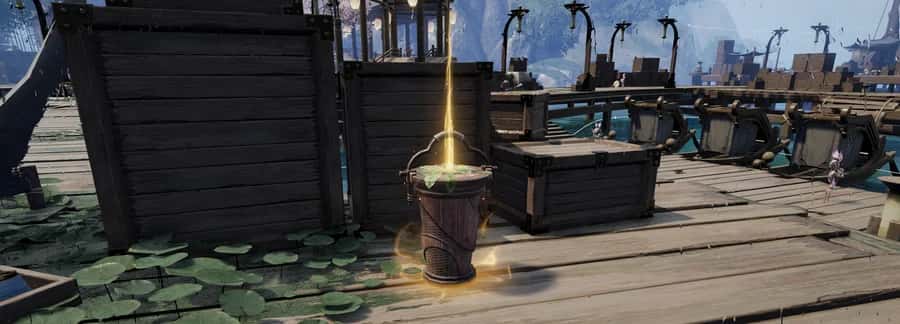
Containers within the arena hold relics of varying value. Once opened, their contents are automatically appraised. You may then choose to stash some of the higher-value items in your Treasure Pouch.
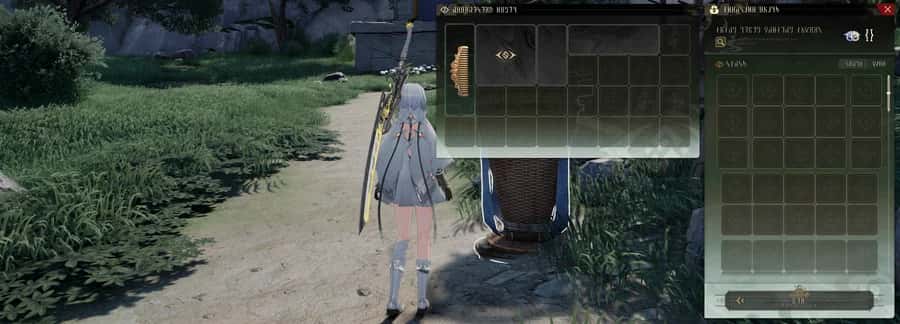
Containers within the arena hold relics of varying value. Once opened, their contents are automatically appraised. You may then choose to stash some of the higher-value items in your Treasure Pouch.
Incense Selector and Incense Buffs
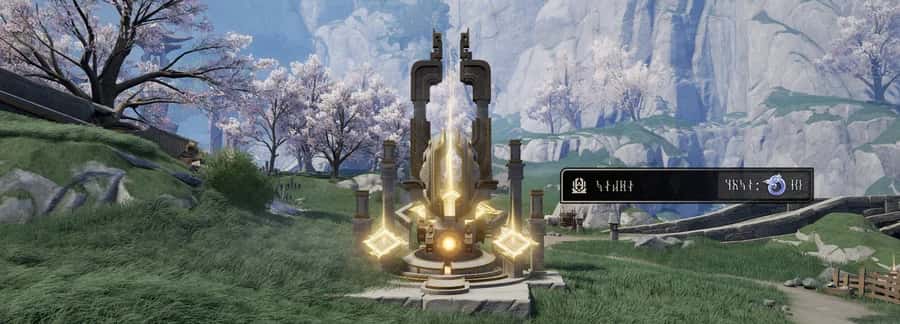
Martial Tokens can be used at the Incense Selector within the arena to exchange for incense that grants various buffs. Only one incense effect can be active per match. Spend additional Martial Tokens to reactivate the device and refresh the selection of available incense.

Martial Tokens can be used at the Incense Selector within the arena to exchange for incense that grants various buffs. Only one incense effect can be active per match. Spend additional Martial Tokens to reactivate the device and refresh the selection of available incense.
Changes of Weather
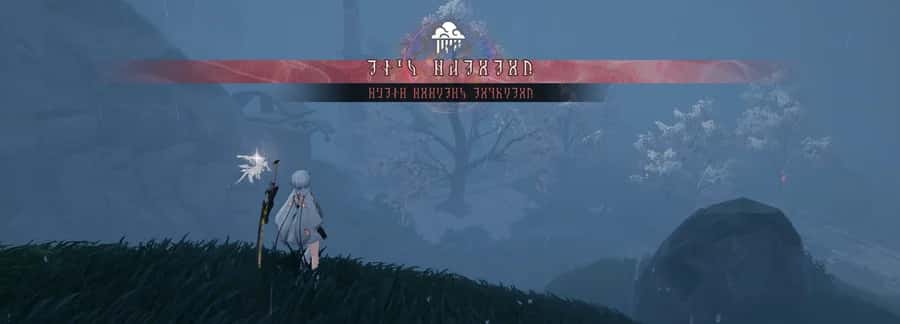
At certain stages of the match, rain will begin to fall. During this time, elite enemies will appear at fixed locations. Defeating them may cause special containers containing high-value relics to appear. Rain also marks the match entering a faster phase, so keep an eye on the remaining time and do not lose track of the flow of battle.
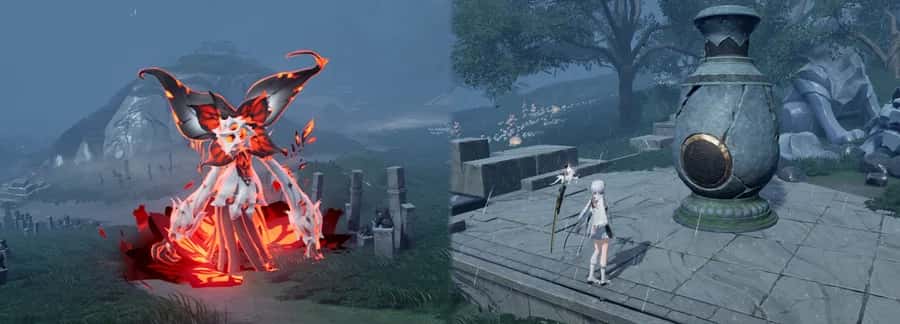
At certain stages of the match, rain will begin to fall. During this time, elite enemies will appear at fixed locations. Defeating them may cause special containers containing high-value relics to appear. Rain also marks the match entering a faster phase, so keep an eye on the remaining time and do not lose track of the flow of battle.
Offering Basket
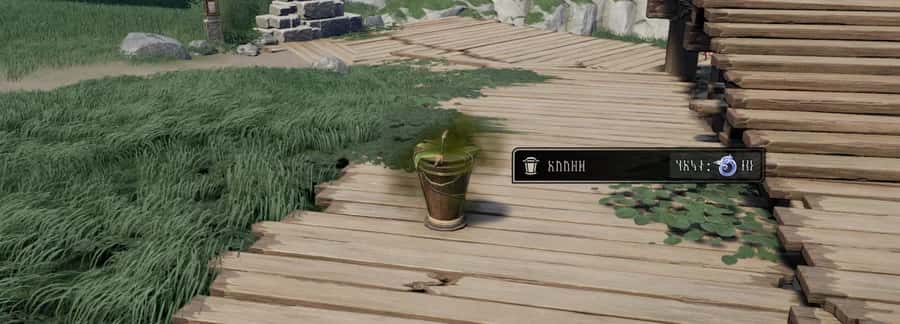
Offering Baskets will appear randomly throughout the arena. You may place relics from your Treasure Pouch into them as offerings to Lord Argent. Based on the value of the offering, Lord Argent will bestow trials of varying difficulty. The higher the value of the offering, the stronger the enemies will become. Each Offering Basket can only be used once. Once an offering has been made successfully, it cannot be used again.
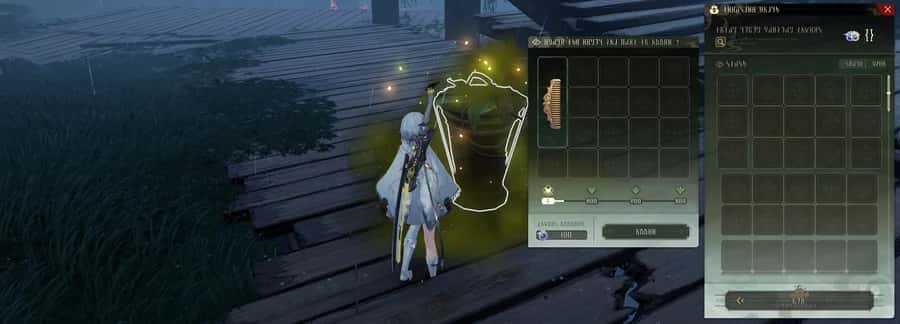
Offering Baskets will appear randomly throughout the arena. You may place relics from your Treasure Pouch into them as offerings to Lord Argent. Based on the value of the offering, Lord Argent will bestow trials of varying difficulty. The higher the value of the offering, the stronger the enemies will become. Each Offering Basket can only be used once. Once an offering has been made successfully, it cannot be used again.
Jishu Chambers and Jishu Keys
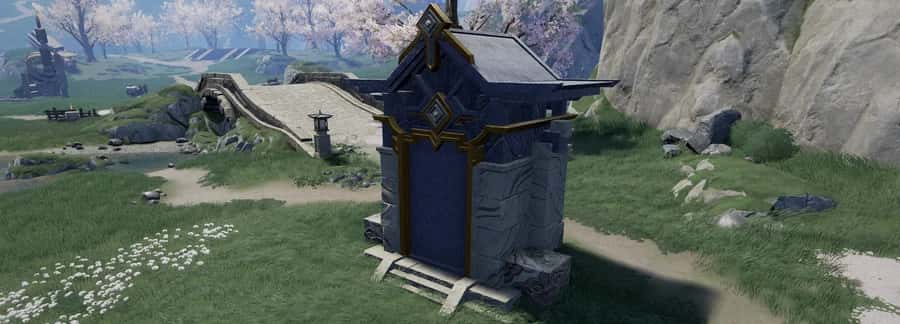
A fixed number of Jishu Chambers are placed throughout the arena. Each chamber is marked with a number, but the same number may appear on more than one chamber.
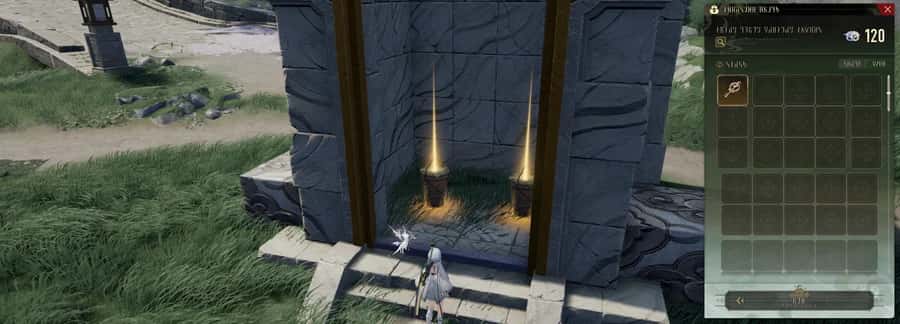
Jishu Chambers can be opened with a Jishu Key bearing the matching number. Inside, you may find containers holding high-value relics, but there is also a chance of triggering toxic gas. Stay alert and avoid it. Jishu Keys can be found in specific containers during the match. Each key can only be used once. Participating in Defence Tasks greatly increases the chance of finding them. If a key is brought out of the arena, it will be converted into 100 Civil Tokens. This conversion is not affected by incense effects.
Trap Containers
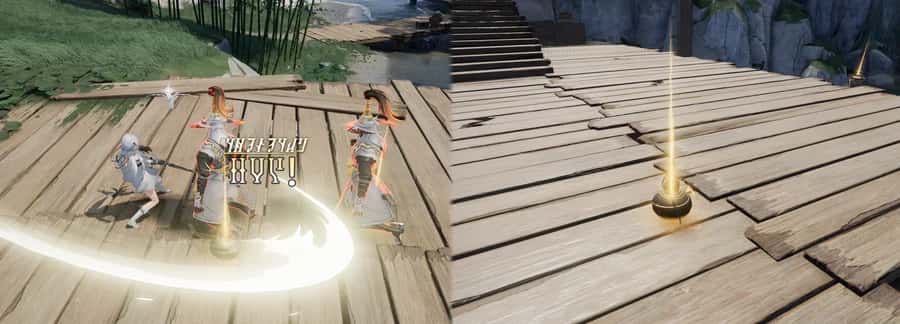
These containers look no different from ordinary containers that hold relics. After you interact with one briefly, it will release toxic gas over a certain area. Remaining within the area will gradually drain your stamina. The gas will dissipate over time.
Defence Tasks
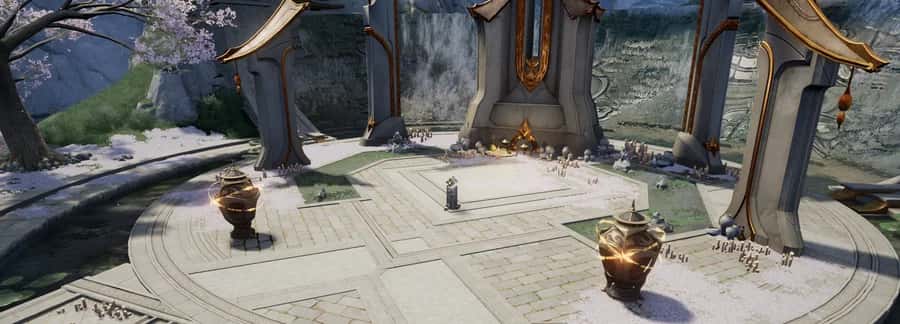
Special sealed containers appear in the arena and can only be opened by completing a Defence Task.
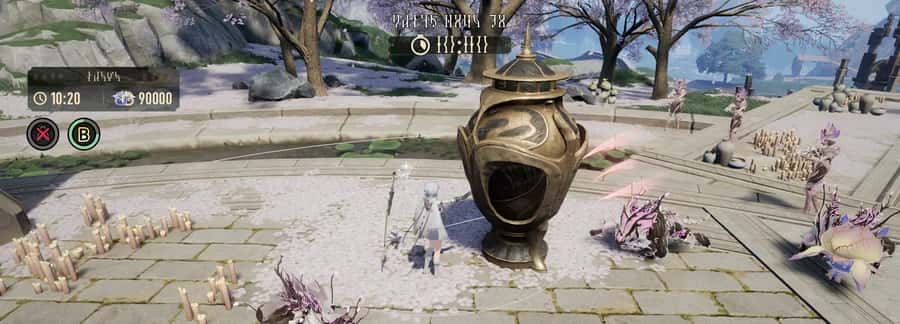
Interact with one of the sealed containers to begin the task. The task lasts around one minute, during which waves of enemies will continue to appear and attack the containers. Defeat them before all the containers are destroyed, or the task will fail. Before a container is fully destroyed, hold F to repair it. When the countdown ends, the task is successful as long as more than one container remains in the arena. Any containers successfully protected can then be opened.
Elite Enemies
These enemies are significantly stronger. Upon defeat, they have a chance to drop special containers that may contain high-value relics.
Extraction Zone
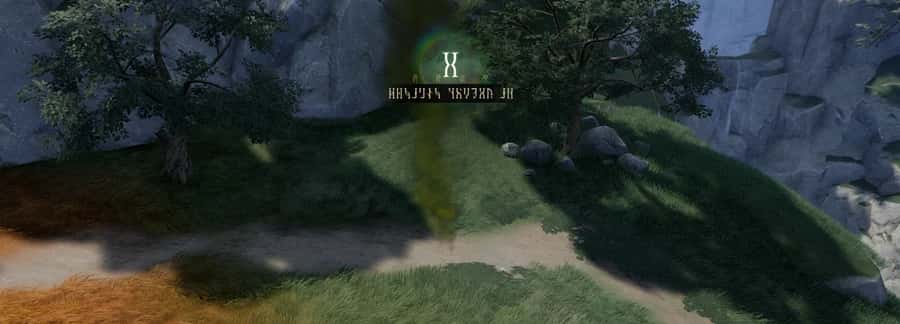
Entering the radius of an Extraction Zone starts a countdown. Leaving the area pauses the timer; re-entering starts it again. Remain within the zone until the countdown ends to complete the match.
Fly, Yanfinch!
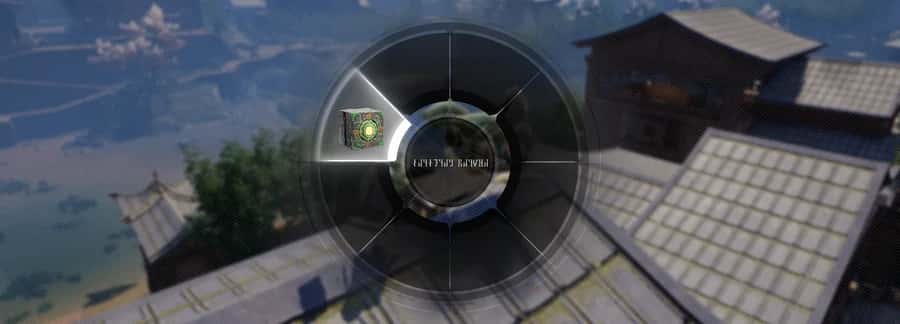
To access this mode, please equip [Mechanical Nexus: The Bane] in your Tactical Backpack.
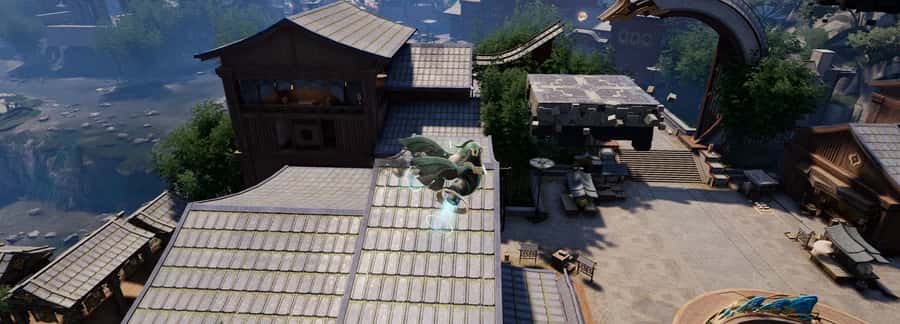
The Yanfinch's navigation system is malfunctioning. Use [Mechanical Nexus: The Bane] to guide it to its destination and recalibrate it.
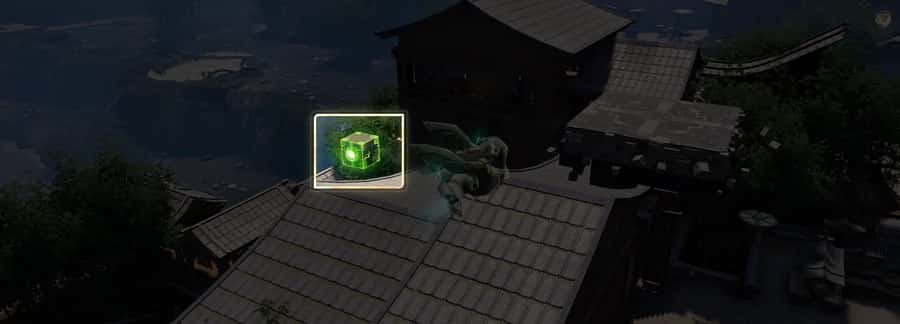
During flight, the Yanfinch may randomly drop [Component: Repair Units] from its internal storage. Strike them with [Mechanical Nexus: The Bane] to charge them and repair the Yanfinch.
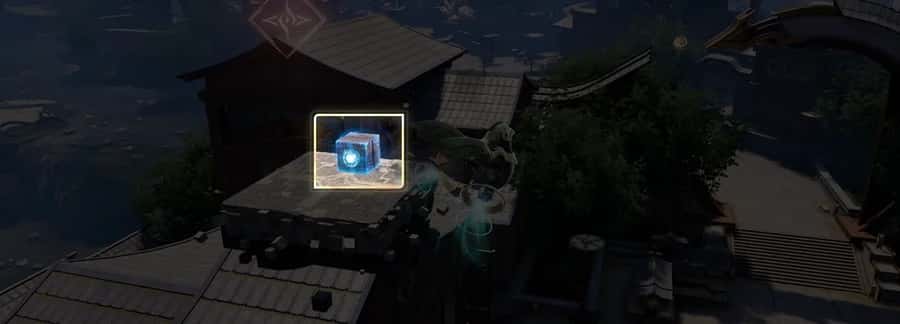
During flight, the Yanfinch may randomly drop [Battery: Acceleration Units] from its internal storage. Strike them with [Mechanical Nexus: The Bane] to boost the Yanfinch's speed.

During flight, the Yanfinch may randomly drop [Adhesive: Faulty Unit] from its internal storage. Striking it with [Mechanical Nexus: The Bane] hinders the Yanfinch and slows it down.

Once the Yanfinch reaches its destination, recalibration is complete and you can claim your rewards.
Tracking Down Xiaoyao
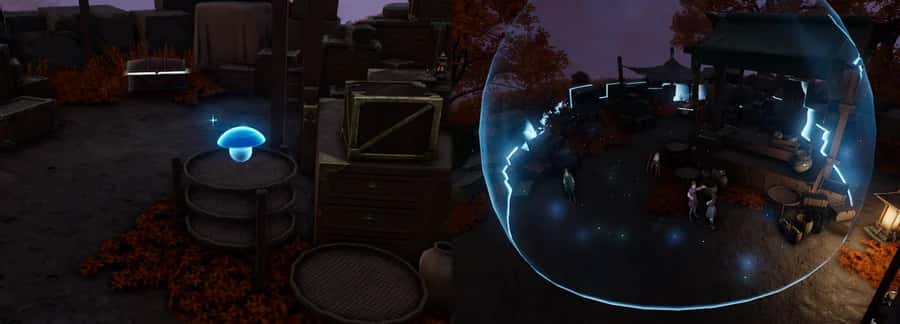
Xiaoyao occasionally appears throughout Huaxu. Interact with him, then search the surrounding area for his trail to earn rewards.
Lingering Aftermath
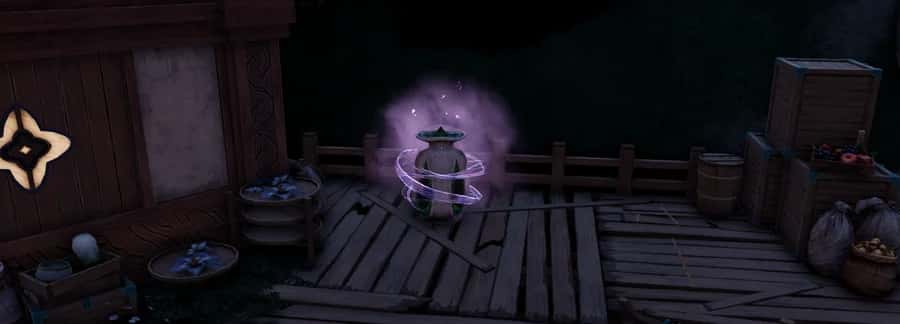
Some censers in Haojing are still heavily affected by the Scourge of Zhuyin and cannot reconnect to the Nine Chapters of Dafeng. Assist the incense wardens of the Xuanheng Sect in purging the corruption and returning the censers to working order.

Only purified censers can function normally and restore the area's ambient incense density.
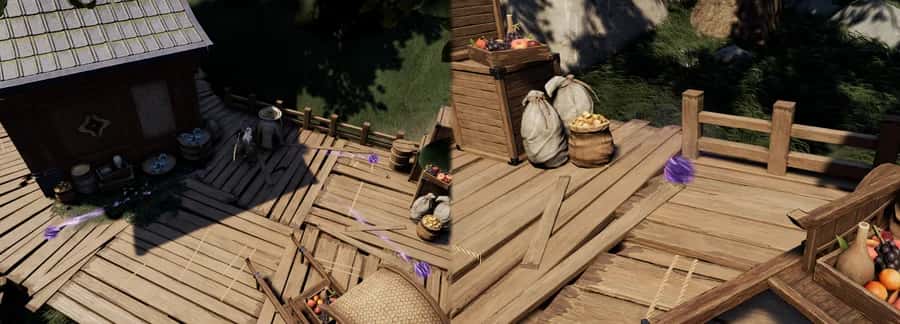
Some residual miasma clusters left by the Scourge of Zhuyin react to incense in the air and split into smaller clusters.
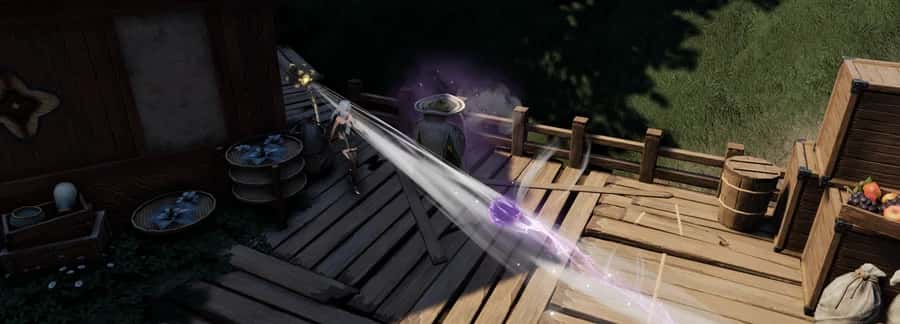
Use [Mechanical Nexus] to gather the smaller clusters, causing them to overload and expand.
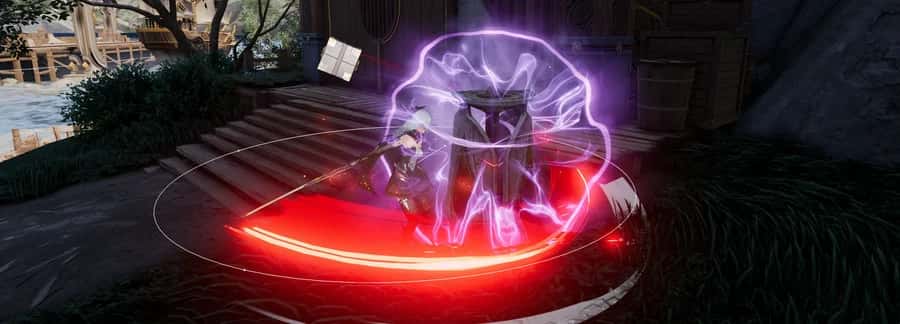
Attack the expanded clusters to purify them.
Rider of the Ridge
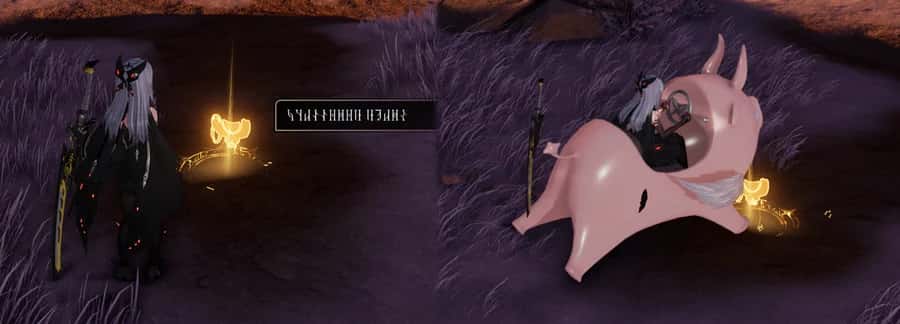
During the challenge, you must stay mounted and pass through checkpoints to record your progress.

Colourful rings will appear along the route. Passing through rings of different colours grants different score bonuses.
Reach the target score and arrive at the finish point to complete the challenge.
Against the Wind

This is a flight challenge. You must obtain the reputation permit for this area before attempting it.

Colourful rings will appear along the route. Passing through rings of different colours grants different score bonuses.
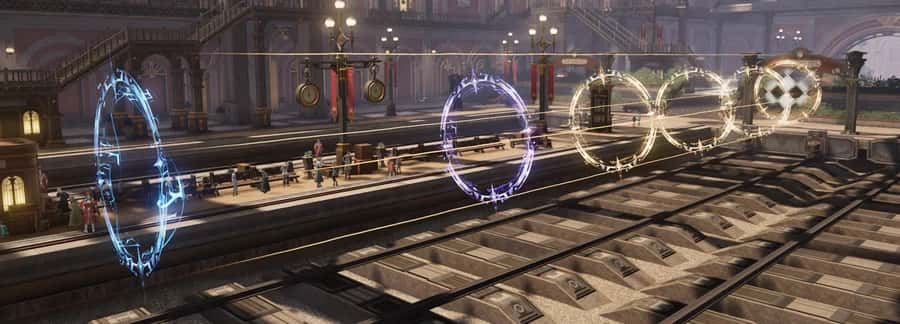
Wind tunnels will appear along the route. Entering one will propel you automatically in the wind's direction.

Reach the target score and arrive at the finish point to complete the challenge.
[Whack-a-Meanie]
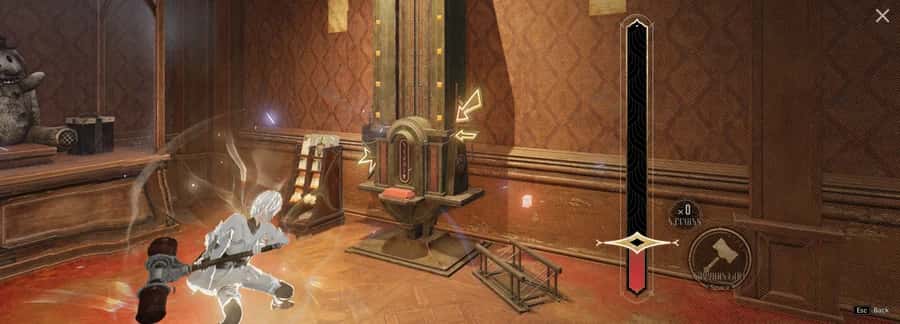
1. Click the button when the charge bar reaches the marker for a Perfect Charge and boost the bar. 2. Clicking too early or hitting the wrong button disables the button for a brief period. 3. The game is succeeded when the charge bar is full, and failed when it drops to zero.
Target Practice
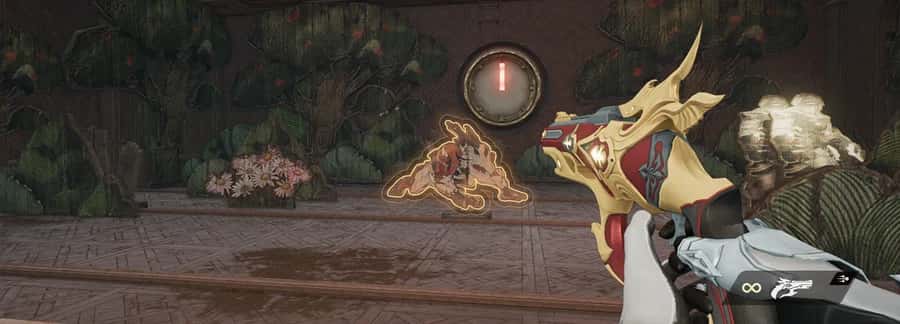
During [Target Practice], aim at targets and click &Fire& to shoot. The more targets you hit within the time limit, the higher your score.
Tracks
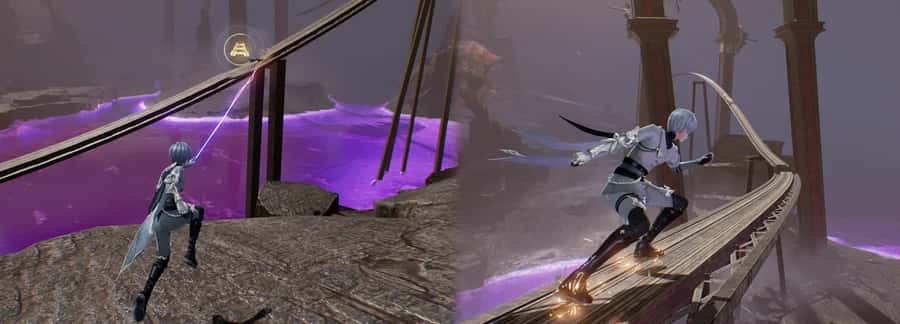
Use the grappling hook to get to the tracks.
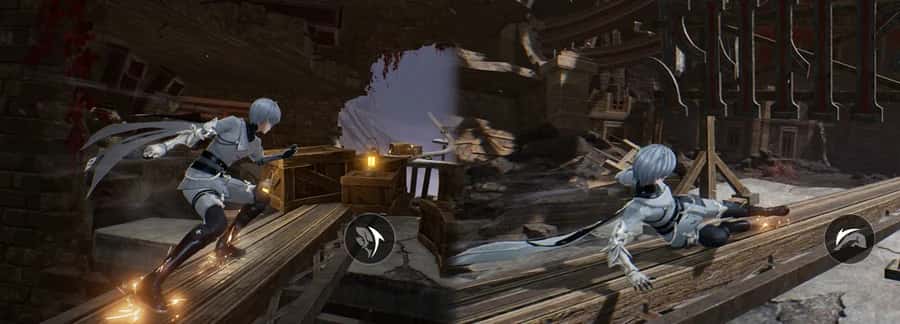
Jump and Slide to avoid obstacles on the tracks.
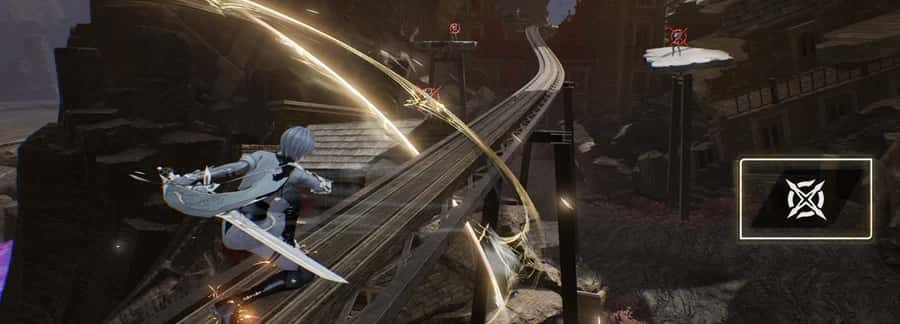
Attack enemies on the tracks to clear the path.