







Reactions, resonance and combat rules
Genshin Impact elements and reactions
Elements and reactions
27About Hydro
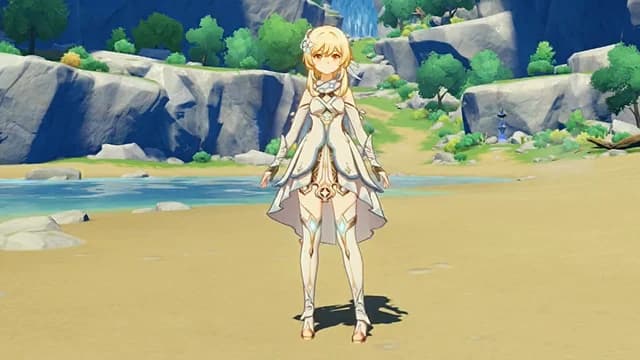

Wet environments and Hydro Attacks can cause beings to become affected by Hydro. When Hydro meets other elements, it often triggers an Elemental Reaction.
About Cryo
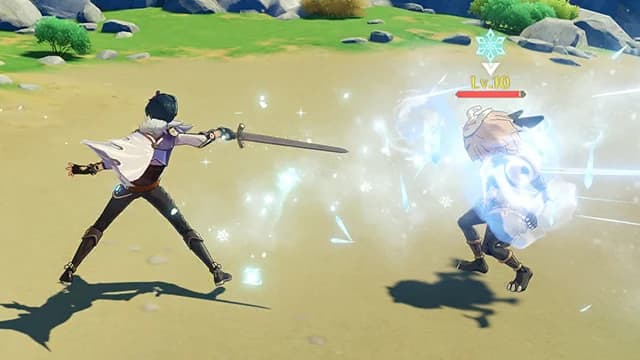
Being hit by a Cryo attack leaves the victim affected by Cryo and decreases Movement SPD. When Cryo meets other elements, it often triggers an Elemental Reaction.
About Pyro
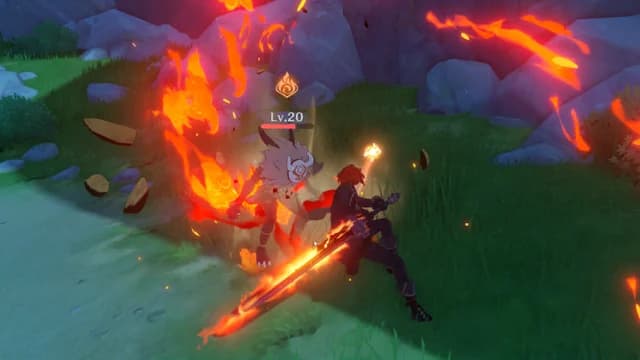
Pyro attacks can cause beings to become affected by Pyro. When Pyro meets other elements, it often triggers an Elemental Reaction.
Elemental Reaction: Frozen
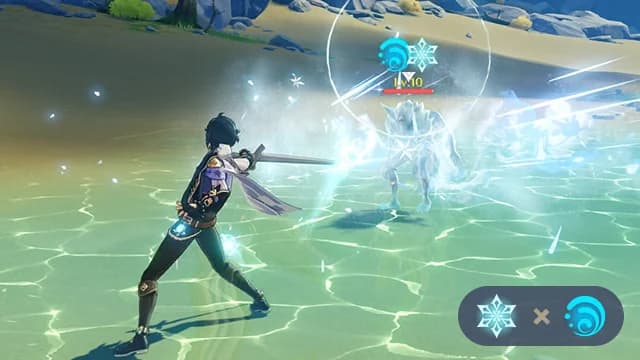
When Cryo meets Hydro, Frozen occurs. Frozen beings are rendered immobile, but also become rock-hard.
Elemental Reaction: Vaporize (I)
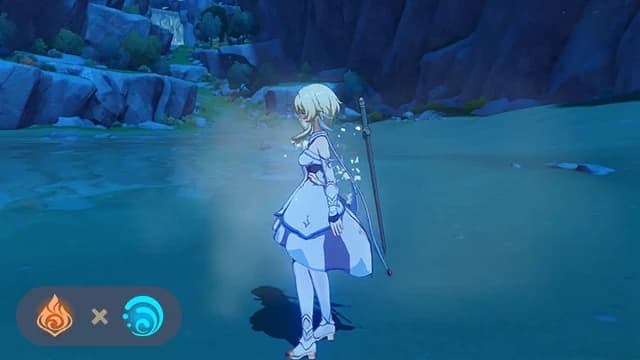
When Pyro meets Hydro, Vaporize occurs. The effects of Pyro and Hydro will dissipate when Vaporize occurs.
Elemental Reaction: Vaporize (II)
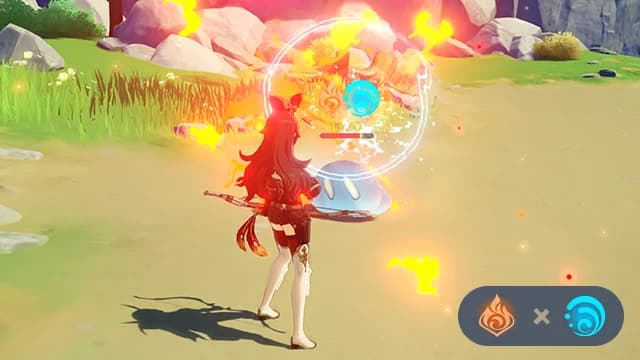
Vaporize itself does not inflict DMG. However, the Pyro or Hydro attack that triggers Vaporize deals increased DMG.
Elemental Reaction: Electro-Charged (I)
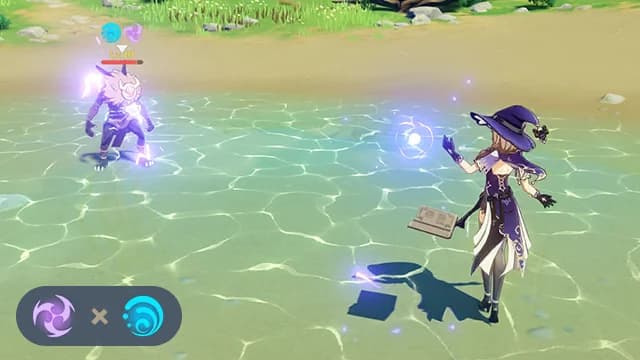
When Electro meets Hydro, Electro-Charged occurs. Electro-Charged continuously deals Electro DMG until it wears off.
Elemental Reaction: Electro-Charged (II)
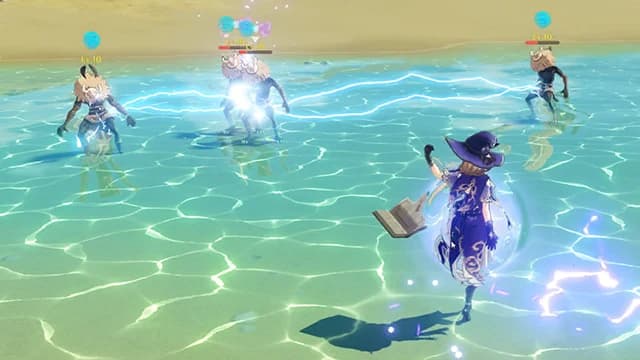
Electricity intermittently arcs off of Electro-Charged beings, shocking Hydro-affected opponents nearby.
Elemental Reaction: Electro-Charged Water
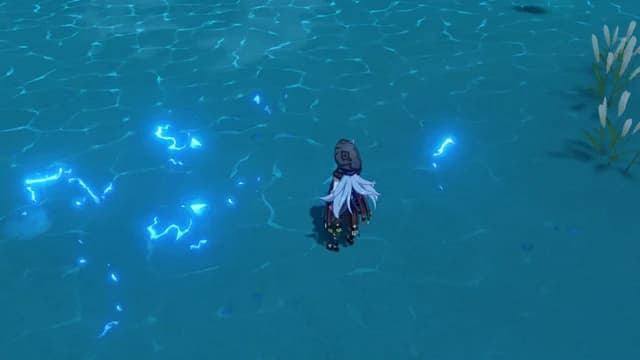
Electro attacks can electrify bodies of water. Electro-Charged water deals Electro DMG to all beings in the AoE.
Elemental Reaction: Overloaded
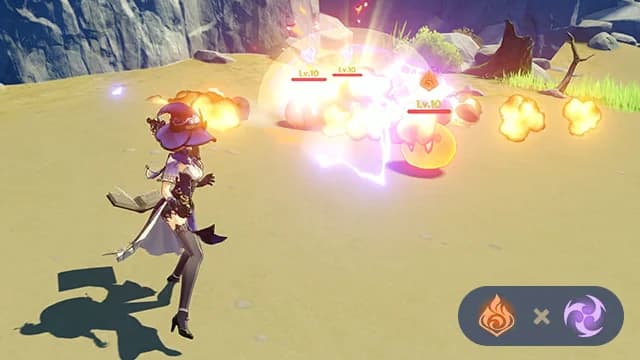
When Pyro meets Electro, Overloaded occurs. The resulting explosion deals AoE Pyro DMG, and tears effortlessly through otherwise sturdy objects.
Elemental Reaction: Superconduct
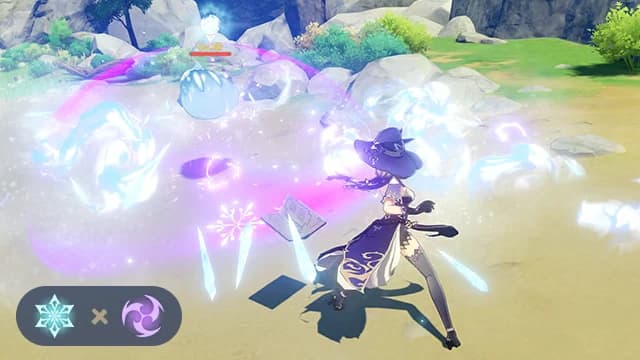
When Cryo meets Electro, Superconduct occurs. Superconduct deals AoE Cryo DMG and significantly decreases Physical RES for the affected being.
Elemental Reaction: Burning
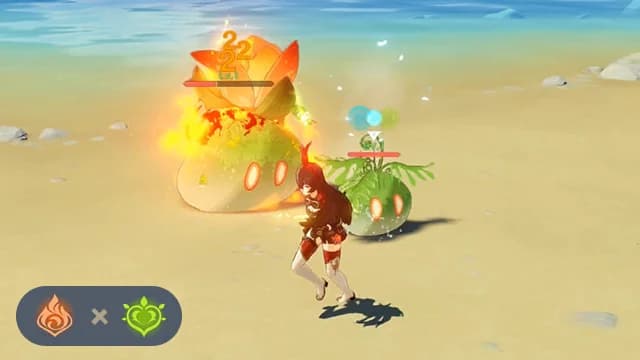
When Pyro meets Dendro, it triggers Burning, which continuously deals Pyro DMG until it wears off.
Elemental Reaction: Swirl
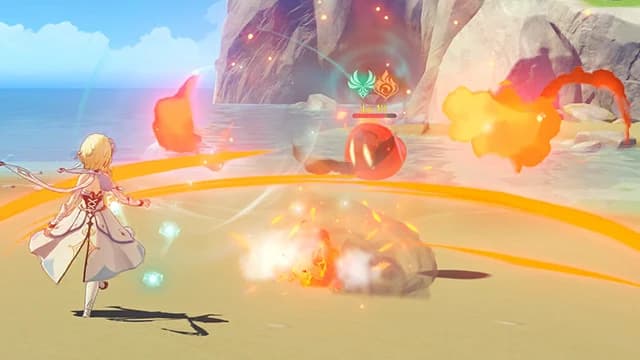
When Anemo meets certain other elements, it can trigger Swirl. Swirl can deal elemental DMG, affect beings, and generate further Elemental Reactions.
Elemental Reaction: Melt (I)
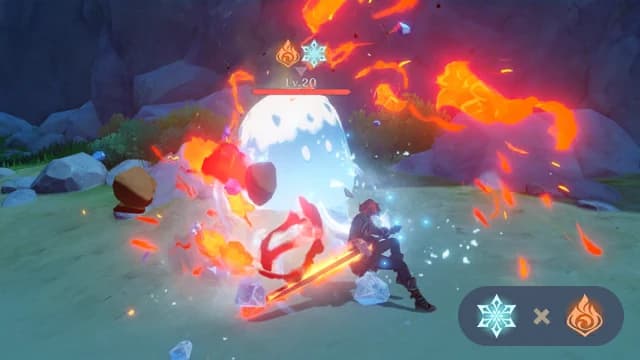
When Cryo meets Pyro, Melt occurs. The effects of Cryo and Pyro will dissipate when Melt occurs.
Elemental Reaction: Melt (II)
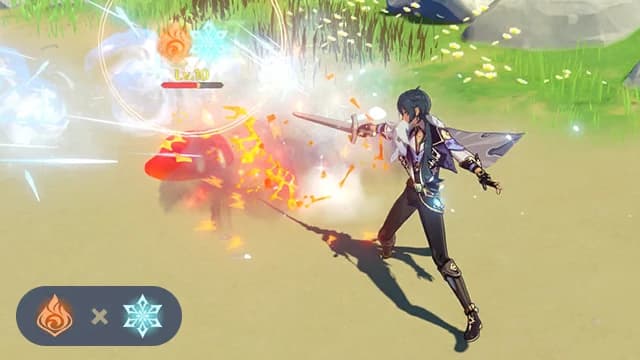
Melt itself does not inflict DMG. However, the Pyro or Cryo attack that triggers Melt deals increased DMG.
Elemental Reaction: Crystallize

1.When Geo comes into contact with Hydro/Pyro/Cryo/Electro elements, Crystallize will be triggered!
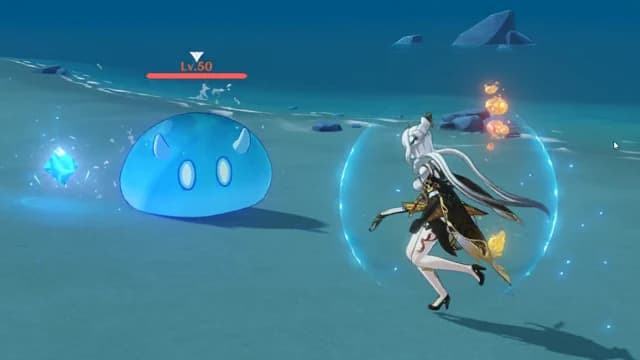
2.This type of elemental reaction can generate corresponding Elemental Shards and provide your character with various Elemental Shields! Use Crystallize to effectively reduce DMG taken in battle.
Elemental Reaction: Catalyze
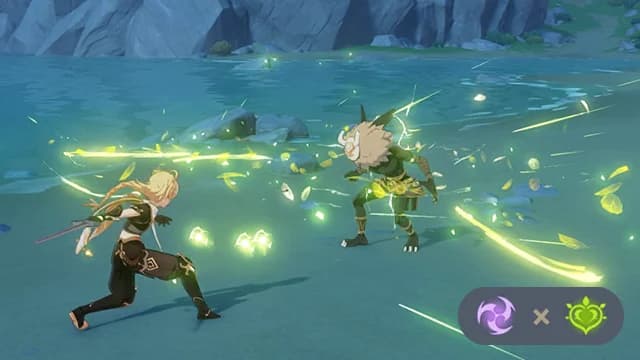
1.When creatures are affected by Electro and Dendro, Quicken will occur, which will render them Quickened.
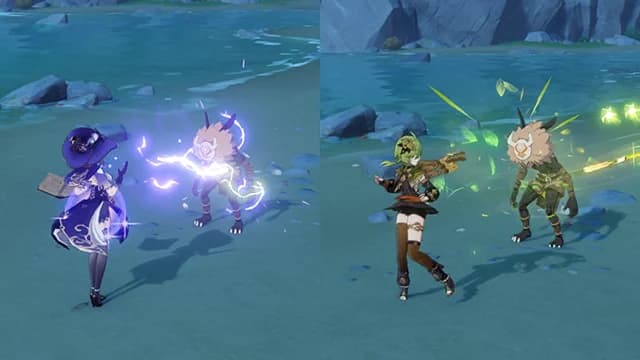
2.When Quickened creatures are affected by Electro or Dendro attacks, the Aggravate or Spread reactions will occur respectively, causing them to take additional DMG.
Elemental Reaction: Bloom
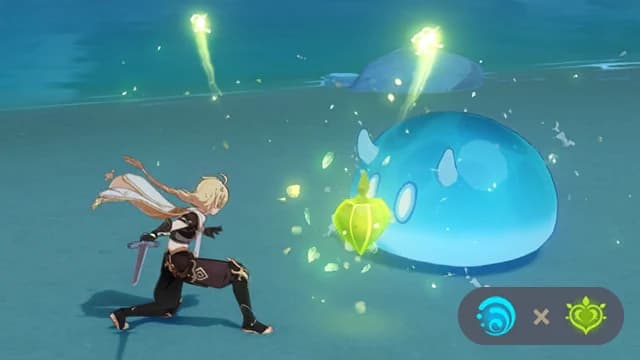
1.When creatures are affected by Hydro and Dendro, the Bloom reaction will be triggered, creating Dendro Cores.
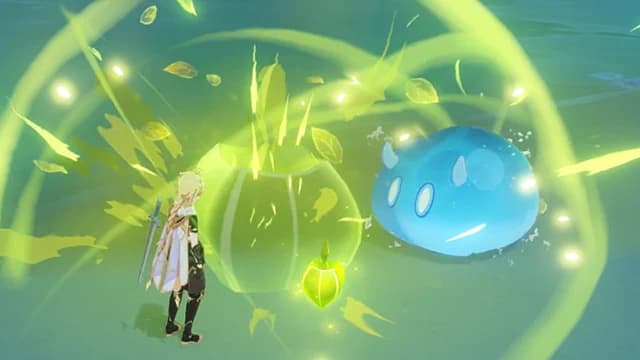
2.Only a certain number of Dendro Cores can exist at the same time. If new ones are created once this limit is reached, or if the duration of the existing Dendro Cores ends, the pre-existing Dendro Cores will burst, dealing AoE Dendro DMG...
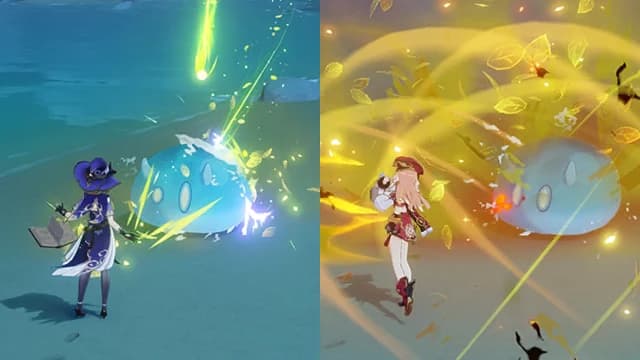
3.When Dendro Cores come into contact with Pyro, they will trigger Burgeon, causing even greater AoE Dendro DMG. When Dendro Cores come into contact with Electro, they will trigger Hyperbloom and transform into homing Sprawling Shots.
Elemental Reaction: Lunar-Charged
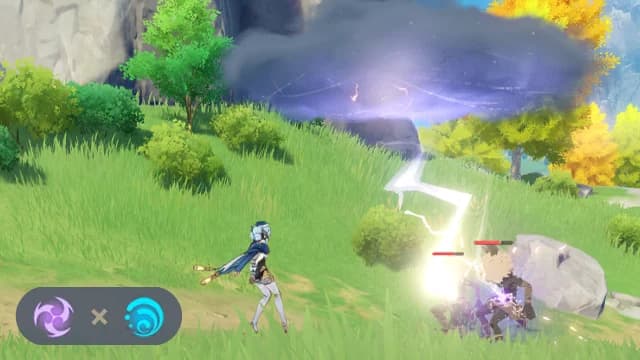
When Electro meets Hydro, and certain other conditions are met, a special Lunar-Charged reaction occurs, and a thundercloud forms. This thundercloud will continuously release bursts of lightning at nearby targets who are affected by both Electro and Hydro, dealing Electro DMG. This DMG can trigger CRIT Hits, and the DMG dealt is based on all characters who have applied elements during the reaction.
Elemental Reaction: Lunar-Bloom
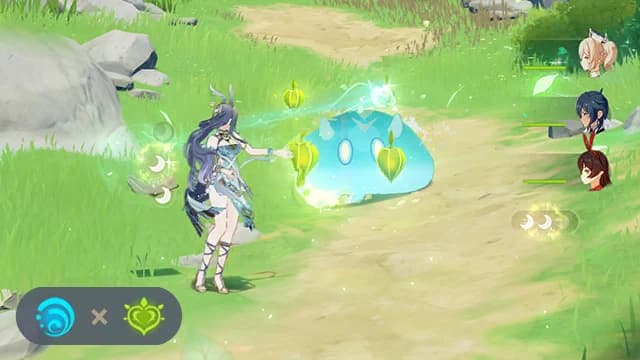
When Dendro meets Hydro, and certain other conditions are met, a special Lunar-Bloom reaction occurs. In addition to the standard Bloom reaction effects, this also provides the party with valuable "Verdant Dew." Certain characters can consume "Verdant Dew" or utilize their Talents to deal Lunar-Bloom DMG to enemies. This DMG can trigger CRIT Hits.
Verdant Dew
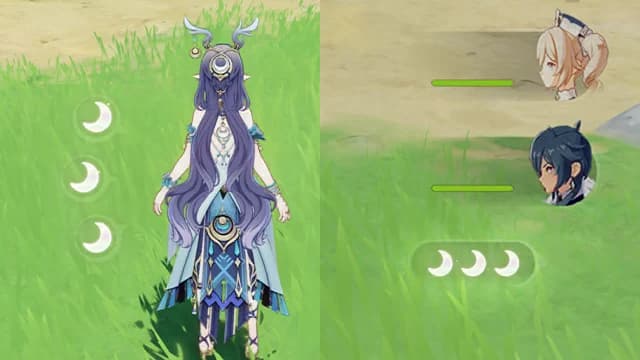
1.Within 2.5s after party members trigger Lunar-Bloom reactions, your party will receive 1 Verdant Dew every 2.5s. Your party can have up to 3 Verdant Dew. If you trigger another Lunar-Bloom reaction during this time, the duration of this effect will be reset.
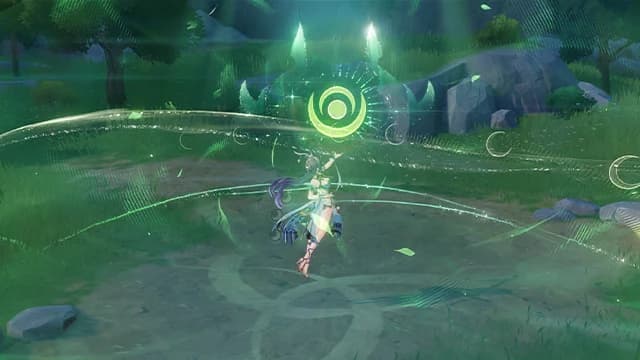
2.Certain characters can consume Verdant Dew to deal Lunar-Bloom DMG to enemies.
Elemental Reaction: Lunar-Crystallize
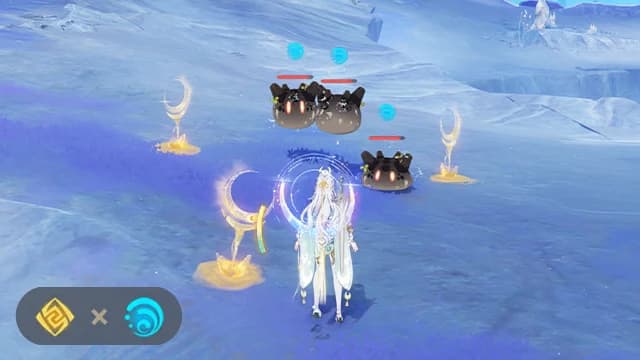
1.When Geo meets Hydro, and certain other conditions are met, a special Lunar-Crystallize reaction occurs, and three Moondrifts will form near the target.
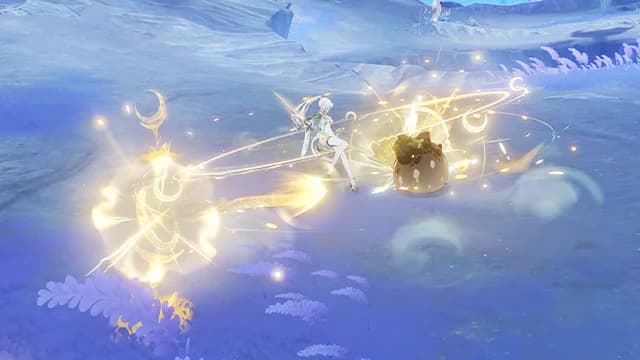
2.Triggering the Lunar-Crystallize reaction three times will initiate Moondrift Harmony, which deals Geo DMG to nearby opponents. This DMG can trigger CRIT Hits, and the DMG dealt is based on all characters who have applied elements during the reaction.
Elemental Reaction: Stellar-Conduct

1.When Cryo comes in contact with Electro, a special Stellar-Conduct reaction will be triggered if certain conditions are also met. When this happens, a Starlight Prism is generated, and the surrounding area turns into a wondrous Polestar Field for a short period of time. All characters inside the Polestar Field receive a Cryo and Electro DMG Bonus, and when opponents within the field are hit by Cryo or Electro attacks, the field will store the dissipating elemental energies and then completely release them every 4s. This further increases the aforementioned DMG Bonus and also increases the Base Stellar-Conduct DMG coefficient for 4s. Additionally, opponents within the Polestar Field will also have their Physical RES lowered.
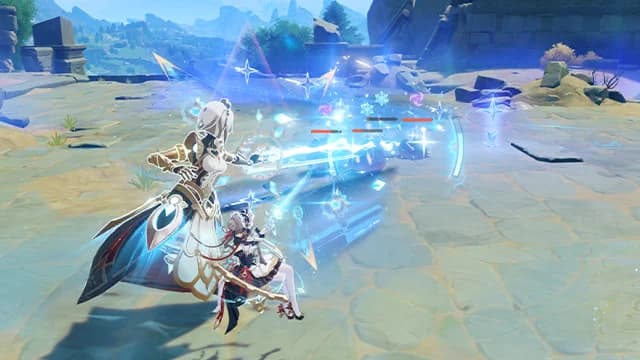
2.Certain characters will also gain the effects of Radiance: Stellar-Conduct when within the Polestar Field, enhancing certain Talents and skill effects. Certain characters can deal Stellar-Conduct DMG to opponents using their Talents, and this DMG can trigger CRIT Hits.
Elemental Reaction: Stellar Swirl
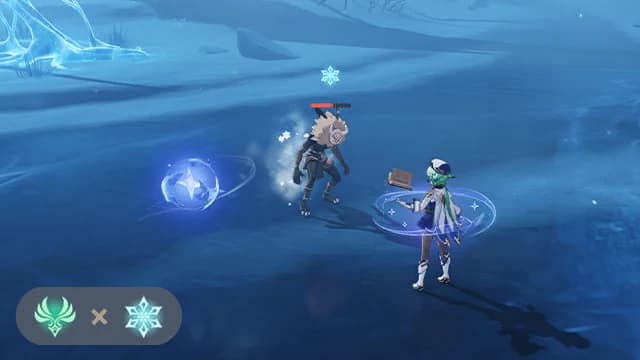
1.When Anemo meets Cryo, and certain other conditions are met, a special Stellar Swirl reaction is triggered. This deals an instance of Anemo DMG to the opponent and generates a Stellar Vortex. Triggering Stellar Swirl multiple times raises the level of the Stellar Vortex, which explodes after a certain time or after a certain number of Stellar Swirl reactions have been triggered. This deals AoE Cryo DMG to nearby opponents. The aforementioned DMG can CRIT.
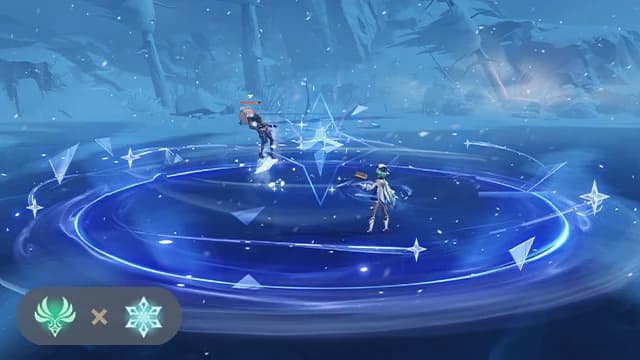
2.Up to one Stellar Vortex can exist on the field within a certain range. A Stellar Vortex on the field will level up to Lv. 2 after a certain number of Stellar Swirl reactions have been triggered. A higher-level Vortex deals more AoE Cryo DMG to opponents over a wider area when it explodes. After a Stellar Swirl reaction is triggered, certain nearby characters will also enter the Radiance: Stellar Swirl effect for 8s, which enhances certain Talents and skill effects. Certain characters can use their Talents to deal Stellar Swirl reaction DMG to opponents. This DMG can trigger CRIT Hits.
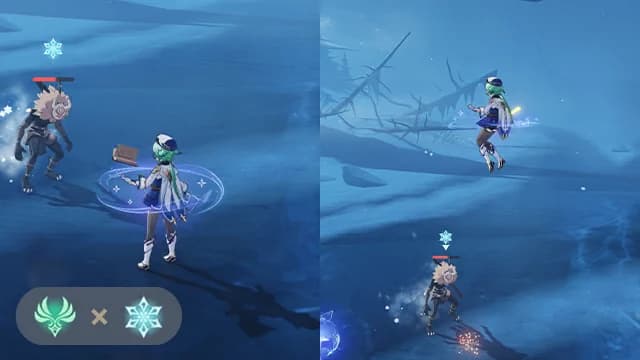
3.When the Stellar Vortex explodes, it will also grant nearby characters the ability to jump higher once, for a short time.
Starlight Prism
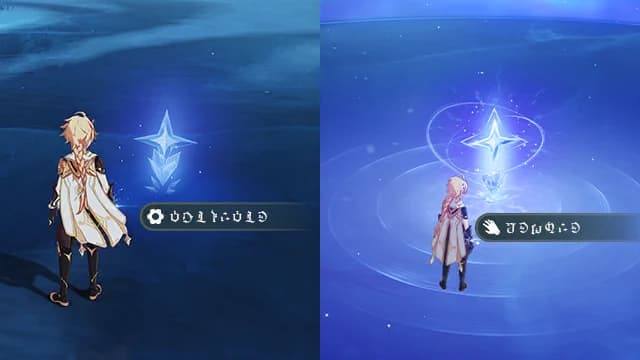
1.In certain places in Snezhnaya, a Starlight Prism will also generate a Prism Mirage that lasts for a short time at the same location when it vanishes. Approach the mirage to activate the Starlight Prism again, at which point it will remain on the field permanently. Prisms activated by such interactions have a chance to appear in other Travelers' worlds. Similarly, Prisms from other Travelers' worlds may also appear in your world.
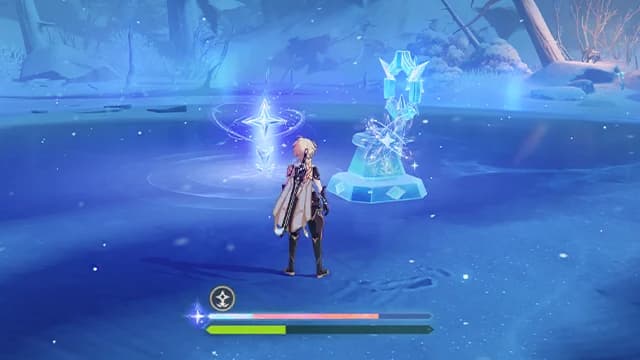
2.In certain places in Snezhnaya, the Polestar Field also presents with additional capabilities: · When inside a Polestar Field, the Eye of Graeae will not lose any energy. If the Eye's energy level is below 30%, it will also be immediately restored to 30%. · It also appears that Prime Ice Constructs inside a Polestar Field will gain various wondrous buffs...
An Unstoppable Force!
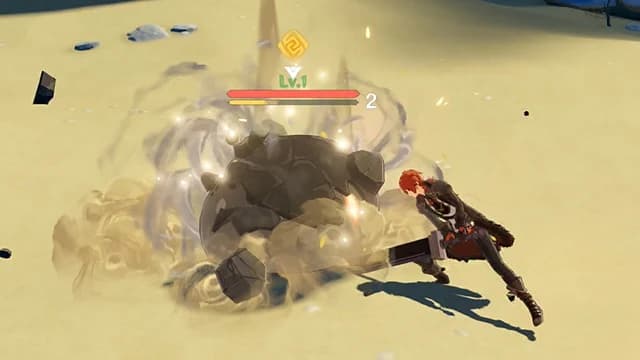
Some attacks are better than others at breaking sturdy objects. Claymores and Overloaded explosions are both good examples.
Wind Currents
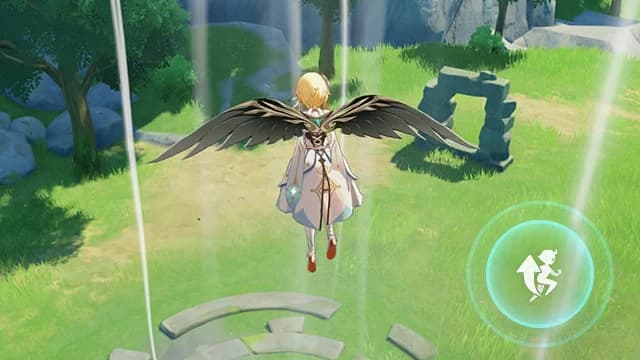
Upcurrents can send you soaring up high in an instant! Just jump in, open your wind glider, and enjoy the ride...
Combat
18Edge of Survival
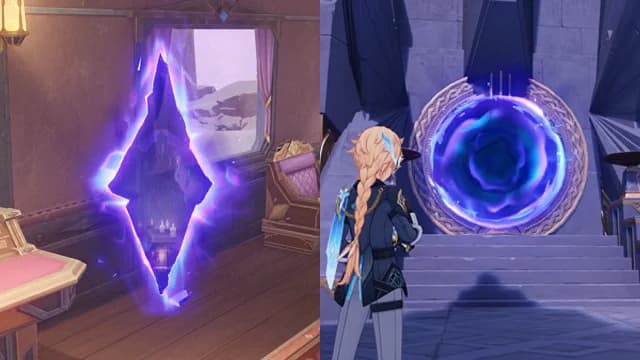
1.At the shooting range onboard the train, you can undertake special challenges at the simulated Shadow Realm Edge of Survival. This is where you can truly push the envelope and test the limits of your firearms skills and techniques! You can quickly access the shooting range for the challenge from your Snezhnaya Adventure Journal.

2.Unlock Edge of Survival challenge stages by first completing the corresponding Shadow Realm challenges in Snezhnaya.

3.Before the challenge starts, you may select Difficulty Clauses of various types that have effects such as enhancing the opponent's HP, ATK, and combat skills. Doing so will raise the overall difficulty of the challenge. The more Difficulty Clauses you select, the higher the overall challenge difficulty will be, and the more points you earn from defeating an opponent.
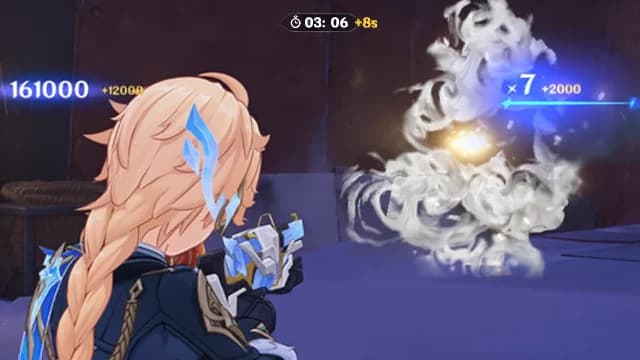
4.Once the challenge begins, you have to defeat as many opponents as possible within the time limit. Every opponent you defeat earns you the corresponding points as well as extends the challenge duration. Earn additional points when you establish and maintain a defeat streak.
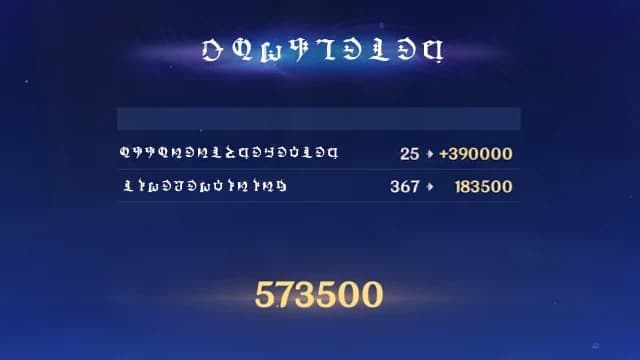
5.If you manage to defeat every opponent in the time given, you will also earn bonus points based on time remaining at the time of your last kill. The more time you had remaining, the more points you get.
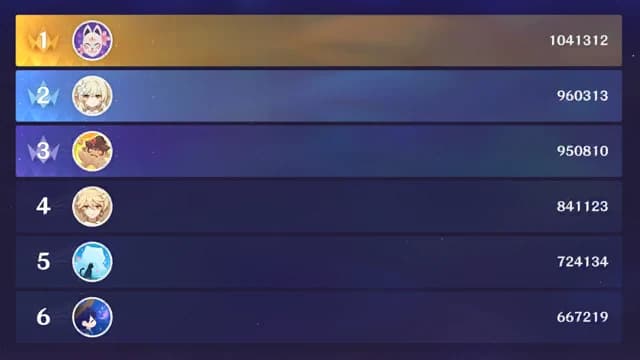
6.Each challenge stage has its own Frontrunners' Edge section where you can see how your friends and other Travelers are doing.
Elemental Burst
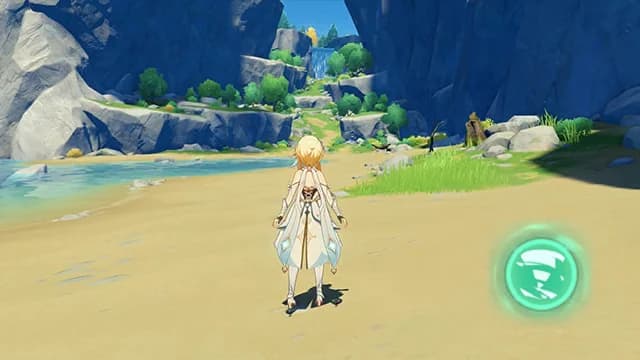
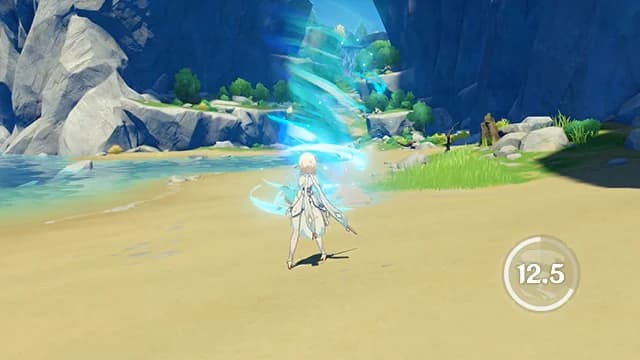
Use an Elemental Burst! Note: Using an Elemental Burst consumes all of that character's Energy.
Obtaining Energy

Absorb Elemental Orbs and Elemental Particles to replenish energy. Dealing Elemental DMG, defeating opponents, or performing other actions might also generate Elemental Orbs.
Shields
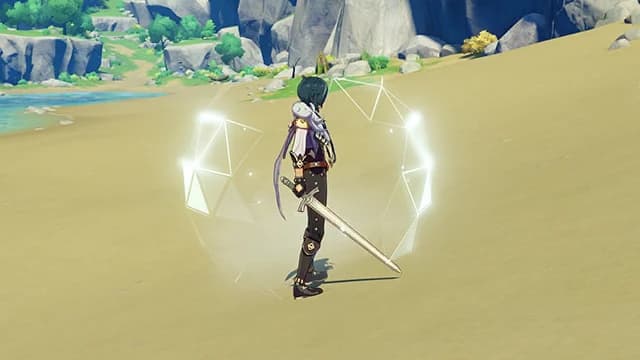
Elemental shields absorb damage for a character. But sustain too much damage and the shield will fail.
Attacking Weak Spots (I)

Aimed Shots are great for making precision attacks on opponents' weak spots. Tip: For most humanoids, aim for the head...
Attacking Weak Spots (II)

Hitting an opponent's weak spot can temporarily paralyze or destabilize them. Try to learn the weak spots of each opponent and use them to your advantage!
Placing Elemental Skills
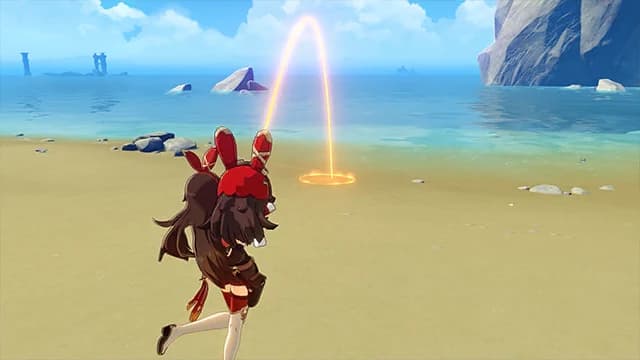
Some Elemental Skills produce different effects depending on whether you press or hold them.
HP Too Low
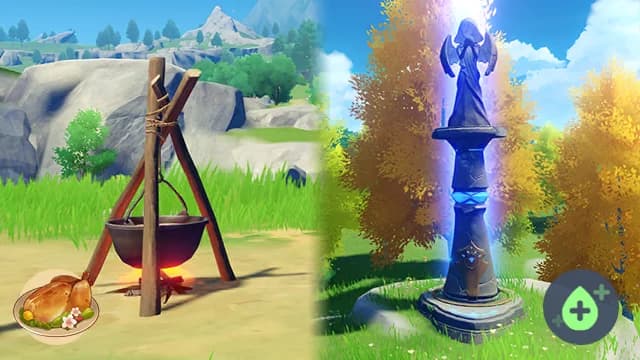
HP is really quite important! Chowing down on some lovingly made Dishes and visiting Statues of The Seven — or Statues of the New Moon — are surefire ways of restoring characters' HP.
Plunging Attacks
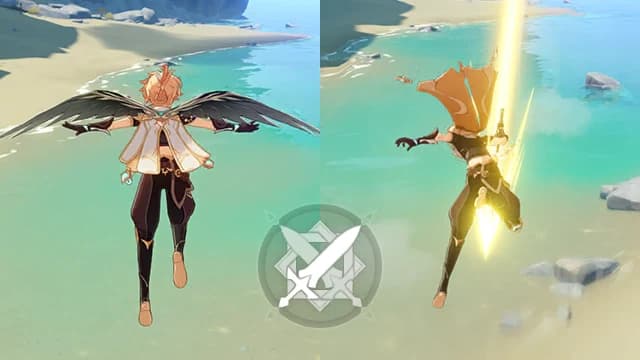
Unleashing a Normal Attack from a certain distance off the ground will unleash a Plunging Attack instead. Fall damage is decreased when using this form of attack.
Elemental Infusion
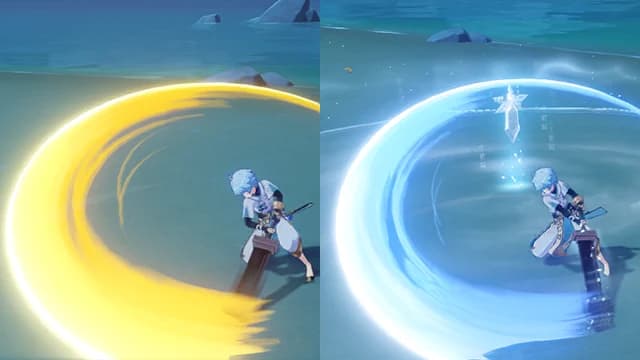
1.Certain skills and effects can grant characters wielding Swords, Claymores, and Polearms with an Elemental Infusion: Normal, Charged, and Plunging Attacks will deal Elemental DMG of the corresponding element. The effects of multiple Infusions do not stack.
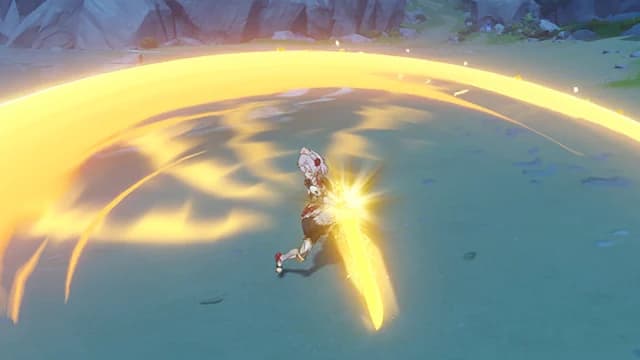
2.Additionally, some skills can convert characters' attacks, making them deal Elemental DMG. Even though this effect is similar to Infusion, it cannot be overridden by any Elemental Infusion.
Bond of Life and Recovering HP
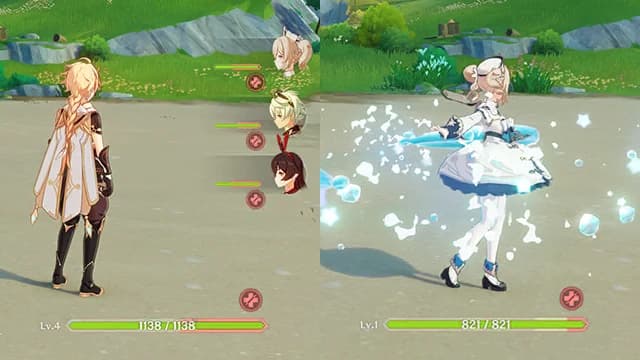
1.Bond of Life will absorb healing effects that a character receives. This will prevent them from recovering HP. After this character is healed for an amount equal to the Bond of Life, the Bond can then be cleared.
2.When a character is granted another Bond of Life, the healing required to clear the Bond of Life will also stack. Normally, this effect can stack up to 200% of the character's max HP. The Bond of Life has a very long duration if not actively canceled or removed by a Statue of The Seven.
Phlogiston
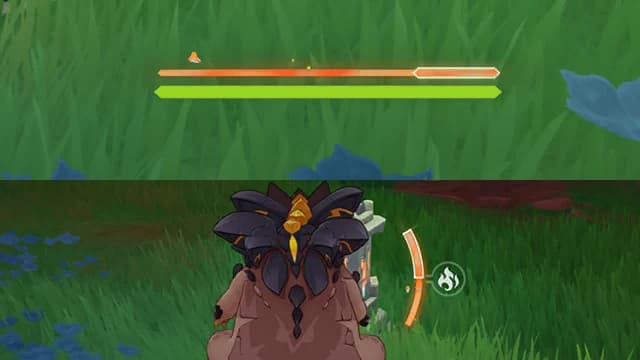
This special high-temperature thermal energy can be found throughout Natlan in all shapes and sizes. There are many ways to obtain Phlogiston, and some devices can only be triggered and activated via the injection of Phlogiston.
Phlogiston Engravings and Unveiling Scripts
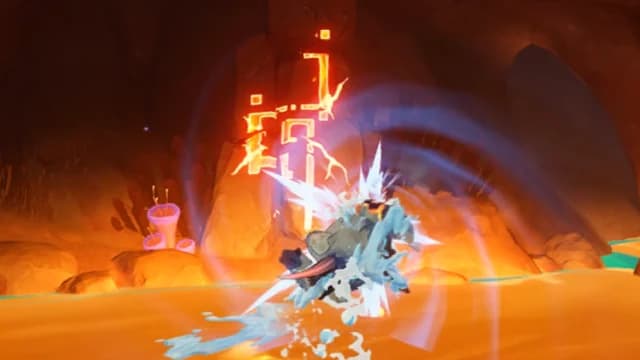
The ancient people of Natlan used Phlogiston Engraving as riddles through which the manipulation of Phlogiston might be learned. Finding the correct answer, or the "Unveiling Scripts," and fitting them to the Engraving, which serves as the question, will allow all things to be illuminated. Find the Scripts and use the Koholasaurus's Aquadash or the People of the Springs' Sprint to split the Script's power off...
Nightsoul Transmission
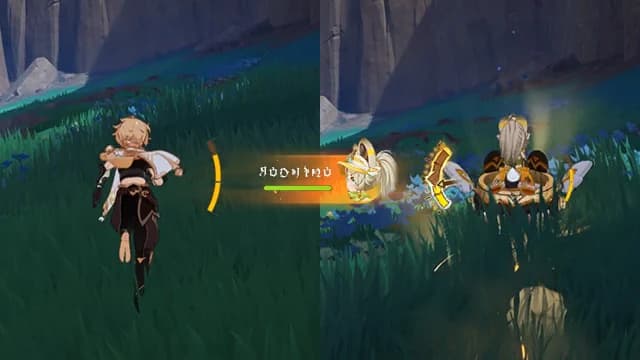
In areas where Phlogiston Mechanics are present within Natlan, when you switch to Natlan characters while in certain movement modes, a Nightsoul Transmission will be triggered: When this character from Natlan takes the field, they will engage in a unique type of movement based on their abilities. For more details on Nightsoul Transmission trigger methods and effects, please see the "Night Realm's Gift" Talent of each character.
Phlogiston Wind Tunnel
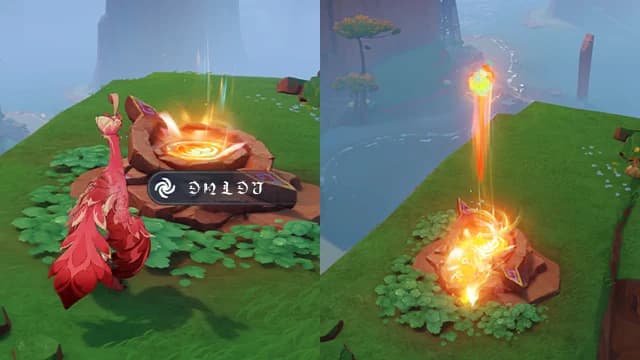
A one-way path formed by gaseous Phlogiston eroding rocks. Enter them, and you can swiftly reach the exit on the other end. However, only Qucusaurs and members of the Flower-Feather Clan who understand their internal structure can use these freely.
Moonsign
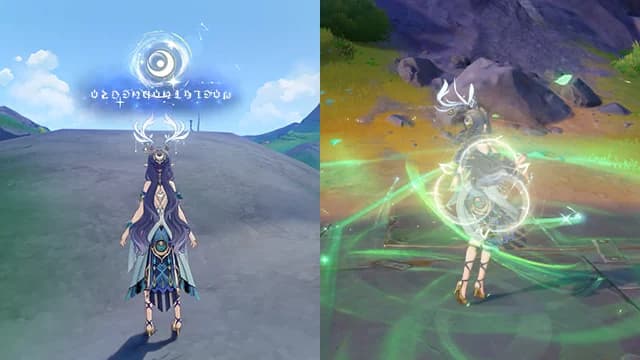
When Moonsign characters are in the party, the party will attain a Moonsign Level corresponding to the number of such characters. As your party's Moonsign Level increases, some of the Moonsign characters' skills will be enhanced, as well as the effects of some Weapons and Artifacts. Other characters can also provide buffs to the party. Furthermore, in Nod-Krai, where the new moon rises, there appear to be other ways to increase your party's Moonsign Level...
Lunar Conflux Barrier
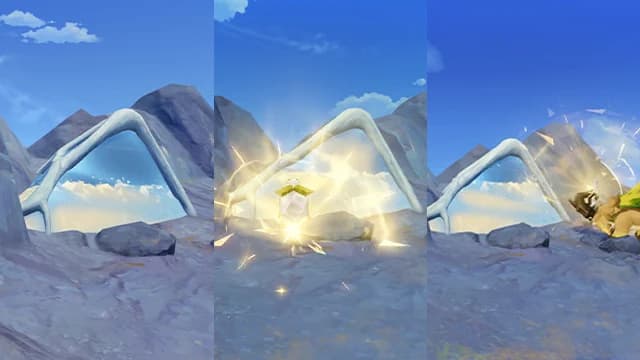
1.A barrier formed after pure kuuvahki energy condenses. There may be unexpected things sealed within it... Attack using objects Suffused with kuuvahki, or unleash kuuvahki by other means to cause them to enter the Suffused state. The barrier will melt as a result.
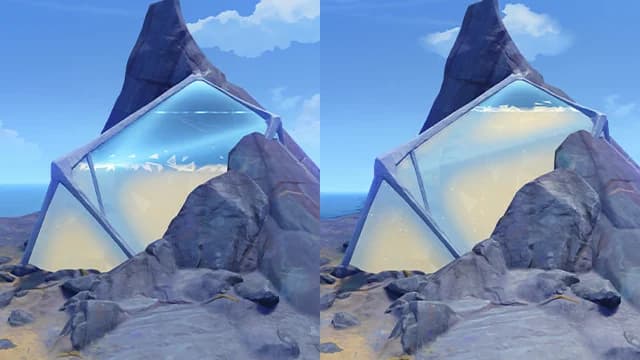
2.However, if the barrier is large, it will require multiple charges for it to become Suffused. By observing the surface of the barrier, you can gauge its current charging progress.
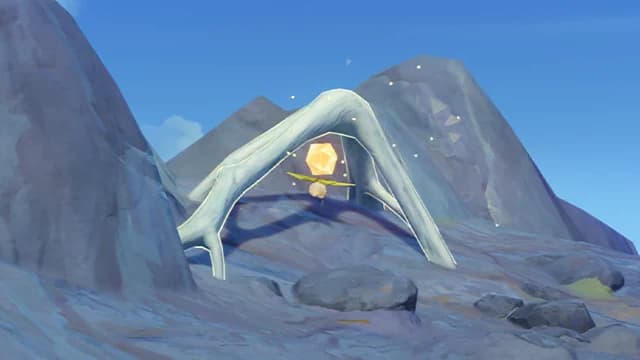
3.Once fully charged, the Lunar Conflux Barrier will reveal the objects sealed within, becoming Suffused in the process. At this stage, the Lunar Conflux Barrier will also recharge objects which are susceptible to kuuvahki.
Lunar Sea Incapacitation
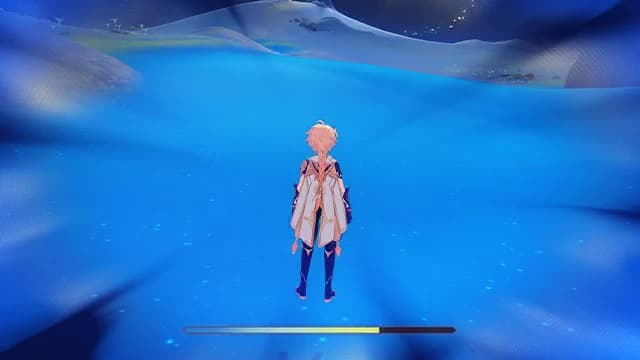
The lunar sea contains Archaeolune Energy in a highly dense liquid form. This is said to be the result of the shattering of a certain sky. Exhaustion builds up under these conditions, jumps become harder, and you will collapse when this Exhaustion reaches its limit.
Elemental resonance
A party of four gets a resonance from its elements: two characters of one element give that element's bonus, and four different elements give Protective Canopy.
 Fervent FlamesNeeds: 2 PyroEffect: Affected by Cryo for 40% less time. Increases ATK by 25%.
 Soothing WaterNeeds: 2 HydroEffect: Affected by Pyro for 40% less time. Increases Max HP by 25%.
 Impetuous WindsNeeds: 2 AnemoEffect: Decreases Stamina Consumption by 15%. Increases Movement SPD by 10%. Shortens Skill CD by 5%.
- High VoltageEffect: Affected by Hydro for 40% less time. Superconduct, Stellar-Conduct, Overloaded, Electro-Charged, Lunar-Charged, Quicken, Aggravate, or Hyperbloom have a 100% chance to generate an Electro Elemental Particle (CD: 5s).
 Sprawling GreeneryNeeds: 2 DendroEffect: Elemental Mastery increased by 50. After triggering Burning, Quicken, Bloom, or Lunar-Bloom reactions, all nearby party members gain 30 Elemental Mastery for 6s. After triggering Aggravate, Spread, Hyperbloom, or Burgeon reactions, all nearby party members gain 20 Elemental Mastery for 6s. The durations of the aforementioned effects will be counted independently.
 Shattering IceNeeds: 2 CryoEffect: Affected by Electro for 40% less time. Increases CRIT Rate against opponents that are Frozen or affected by Cryo by 15%.
 Enduring RockNeeds: 2 GeoEffect: Increases shield strength by 15%. Additionally, when characters protected by a shield, or when Moondrifts formed by Lunar-Crystallize reactions are nearby, the following special characteristics will take effect: DMG dealt increased by 15%, dealing DMG to enemies will decrease their Geo RES by 20% for 15s.
- Protective CanopyEffect: All Elemental RES +15%, Physical RES +15%.
Damage by level
Reactions that deal their own damage (Overloaded, Swirl, Bloom and the rest) start from the reaction base at the triggering character's level, and shields that scale with level start from the shield base. Each reaction multiplies the base by its own factor, and Elemental Mastery adds to that.
- 1Reaction base: 17.17Shield base: 91.18
- 10Reaction base: 34.14Shield base: 158.94
- 20Reaction base: 80.58Shield base: 303.83
- 30Reaction base: 136.29Shield base: 437.54
- 40Reaction base: 207.38Shield base: 585.00
- 50Reaction base: 323.60Shield base: 786.79
- 60Reaction base: 492.88Shield base: 1,030.08
- 70Reaction base: 765.64Shield base: 1,314.75
- 80Reaction base: 1,077.44Shield base: 1,596.81
- 90Reaction base: 1,446.85Shield base: 1,851.06
- 95Reaction base: 1,561.47Shield base: 2,041.57
- 100Reaction base: 1,674.81Shield base: 2,198.81