








Where each material, boss and reward comes from
MONGIL: STAR DIVE modes
Paths
15EXP
 Experience TrainingEXP Path, 6 stages, recommended level 10 to 60
Opens when you advance the quest The Danger Isn't Gone.
- Stage 1Level 10
 Adventure Level EXP ×125
 Uncommon Experience Book
 Basic Experience Book ×47First clear: Starlight Crystal x15
 - Stage 2Level 20Adventure Level EXP ×125
 Rare Experience BookUncommon Experience Book ×8Basic Experience Book ×61First clear: Starlight Crystal x15
 - Stage 3Level 30Adventure Level EXP ×125
 Hero Experience BookRare Experience Book ×5Uncommon Experience Book ×15First clear: Starlight Crystal x15
 - Stage 4Level 40Adventure Level EXP ×125Hero Experience BookRare Experience Book ×12Uncommon Experience Book ×29First clear: Starlight Crystal x15
- Stage 5Level 50Adventure Level EXP ×125Hero Experience Book ×3Rare Experience Book ×26Uncommon Experience Book ×50First clear: Starlight Crystal x15
- Stage 6Level 60Adventure Level EXP ×125Hero Experience Book ×4Rare Experience Book ×33Uncommon Experience Book ×54First clear: Starlight Crystal x15
 Artifact Enhancement TrainingEXP Path, 6 stages, recommended level 10 to 60
Opens when you advance the quest The Danger Isn't Gone.
- Stage 1Level 10Adventure Level EXP ×125
 Glimmering Mana Core
 Faint Mana Core ×30First clear: Starlight Crystal x15
 - Stage 2Level 20Adventure Level EXP ×125
 Condensed Mana CoreGlimmering Mana CoreFaint Mana Core ×44First clear: Starlight Crystal x15
 - Stage 3Level 30Adventure Level EXP ×125
 Liberated Mana CoreCondensed Mana CoreGlimmering Mana Core ×15First clear: Starlight Crystal x15
 - Stage 4Level 40Adventure Level EXP ×125Liberated Mana CoreCondensed Mana Core ×2Glimmering Mana Core ×20First clear: Starlight Crystal x15
- Stage 5Level 50Adventure Level EXP ×125Liberated Mana CoreCondensed Mana Core ×4Glimmering Mana Core ×22First clear: Starlight Crystal x15
- Stage 6Level 60Adventure Level EXP ×125Liberated Mana Core ×2Condensed Mana Core ×5Glimmering Mana Core ×24First clear: Starlight Crystal x15
 Monsterling Enhancement TrainingEXP Path, 6 stages, recommended level 10 to 60
Opens when you advance the quest The Danger Isn't Gone.
- Stage 1Level 10Adventure Level EXP ×125
 Standard Growth Chow
 Basic Growth Chow ×32First clear: Starlight Crystal x15
 - Stage 2Level 20Adventure Level EXP ×125
 Greater Growth ChowStandard Growth Chow ×10First clear: Starlight Crystal x15
 - Stage 3Level 30Adventure Level EXP ×125
 Superior Growth ChowGreater Growth ChowStandard Growth Chow ×16First clear: Starlight Crystal x15
 - Stage 4Level 40Adventure Level EXP ×125Superior Growth ChowGreater Growth Chow ×2Standard Growth Chow ×29First clear: Starlight Crystal x15
- Stage 5Level 50Adventure Level EXP ×125Superior Growth Chow ×2Greater Growth Chow ×4Standard Growth Chow ×43First clear: Starlight Crystal x15
- Stage 6Level 60Adventure Level EXP ×125Superior Growth Chow ×3Greater Growth Chow ×5Standard Growth Chow ×47First clear: Starlight Crystal x15
 Equipment Enhancement TrainingEXP Path, 6 stages, recommended level 10 to 60
Opens when you advance the quest The Danger Isn't Gone.
- Stage 1Level 10Adventure Level EXP ×125
 Basic Enhancement Stone
 Common Enhancement Stone ×10First clear: Starlight Crystal x15
 - Stage 2Level 20Adventure Level EXP ×125
 Standard Enhancement StoneBasic Enhancement StoneCommon Enhancement Stone ×17First clear: Starlight Crystal x15
 - Stage 3Level 30Adventure Level EXP ×125
 Greater Enhancement StoneStandard Enhancement StoneBasic Enhancement Stone ×7First clear: Starlight Crystal x15
 - Stage 4Level 40Adventure Level EXP ×125Greater Enhancement StoneStandard Enhancement Stone ×2Basic Enhancement Stone ×12First clear: Starlight Crystal x15
- Stage 5Level 50Adventure Level EXP ×125Greater Enhancement StoneStandard Enhancement Stone ×4Basic Enhancement Stone ×19First clear: Starlight Crystal x15
- Stage 6Level 60Adventure Level EXP ×125Greater Enhancement Stone ×2Standard Enhancement Stone ×5Basic Enhancement Stone ×23First clear: Starlight Crystal x15
Breakthrough
 Path of FightersBreakthrough Path, 5 stages, recommended level 17 to 60
Opens when you advance the quest The Mole.
- Stage 1Level 17Adventure Level EXP ×125
 Basic Fighter Medallion ×18First clear: Starlight Crystal x15
 - Stage 2Level 30Adventure Level EXP ×125
 Standard Fighter MedallionBasic Fighter Medallion ×37First clear: Starlight Crystal x15
 - Stage 3Level 40Adventure Level EXP ×125
 Greater Fighter MedallionStandard Fighter MedallionBasic Fighter Medallion ×61First clear: Starlight Crystal x15
 - Stage 4Level 50Adventure Level EXP ×125
 Superior Fighter MedallionGreater Fighter MedallionStandard Fighter MedallionBasic Fighter Medallion ×72First clear: Starlight Crystal x15
 - Stage 5Level 60Adventure Level EXP ×125Superior Fighter MedallionGreater Fighter MedallionStandard Fighter MedallionBasic Fighter Medallion ×82First clear: Starlight Crystal x15
 Path of DestroyersBreakthrough Path, 5 stages, recommended level 17 to 60
Opens when you advance the quest The Mole.
- Stage 1Level 17Adventure Level EXP ×125
 Basic Destroyer Insignia ×18First clear: Starlight Crystal x15
 - Stage 2Level 30Adventure Level EXP ×125
 Standard Destroyer InsigniaBasic Destroyer Insignia ×37First clear: Starlight Crystal x15
 - Stage 3Level 40Adventure Level EXP ×125
 Greater Destroyer InsigniaStandard Destroyer InsigniaBasic Destroyer Insignia ×61First clear: Starlight Crystal x15
 - Stage 4Level 50Adventure Level EXP ×125
 Superior Destroyer InsigniaGreater Destroyer InsigniaStandard Destroyer InsigniaBasic Destroyer Insignia ×72First clear: Starlight Crystal x15
 - Stage 5Level 60Adventure Level EXP ×125Superior Destroyer InsigniaGreater Destroyer InsigniaStandard Destroyer InsigniaBasic Destroyer Insignia ×82First clear: Starlight Crystal x15
 Path of AssassinsBreakthrough Path, 5 stages, recommended level 17 to 60
Opens when you advance the quest The Mole.
- Stage 1Level 17Adventure Level EXP ×125
 Basic Assassin Coin ×18First clear: Starlight Crystal x15
 - Stage 2Level 30Adventure Level EXP ×125
 Standard Assassin CoinBasic Assassin Coin ×37First clear: Starlight Crystal x15
 - Stage 3Level 40Adventure Level EXP ×125
 Greater Assassin CoinStandard Assassin CoinBasic Assassin Coin ×61First clear: Starlight Crystal x15
 - Stage 4Level 50Adventure Level EXP ×125
 Superior Assassin CoinGreater Assassin CoinStandard Assassin CoinBasic Assassin Coin ×72First clear: Starlight Crystal x15
 - Stage 5Level 60Adventure Level EXP ×125Superior Assassin CoinGreater Assassin CoinStandard Assassin CoinBasic Assassin Coin ×82First clear: Starlight Crystal x15
 Path of SupportsBreakthrough Path, 5 stages, recommended level 17 to 60
Opens when you advance the quest The Mole.
- Stage 1Level 17Adventure Level EXP ×125
 Basic Support Bead ×18First clear: Starlight Crystal x15
 - Stage 2Level 30Adventure Level EXP ×125
 Standard Support BeadBasic Support Bead ×37First clear: Starlight Crystal x15
 - Stage 3Level 40Adventure Level EXP ×125
 Greater Support BeadStandard Support BeadBasic Support Bead ×61First clear: Starlight Crystal x15
 - Stage 4Level 50Adventure Level EXP ×125
 Superior Support BeadGreater Support BeadStandard Support BeadBasic Support Bead ×72First clear: Starlight Crystal x15
 - Stage 5Level 60Adventure Level EXP ×125Superior Support BeadGreater Support BeadStandard Support BeadBasic Support Bead ×82First clear: Starlight Crystal x15
 Path of ArtifactsBreakthrough Path, 5 stages, recommended level 17 to 60
Opens when you advance the quest The Mole.
- Stage 1Level 17Adventure Level EXP ×125
 Rusty Chain ×26First clear: Starlight Crystal x15
 - Stage 2Level 30Adventure Level EXP ×125
 Split ChainRusty Chain ×37First clear: Starlight Crystal x15
 - Stage 3Level 40Adventure Level EXP ×125
 Red-Hot ChainSplit ChainRusty Chain ×51First clear: Starlight Crystal x15
 - Stage 4Level 50Adventure Level EXP ×125
 Chain of Divine RetributionRed-Hot ChainSplit ChainRusty Chain ×65First clear: Starlight Crystal x15
 - Stage 5Level 60Adventure Level EXP ×125Chain of Divine RetributionRed-Hot ChainSplit ChainRusty Chain ×79First clear: Starlight Crystal x15
Skills
 Teachings of FireSkills Path, 4 stages, recommended level 30 to 60
Opens when you advance the quest Amon's Scheme.
- Stage 1Level 30Adventure Level EXP ×125
 Chewy Sinew
 Thin Sinew ×20First clear: Starlight Crystal x15
 - Stage 2Level 40Adventure Level EXP ×125
 Tough SinewChewy SinewThin Sinew ×26First clear: Starlight Crystal x15
 - Stage 3Level 50Adventure Level EXP ×125
 Heavy SinewTough SinewChewy Sinew ×3Thin Sinew ×32First clear: Starlight Crystal x15
 - Stage 4Level 60Adventure Level EXP ×125
 Indestructible SinewHeavy SinewTough Sinew ×3Chewy Sinew ×5Thin Sinew ×38
 Advanced Combat TheoryFirst clear: Starlight Crystal x15
 Guidance of WindSkills Path, 4 stages, recommended level 30 to 60
Opens when you advance the quest Amon's Scheme.
- Stage 1Level 30Adventure Level EXP ×125
 Dusty Powder
 Nasty Powder ×20First clear: Starlight Crystal x15
 - Stage 2Level 40Adventure Level EXP ×125
 Fragrant PowderDusty PowderNasty Powder ×26First clear: Starlight Crystal x15
 - Stage 3Level 50Adventure Level EXP ×125
 Invigorating PowderFragrant PowderDusty Powder ×3Nasty Powder ×32First clear: Starlight Crystal x15
 - Stage 4Level 60Adventure Level EXP ×125
 Mystical PowderInvigorating PowderFragrant Powder ×3Dusty Powder ×5Nasty Powder ×38Advanced Combat TheoryFirst clear: Starlight Crystal x15
 Whispers of EarthSkills Path, 4 stages, recommended level 30 to 60
Opens when you advance the quest Amon's Scheme.
- Stage 1Level 30Adventure Level EXP ×125
 Flexible Carapace
 Brittle Carapace ×20First clear: Starlight Crystal x15
 - Stage 2Level 40Adventure Level EXP ×125
 Hardened CarapaceFlexible CarapaceBrittle Carapace ×26First clear: Starlight Crystal x15
 - Stage 3Level 50Adventure Level EXP ×125
 Intricate CarapaceHardened CarapaceFlexible Carapace ×3Brittle Carapace ×32First clear: Starlight Crystal x15
 - Stage 4Level 60Adventure Level EXP ×125
 Perfect CarapaceIntricate CarapaceHardened Carapace ×3Flexible Carapace ×5Brittle Carapace ×38Advanced Combat TheoryFirst clear: Starlight Crystal x15
 Path of IceSkills Path, 4 stages, recommended level 30 to 60
Opens when you advance the quest Amon's Scheme.
- Stage 1Level 30Adventure Level EXP ×125
 Matted Fur
 Tawny Fur ×20First clear: Starlight Crystal x15
 - Stage 2Level 40Adventure Level EXP ×125
 Soft FurMatted FurTawny Fur ×26First clear: Starlight Crystal x15
 - Stage 3Level 50Adventure Level EXP ×125
 Sleek FurSoft FurMatted Fur ×3Tawny Fur ×32First clear: Starlight Crystal x15
 - Stage 4Level 60Adventure Level EXP ×125
 Rippling FurSleek FurSoft Fur ×3Matted Fur ×5Tawny Fur ×38Advanced Combat TheoryFirst clear: Starlight Crystal x15
 Call of LightningSkills Path, 4 stages, recommended level 30 to 60
Opens when you advance the quest Amon's Scheme.
- Stage 1Level 30Adventure Level EXP ×125
 Hardened Cartilage
 Torn Cartilage ×20First clear: Starlight Crystal x15
 - Stage 2Level 40Adventure Level EXP ×125
 Elastic CartilageHardened CartilageTorn Cartilage ×26First clear: Starlight Crystal x15
 - Stage 3Level 50Adventure Level EXP ×125
 Resilient CartilageElastic CartilageHardened Cartilage ×3Torn Cartilage ×32First clear: Starlight Crystal x15
 - Stage 4Level 60Adventure Level EXP ×125
 Regenerative CartilageResilient CartilageElastic Cartilage ×3Hardened Cartilage ×5Torn Cartilage ×38Advanced Combat TheoryFirst clear: Starlight Crystal x15
Gold
 Vault of GreedGold Path, 6 stages, recommended level 13 to 60
Opens when you advance the quest Goblin Extermination Complete!.
- Stage 1Level 13Adventure Level EXP ×125
 Gold ×167,000First clear: Starlight Crystal x15
 - Stage 2Level 23Adventure Level EXP ×125Gold ×250,000First clear: Starlight Crystal x15
- Stage 3Level 33Adventure Level EXP ×125Gold ×334,000First clear: Starlight Crystal x15
- Stage 4Level 43Adventure Level EXP ×125Gold ×417,000First clear: Starlight Crystal x15
- Stage 5Level 53Adventure Level EXP ×125Gold ×530,000First clear: Starlight Crystal x15
- Stage 6Level 60Adventure Level EXP ×125Gold ×641,000First clear: Starlight Crystal x15
Conquest
7 Custos55 stages, weak to Ice
 Amon55 stages, weak to Wind
 Avardan55 stages, weak to Lightning
 Duoxini55 stages, weak to Earth
 Hahnul55 stages, weak to Fire
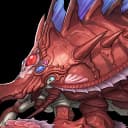 Red Shadow55 stages, weak to Ice
 The Great Unknown55 stages, weak to Wind
Elemental Sanctum
5
Altar of Crimson Flame
Ada, Fire. 5 stages from level 20 to 60; it resists Wind, Earth, Ice, Lightning.

Gale Corridor
Nagi, Wind. 5 stages from level 20 to 60; it resists Fire, Earth, Ice, Lightning.

Sanctuary of Earth
Sangun, Wind. 5 stages from level 20 to 60; it resists Fire, Wind, Ice, Lightning.

Frozen Tundra
Ran, Lightning. 5 stages from level 20 to 60; it resists Fire, Wind, Earth, Lightning.

Thunder Peak
Rin, Lightning. 5 stages from level 20 to 60; it resists Fire, Wind, Earth, Ice.
Dimensional Rift
9 seasonsEach season names one or two bonus elements and a handful of bonus characters, the newest 5-stars at +20%. Bonus characters on the team earn extra points in proportion to the final score. You get 3 scored entries a week. The current season, Frozen Solid Path, runs to 21 Oct 2026.
- Frozen Solid Path30 Sept 2026 to 21 Oct 2026Ice +15%, Yeonhwa +10%, Daisy +10%, Sera +10%, Isabella +20%
- Spotlight Shining on Desire9 Sept 2026 to 30 Sept 2026Fire +15%, Ellie +10%, Angel +10%, Benjamin +10%, Vivian +20%
- Wandering Loner's Sword19 Aug 2026 to 9 Sept 2026Earth +15%, Verna +10%, Francis +10%, Leeho +10%, Brisshell +20%
- Thunderbolt of Divine Judgment29 Jul 2026 to 19 Aug 2026Lightning +15%, Yeonhwa +10%, Daisy +10%, Sera +10%, Mabel +20%
- Blue Summer Splash!8 Jul 2026 to 29 Jul 2026Fire +15%, Earth +15%, Cloud +10%, Ellie +10%, Reina +10%, Verna: Summer Dive! +20%, Francis: Summer Dive! +20%
- The Serpent That Envelops the Abyss17 Jun 2026 to 8 Jul 2026Wind +15%, Bonnie +10%, Angel +10%, Benjamin +10%, Nagi +20%
- A Butterfly Embroidering the Mist27 May 2026 to 17 Jun 2026Ice +15%, Narae +20%, Leeho +10%, Ellie +10%, Sera +10%
- Darkness Illuminated by Flames of Fate25 Mar 2026 to 27 May 2026Fire +15%, Verna +10%, Cloud +10%, Francis +10%, Mina +20%
- Sword of Utmost Hospitality28 Jan 2026 to 25 Mar 2026Wind +15%, Yeonhwa +10%, Daisy +10%, Reina +10%, Esther +20%
Rift buffs
- Astounding PowerAstounding Power ATK Boost +100%
- Dimensional InstinctDeals Crit DMG every hit
- Super SpeedAttack/Movement Speed +40%
- Fatal BoltGenerates a Fatal Bolt for punishing enemies
Legendary Conquest
2Reginula
Its weakness changes with each of 156 HP bars, starting Wind (resists Ice), then Ice (resists Fire), then Fire (resists Earth), then Earth (resists Lightning). The full order is on the bosses page.
Sorin
Its weakness changes with each of 156 HP bars, starting Wind (resists Ice), then Ice (resists Fire), then Fire (resists Earth), then Earth (resists Lightning). The full order is on the bosses page.
Recruitment
38On an event recruitment the 5-star you get is always the featured one: there's no 50/50. The 5-star chance is 1% a pull, climbs from pull 76 and is certain by pull 90; every 10th pull is 4-star or better. The summon calculator works out the odds for a number of Compasses.
- New ExpeditionKind: New ExpeditionFeatured: Ophelia, Penny, JiwonRate-up 4-stars: Flare, Gabi, SangunPity: 20
- Fate-Touched Fox MaidenKind: Event characterFeatured: MinaRate-up 4-stars: Verna, Cloud, FrancisPity: 90
- Maid & Clover MascotKind: Event characterFeatured: EstherRate-up 4-stars: Daisy, Reina, YeonhwaPity: 90
- Morning Dew Fox MaidenKind: Event characterFeatured: NaraeRate-up 4-stars: Sera, Ellie, LeehoPity: 90
- Whitefire ShamanKind: Event characterFeatured: NagiRate-up 4-stars: Bonnie, Angel, BenjaminPity: 90
- The Girl More Fiery than the Summer HeatKind: Event characterFeatured: Verna: Summer Dive!Rate-up 4-stars: Cloud, Ellie, ReinaPity: 90
- Herald of Love, Festival DreamerKind: Event characterFeatured: Francis: Summer Dive!Rate-up 4-stars: Cloud, Ellie, ReinaPity: 90
- Inquisitor, Recorder of Reality and Phenomena ThereinKind: Event characterFeatured: MabelRate-up 4-stars: Daisy, Yeonhwa, SeraPity: 90
- Doom's Lonely HeraldKind: Event characterFeatured: BrisshellRate-up 4-stars: Verna, Francis, LeehoPity: 90
- Bunny Showgirl's Eternal EncoreKind: Event characterFeatured: VivianRate-up 4-stars: Angel, Ellie, BenjaminPity: 90
- Lazy Genius EngineerKind: Event characterFeatured: IsabellaRate-up 4-stars: Yeonhwa, Daisy, SeraPity: 90
- Blazing KumihoKind: Event artifactFeatured: Blazing KumihoRate-up 4-stars: Upright Sword of Fire, Dreaming Adventurer, Overflowing LovePity: 80
- Wind-Harboring BroomKind: Event artifactFeatured: Wind-Harboring BroomRate-up 4-stars: Forest Fragrance, Unrelenting Chivalry, Shadow LotusPity: 80
- Plains Embroidering DewKind: Event artifactFeatured: Plains Embroidering DewRate-up 4-stars: Key for Locks Yet to Come, Sugar Spike, Tiger Hunter's ResolvePity: 80
- Serpent Dragon's White ScaleKind: Event artifactFeatured: Serpent Dragon's White ScaleRate-up 4-stars: Military Band's Offbeat Marcher, Fall from Grace, Hawk's FlightPity: 80
- The Flame that Dreams of JusticeKind: Event artifactFeatured: The Flame that Dreams of JusticeRate-up 4-stars: Dreaming Adventurer, Sugar Spike, Unrelenting ChivalryPity: 80
- A Summer Soaked in LoveKind: Event artifactFeatured: A Summer Soaked in LoveRate-up 4-stars: Dreaming Adventurer, Sugar Spike, Unrelenting ChivalryPity: 80
- Reward Virtue, Eliminate EvilKind: Event artifactFeatured: Reward Virtue, Eliminate EvilRate-up 4-stars: Military Band's Offbeat Marcher, Forest Fragrance, Shadow LotusPity: 80
- Monstrous LongingKind: Event artifactFeatured: Monstrous LongingRate-up 4-stars: Upright Sword of Fire, Overflowing Love, Tiger Hunter's ResolvePity: 80
- Unending FinaleKind: Event artifactFeatured: Unending FinaleRate-up 4-stars: Fall from Grace, Sugar Spike, Hawk's FlightPity: 80
- Stabilized SuperconductorKind: Event artifactFeatured: Stabilized SuperconductorRate-up 4-stars: Shadow Lotus, Forest Fragrance, Key for Locks Yet to ComePity: 80
- A New Friend for a New JourneyKind: First-timePity: 1
- New FriendsKind: New friendsPity: 50
- Eternal PromiseKind: RegularFeatured: Ophelia, Flare, GabiRate-up 4-stars: Penny, Jiwon, SangunPity: 90
- Promised CrestKind: Regular artifactPity: 80
- Chosen PromiseKind: ChosenPity: 90
- Heir to the Amethyst EyeKind: Event characterFeatured: OpheliaPity: 90
- Dokkaebi of Reckless HeartKind: Event characterFeatured: GabiPity: 90
- Heir to the Amethyst EyeKind: Event characterFeatured: OpheliaPity: 90
- Wielder of the Dragons' FireKind: Event characterFeatured: FlarePity: 90
- Elf Who Has Awakened to the Joys of CapitalismKind: Event characterFeatured: PennyPity: 90
- Creator of Warm MelodiesKind: Event characterFeatured: JiwonPity: 90
- Dokkaebi of Reckless HeartKind: Event characterFeatured: GabiPity: 90
- King of Mount Tai, Friend of NatureKind: Event characterFeatured: SangunPity: 90
- Harmonious EncountersKind: 5-star guaranteedFeatured: Ophelia, Flare, Penny, Jiwon, Gabi, SangunPity: 10
- Heir to the Amethyst EyeKind: Event characterFeatured: OpheliaPity: 90
- Creator of Warm MelodiesKind: Event characterFeatured: JiwonPity: 90
- Summon Bond FragmentKind: Bond Fragment
Racing
55An equipped Monsterling runs the track as your racer, and the courses rotate by season.
- Breezeville Track4 laps, normal
- Cloudcrest Peak Track4 laps, normal
- Production Wing Track2 laps, normal
- Wolha Track6 laps, normal
- Vestigia Track4 laps, normal
- Breezeville Track4 laps, normal
- Vestigia Track4 laps, normal
- Arcana Forest Track4 laps, normal
- Beomgol Track6 laps, normal
- Wolha Track6 laps, normal
- Vestigia Track4 laps, normal
- Breezeville Track4 laps, normal
- Beomgol Track6 laps, normal
- Wolha Track6 laps, normal
- Arcana Forest Track4 laps, normal
- Arcana Forest Track4 laps, normal
- Wolha Track6 laps, normal
- Breezeville Track4 laps, normal
- Vestigia Track4 laps, normal
- Beomgol Track6 laps, normal
- Cloudcrest Peak Track4 laps, normal
- Arcana Forest Track4 laps, normal
- Beomgol Track6 laps, normal
- Breezeville Track4 laps, normal
- Vestigia Track4 laps, normal
- Breezeville Track4 laps, normal
- Wolha Track6 laps, normal
- Arcana Forest Track4 laps, normal
- Vestigia Track4 laps, normal
- Beomgol Track6 laps, normal
- Vestigia Track4 laps, normal
- Arcana Forest Track4 laps, normal
- Beomgol Track6 laps, normal
- Breezeville Track4 laps, normal
- Wolha Track6 laps, normal
- Arcana Forest Track4 laps, normal
- Breezeville Track4 laps, normal
- Cloudcrest Peak Track4 laps, normal
- Beomgol Track6 laps, normal
- Vestigia Track4 laps, normal
- Breezeville Track4 laps, normal
- Cloudcrest Peak Track4 laps, normal
- Beomgol Track6 laps, normal
- Vestigia Track4 laps, normal
- Wolha Track6 laps, normal
- Production Wing Track2 laps, normal
- Vestigia Track4 laps, normal
- Cloudcrest Peak Track4 laps, normal
- Beomgol Track6 laps, normal
- Arcana Forest Track4 laps, normal
- Vestigia Track4 laps, normal
- Breezeville Track4 laps, normal
- Beomgol Track6 laps, normal
- Wolha Track6 laps, normal
- Arcana Forest Track4 laps, normal
Dispatch
4 a day- ElendorCharacter level: 20Personality bonus: Daring, Mediator, Sociable
- VarhineCharacter level: 30Personality bonus: Hot-blooded, Independent, Kind
- SereniaCharacter level: 40Personality bonus: Eccentric, Diligent, Clever
- SurahCharacter level: 60Personality bonus: Righteous, Inquisitive, Devoted
- NamryungCharacter level: 60Personality bonus: Pure-hearted, Independent, Self-sacrificing
- MuwonCharacter level: 60Personality bonus: Eccentric, Hot-blooded, Diligent
- Sector 3Character level: 60Personality bonus: Leader, Bright, Mediator
1 matching personality: unlocks monster reward. 2 matching personalities: unlocks gatherable reward. 3 matching personalities: unlocks ore reward.
Requests
The Request Board offers 10 requests a day and pays out for 5 of them; you can refresh the board 5 times. There are 961 requests in the pool across easy, normal, hard difficulty.
Character trials
28- VernaVerna - Gaining Fiery Spirit
- CloudCloud 1 - Accumulating Ice Crystals, Cloud 2 - Consuming Ice Crystals
- FrancisFrancis 1 - Love Frenzy, Francis 2 - On-the-Fly Diagnosis
- MinaMina 1 - Absorbing Essence, Mina 2 - Luminous Rush
- DaisyDaisy - Using Flower's Blessing
- NaraeNarae - Obtaining Passive Trait Effect
- FlareFlare - Creating Blaze Zones
- OpheliaOphelia - Flowing Frost
- ReinaReina 1 - Charging Lightning Energy, Reina 2 - Variant Attack
- EstherEsther - Using Dust Cloud, Esther - Using Sharpness
- PennyPenny 1 - Generating Coins, Penny 2 - Consuming Coins
- YeonhwaYeonhwa 1 - Generating Shadows, Yeonhwa 2 - Triggering Support Skill
- EllieEllie 1 - Acquiring Snacks, Ellie 2 - Sugar Charge and Pillow Pow!, Ellie 3 - Sleepy...
- SangunSangun - Using Wind Tiger Strike
- LeehoLeeho 1 - Prey Mark, Leeho 2 - Tiger Hunter, Leeho 3 - Enhanced Switch Attack
- JiwonJiwon 1 - Gaining Melody, Jiwon 2 - Granting Divine Harmony
- BenjaminBenjamin - Using Nightmare Sprint
- BonnieBonnie 1 - Gaining Musical Scores, Bonnie 2 - Consuming Musical Scores
- SeraSera 1 - Using Laxima Energy, Sera 2 - Using Arkarion Energy
- GabiGabi 1 - Gathering Spiritual Power, Gabi 2 - Using Crushing Blow
- AngelAngel 1 - Attacking the enemy while Locked and Loaded, Angel 2 - Attacking Wanted Enemies
- NagiNagi 1 - Alluring Empress's Reign, Nagi 2 - Beguiling Scale
- BrisshellBrisshell 1 - Enhanced Switch Skill, Brisshell 2 - Attention Overload
- MabelMabel 1 - Enter state of Judgment, Mabel 2 - Switch out while in the state of Judgment
- Verna: Summer Dive!Verna: Summer Dive! 1 - Use Flaming Will, Verna: Summer Dive! 2 - Reapply Flaming Will, Verna: Summer Dive! 3 - Use Special Skill during Enhanced Switch Skill
- Francis: Summer Dive!Francis: Summer Dive! 1 - Summer On-the-Fly Diagnosis, Francis: Summer Dive! 2 - Summer's Vitality
- VivianVivian 1 - Gaining Spectacular Stage, Vivian 2 - Triggering Support Skill when there are only normal enemies, Vivian 3 - Triggering Support Skill when there are boss enemies
- IsabellaIsabella 1 - Enhancing Special Skill, Isabella 2 - Cooling Cycle
How each mode works
45Adventure Map
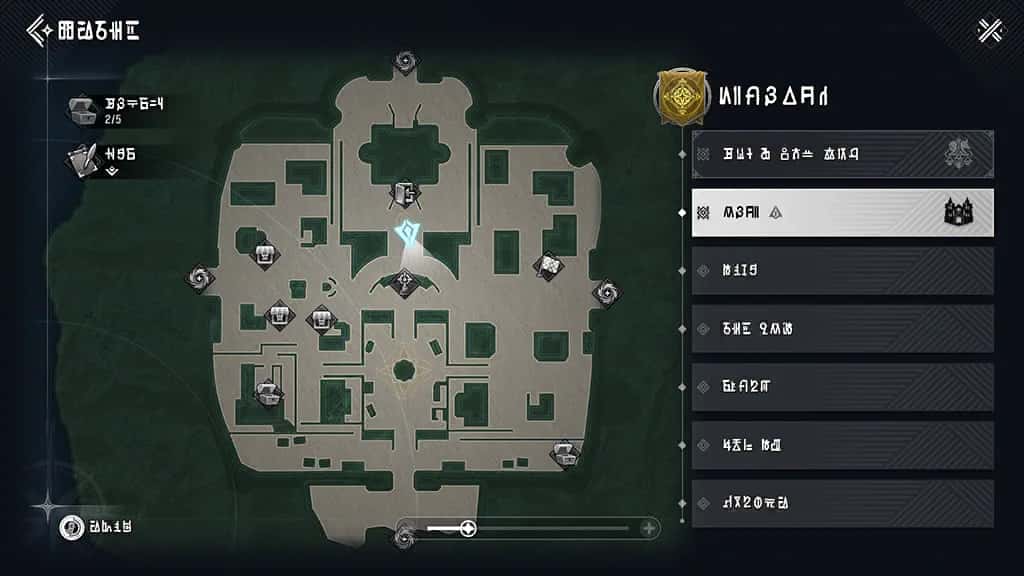
The Adventure Map will display the locations of the quest objective currently being tracked, Warp Devices, gates, and more.
Select an active Warp Device on the map to fast travel to that location. Use Warp Devices to travel fast and save time!
Jumping
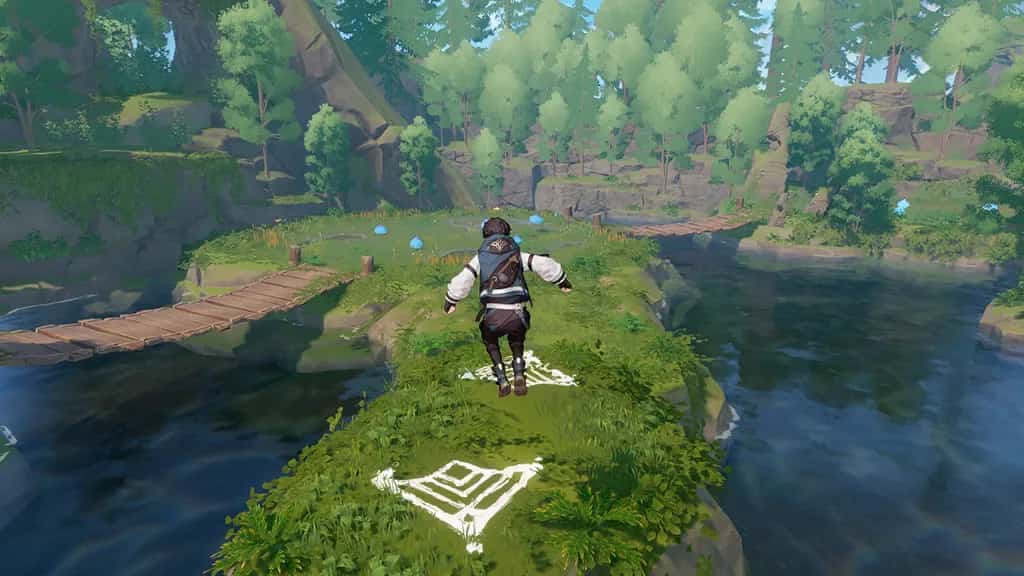
If you see an arrow near terrain that looks unreachable, get closer. Your character can jump and leap over the high spot.
Adventure Level
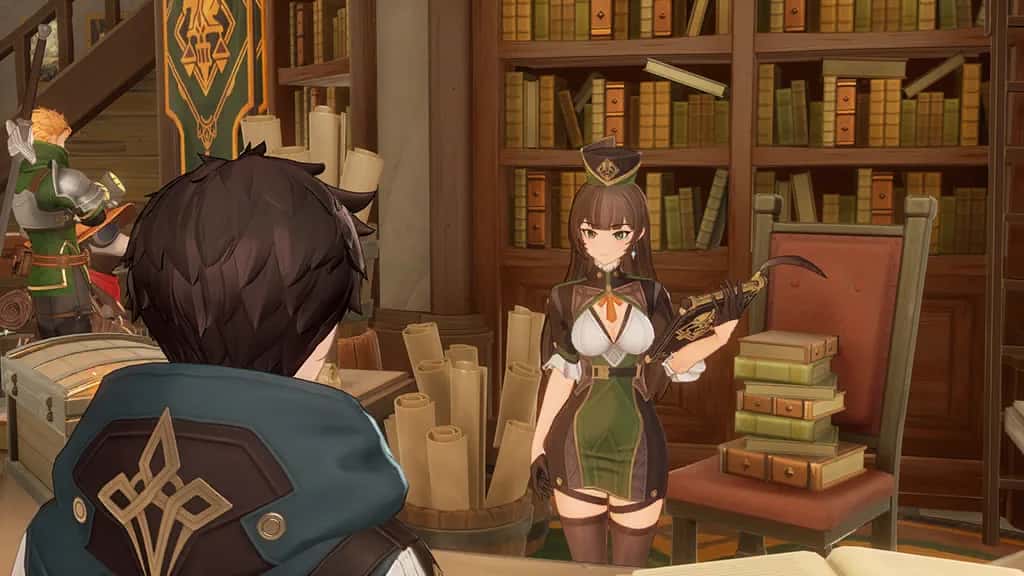
You can increase your Adventure Level by completing the Main Quest and other activities.
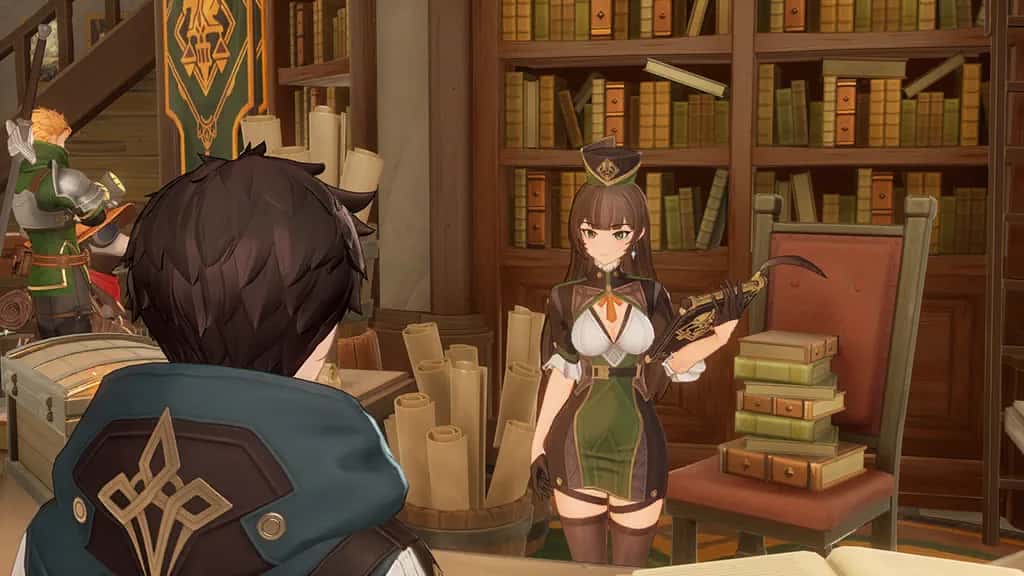
Once your Adventure Level increases, you can claim Adventure Level rewards from the receptionist at the gathering hub.
Warp Devices
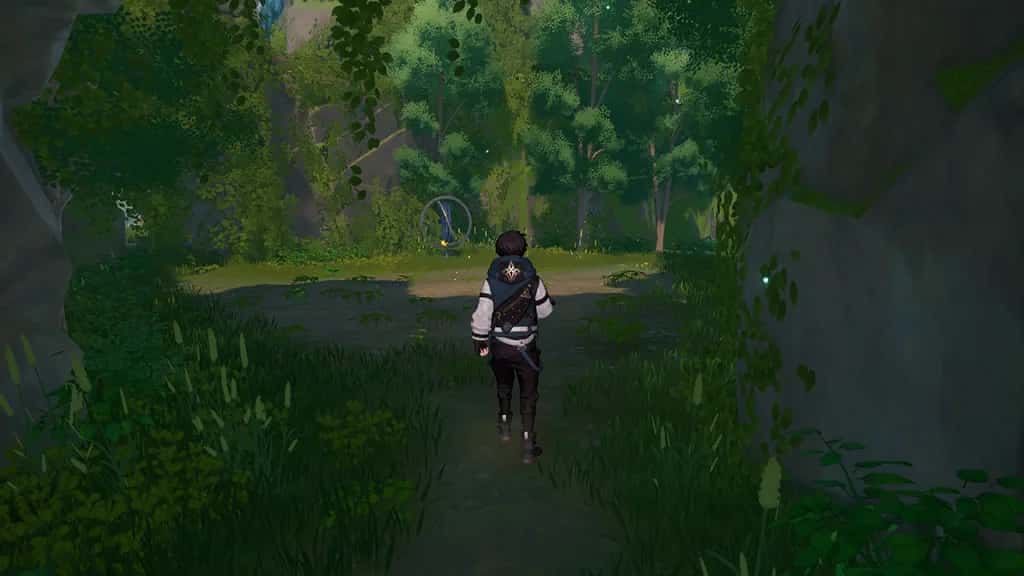
Walk up to one of the Warp Devices scattered throughout the world to activate it.
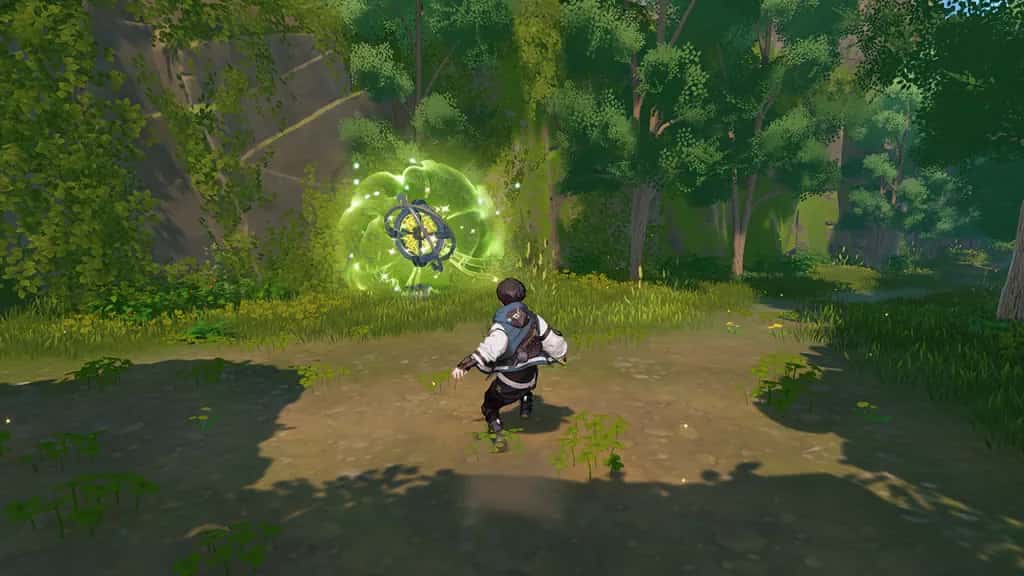
Activating Warp Devices allows you to fast travel to different areas.
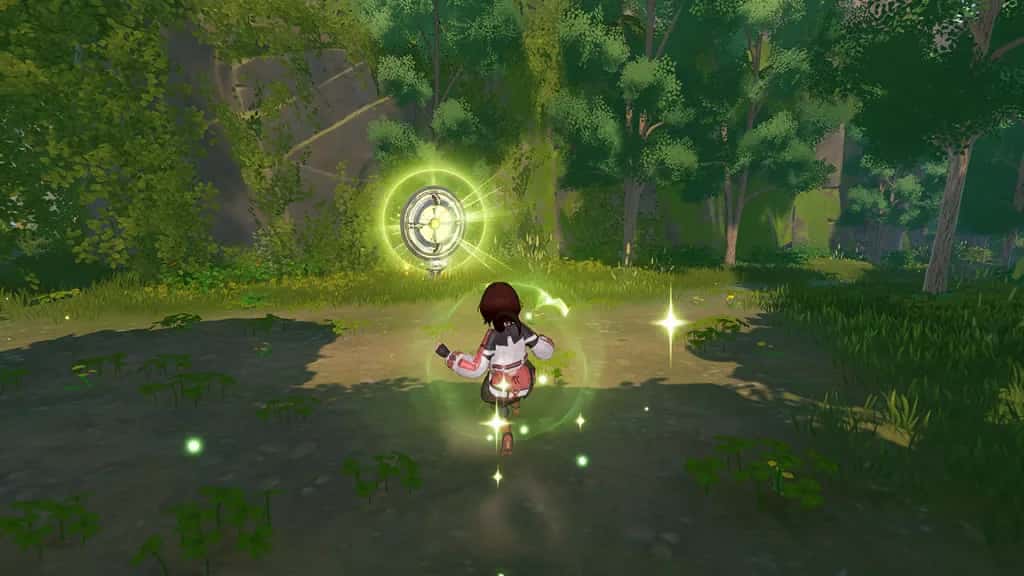
Characters will be revived and have their HP restored near activated Warp Devices.
Gathering
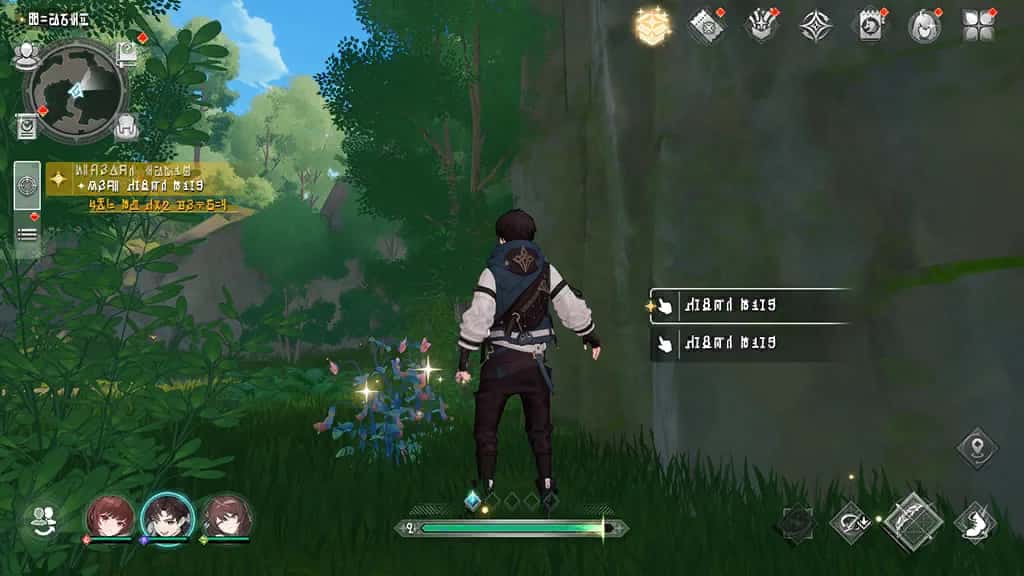
Once you get close to certain plants in an area, you can gather them. Gathered materials can be used as ingredients in cooking recipes.
Mining
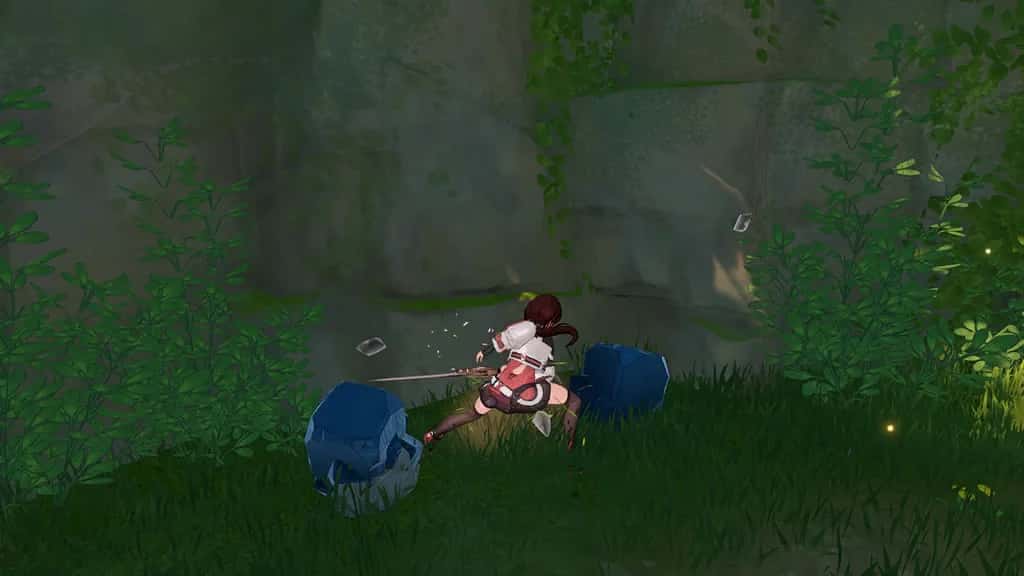
Destroy ore deposits in the area to collect ore. Ores can be used as crafting materials.
Chasing
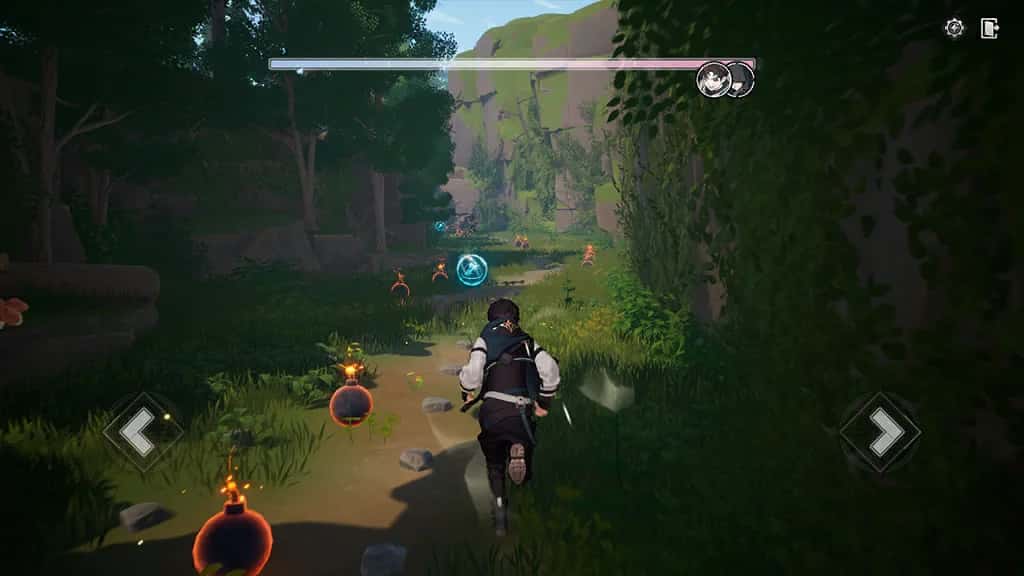
Move left or right to change Lanes. Avoid obstacles and pursue the target!
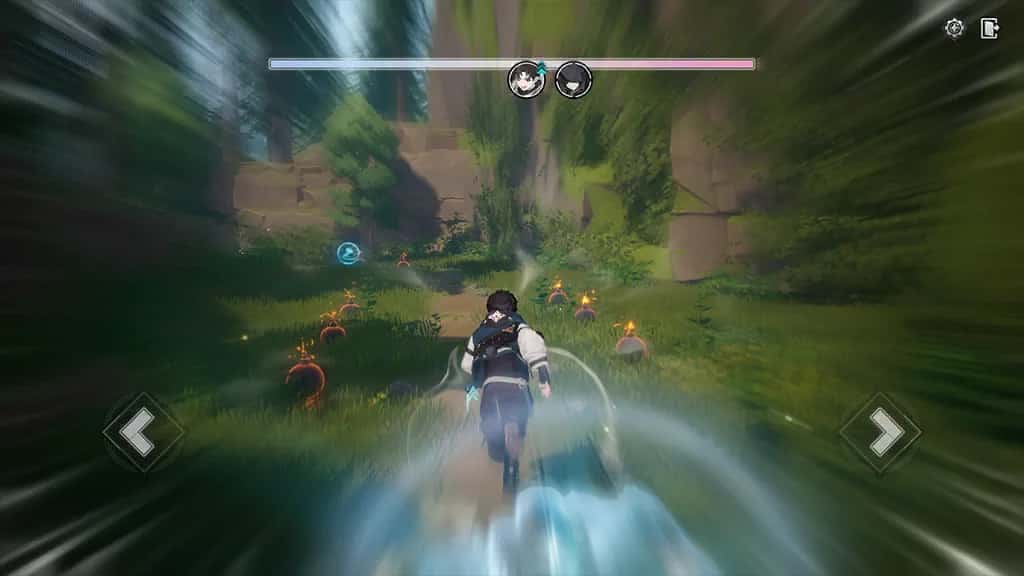
Obtain Boosts to move faster.
Infiltrating
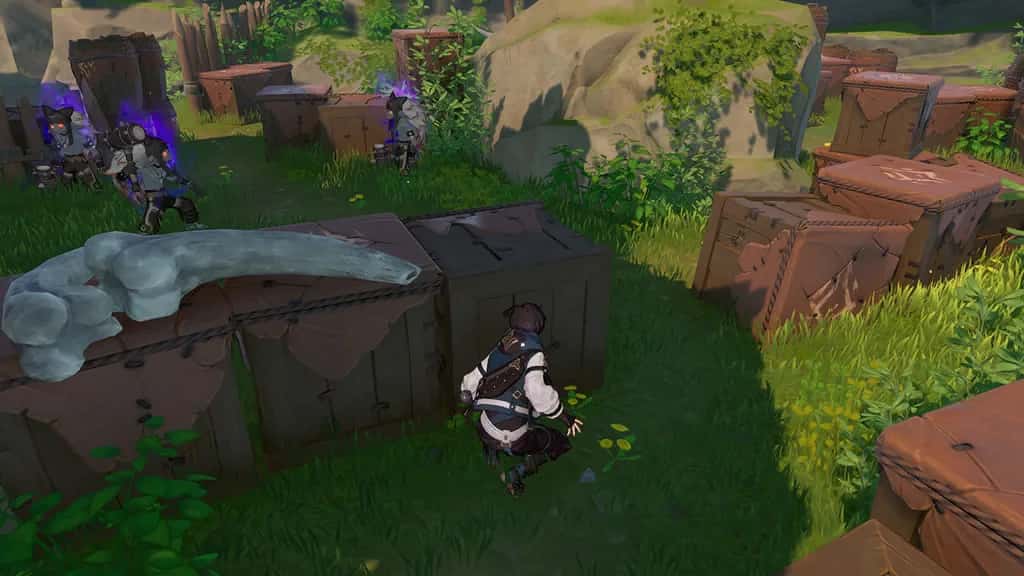
Avoid the sight lines of enemies standing guard to infiltrate.
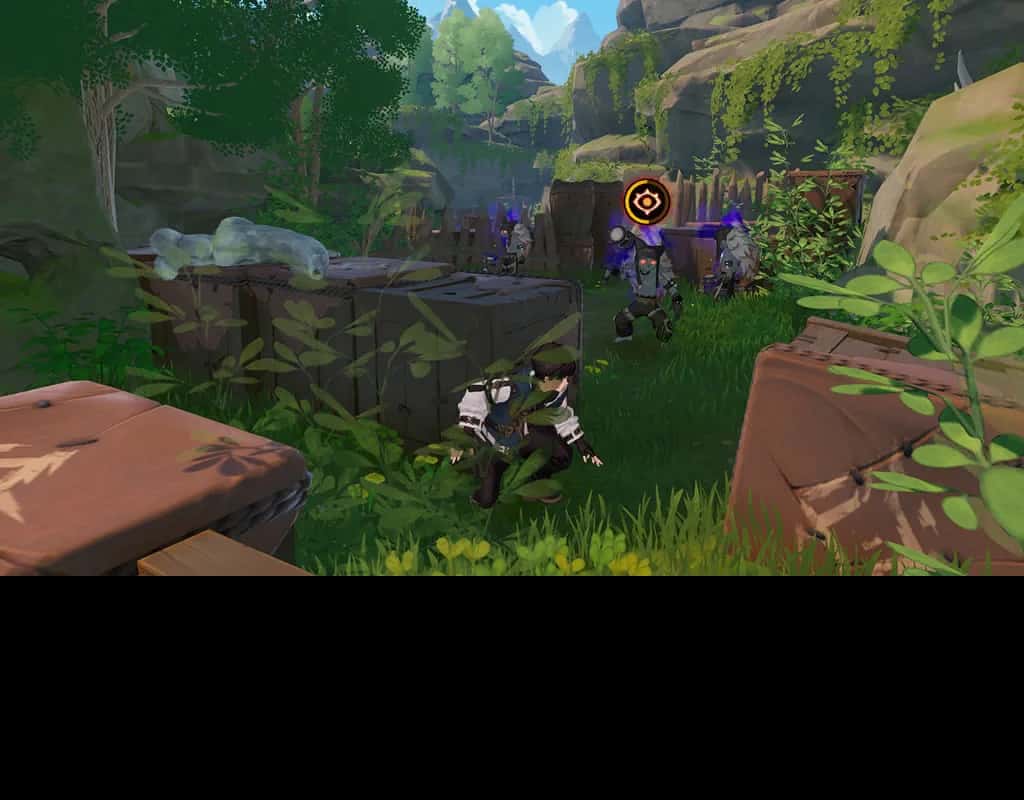
If an enemy senses your presence and you don't leave their sight in time, you'll be detected and fail the infiltration!
Wires
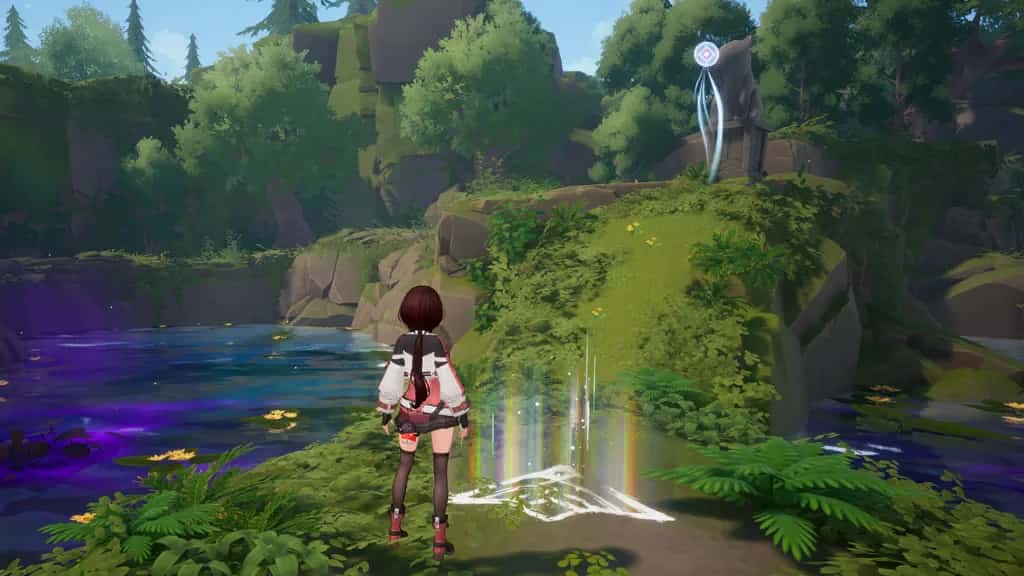
In your journey, you may come across Wires.
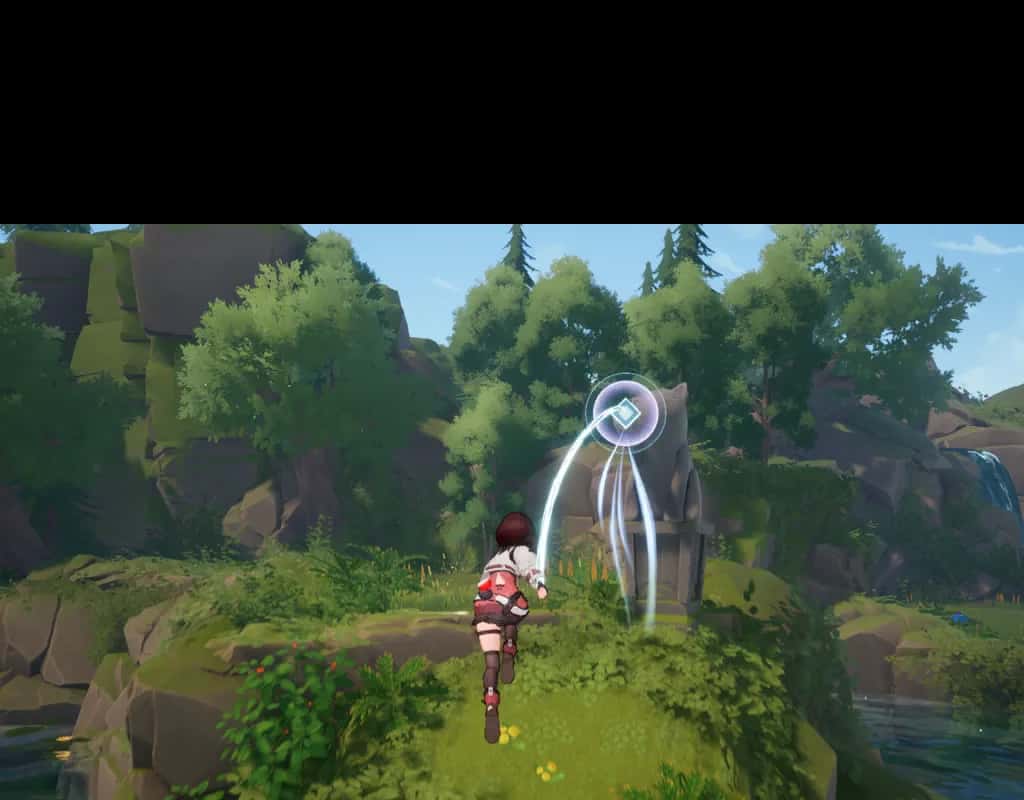
Get close to a Wire and interact with it to leap up to a high spot!
Sliding
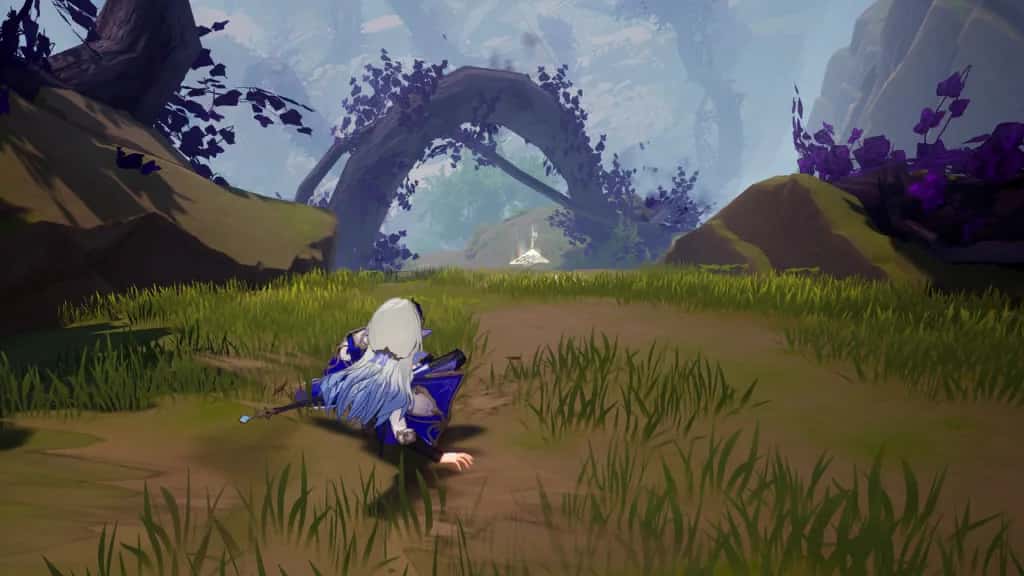
On steep downhill slopes, you can descend quickly by Sliding. Save some time and enjoy the rush!
Escaping
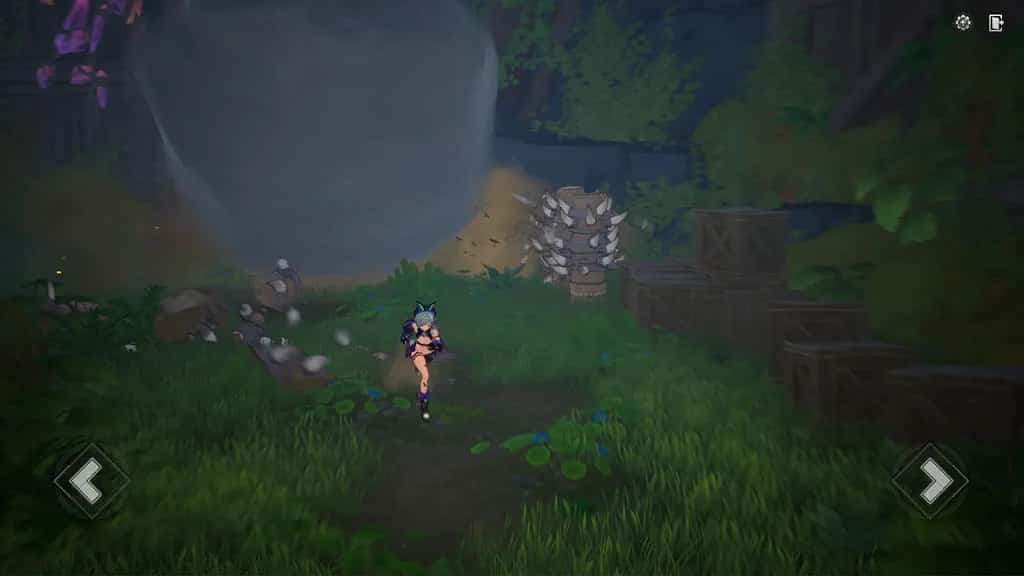
Run! Escaping will fail if you're caught.
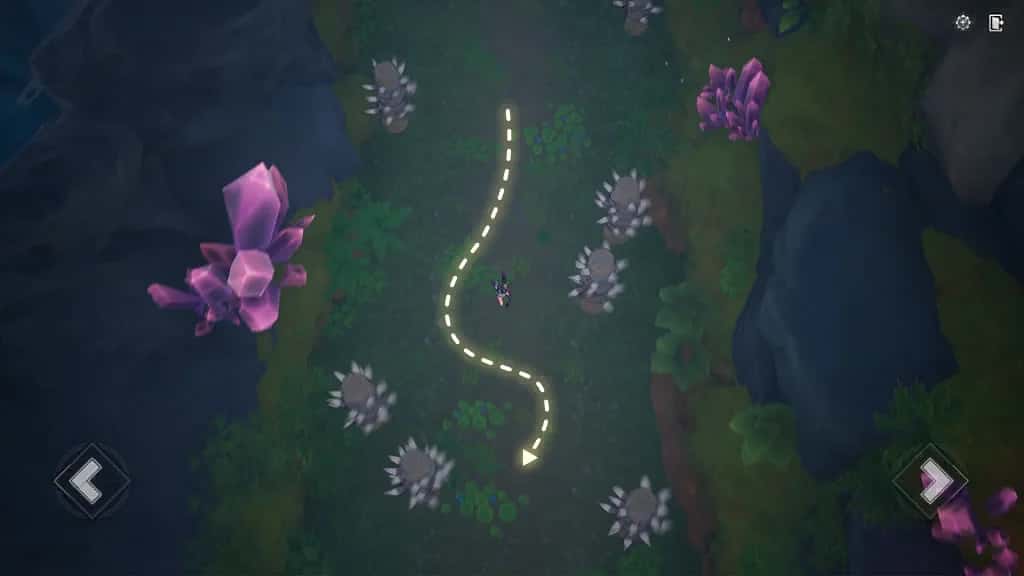
Dodge the obstacles in your path to successfully escape!
Oz's Puzzles
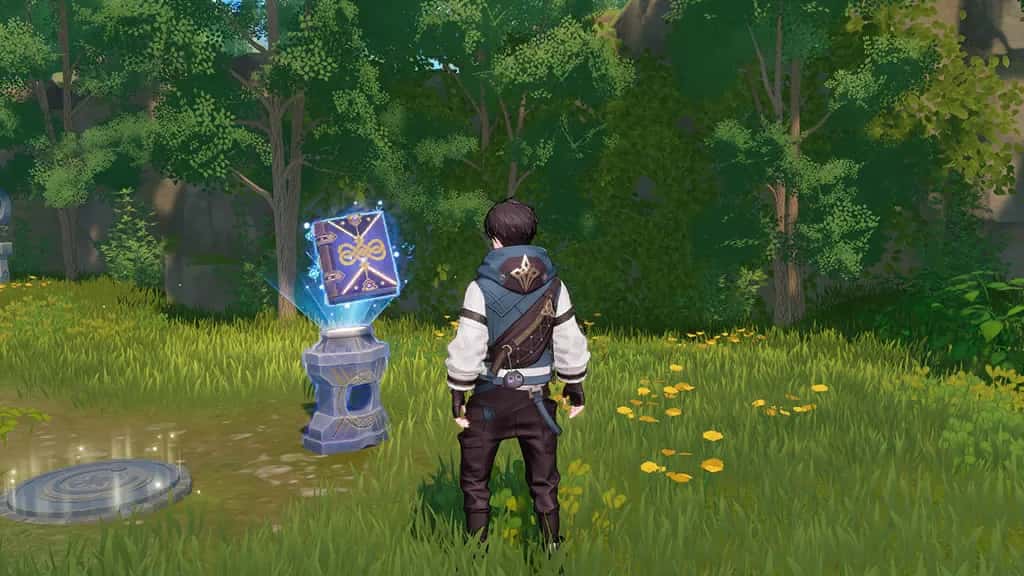
You can find traces of the mysterious wizard Oz all over the world.
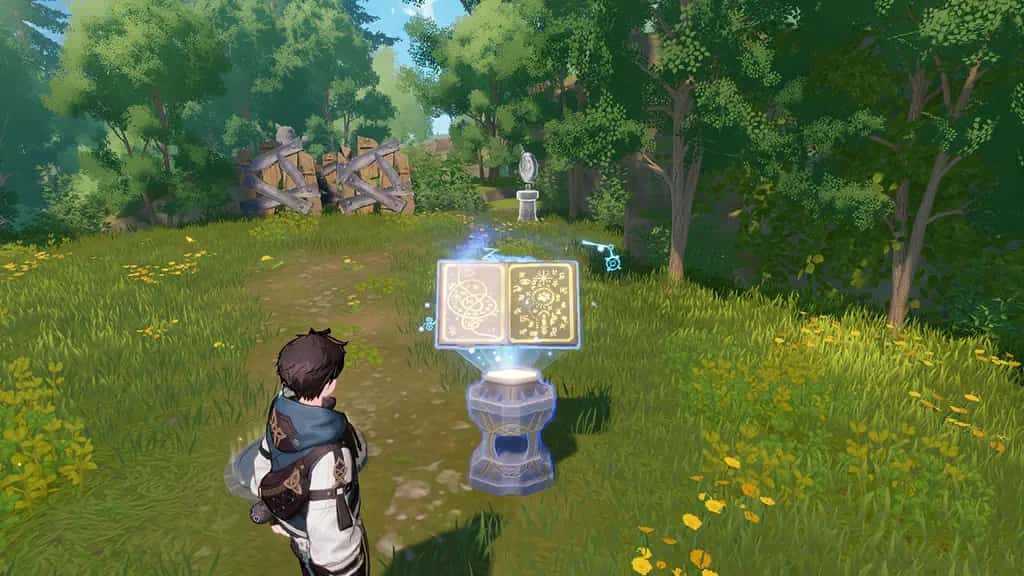
Get close to one of Oz's Magic Tomes and interact with it to start solving Oz's Puzzles.
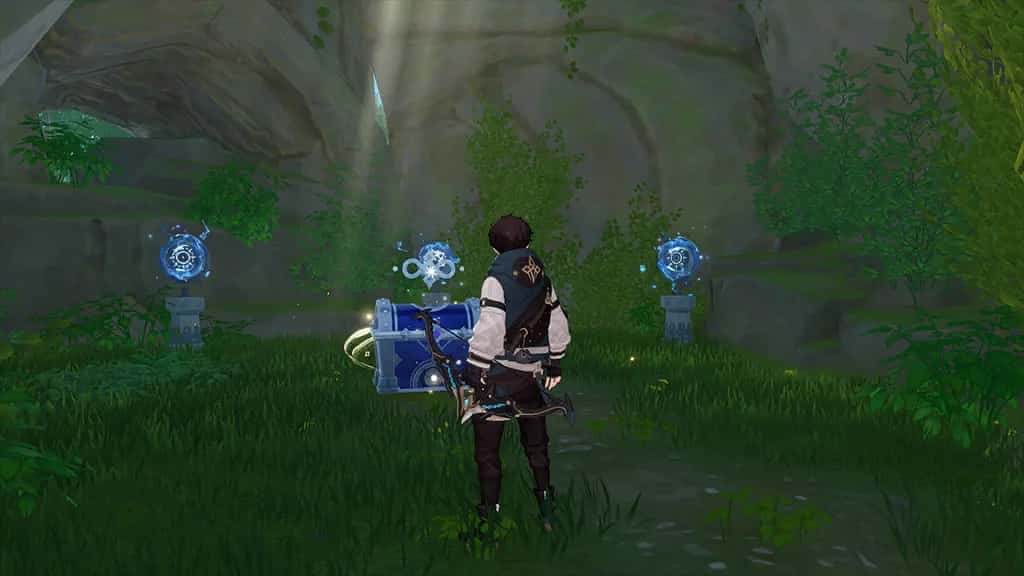
Successfully solving Oz's Puzzles may lead you to Oz's hidden treasure!
Treasure Chests
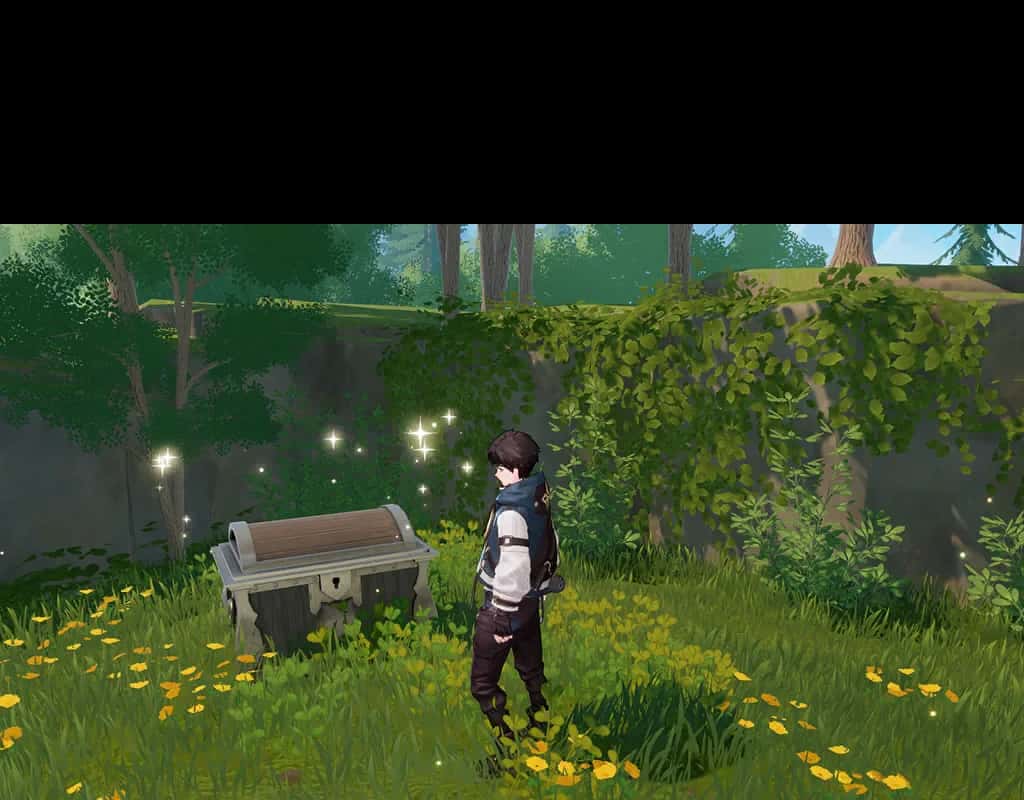
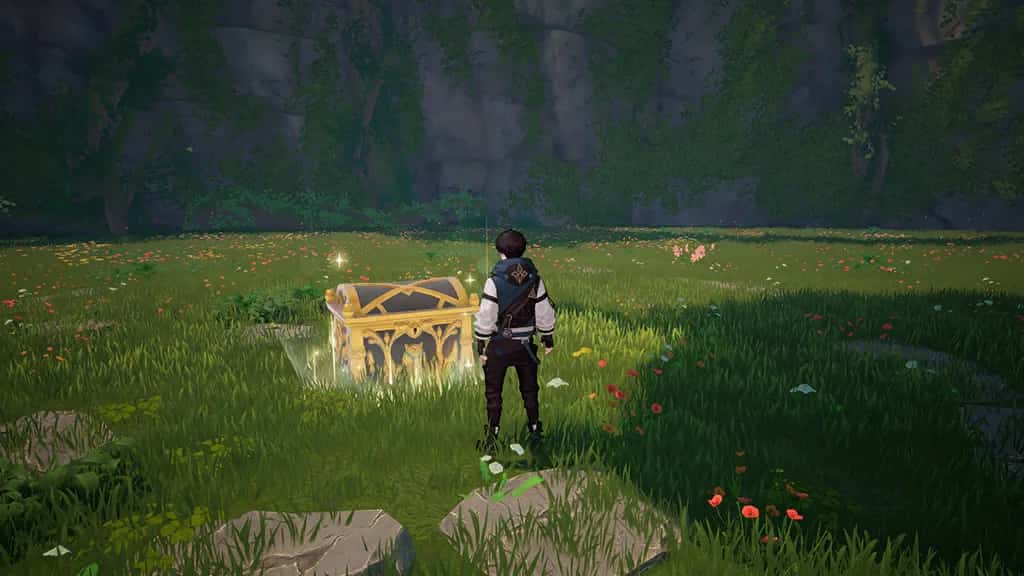
As you travel across different regions, you may come across Treasure Chests with rewards inside.
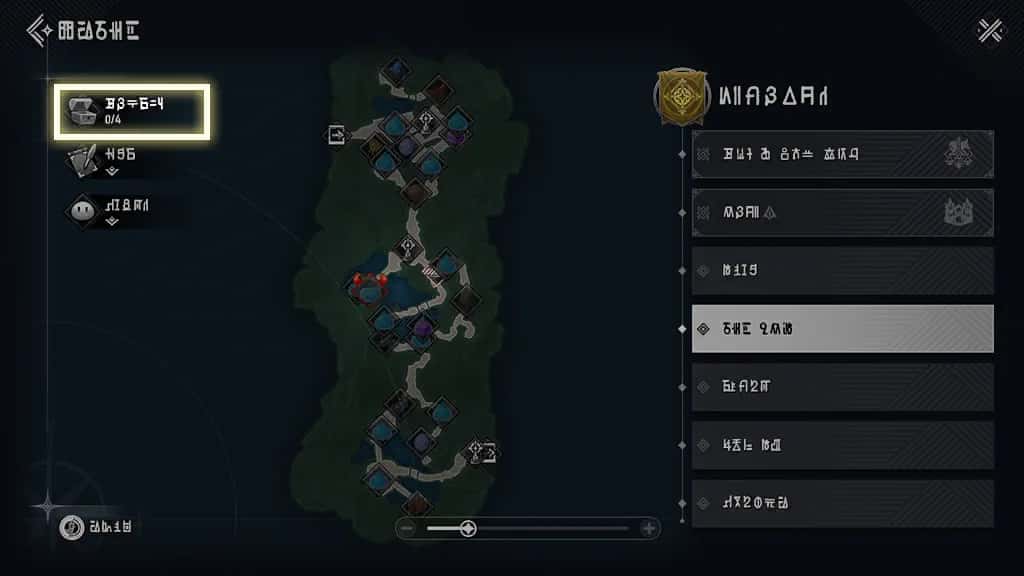
Check the Adventure Map to see how many Treasure Chests are available in each region.
Warp Device: Revive
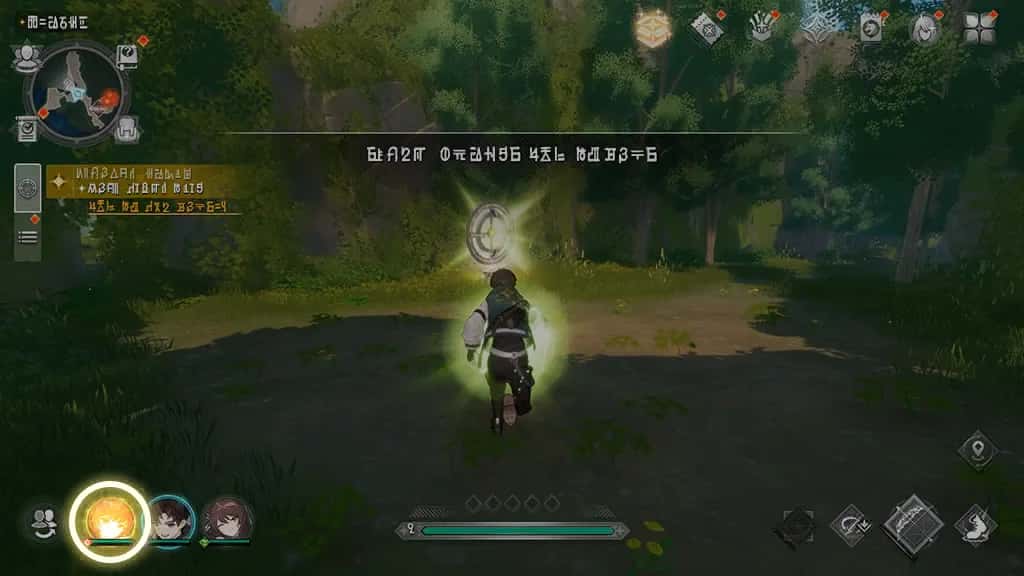
The Warp Device can revive characters.
Monster Codex
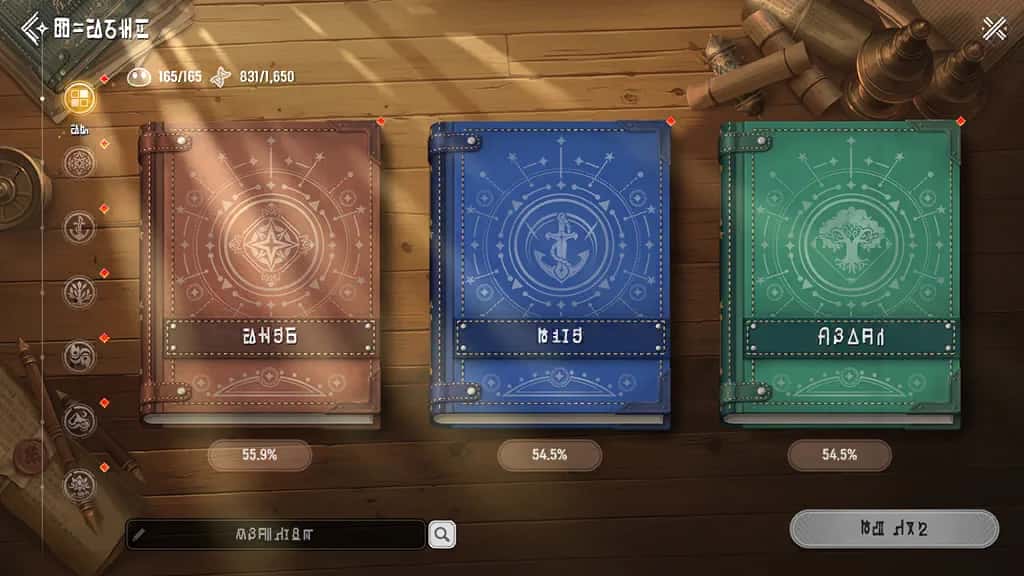
Defeating or capturing a monster adds it to the [Monster Codex].
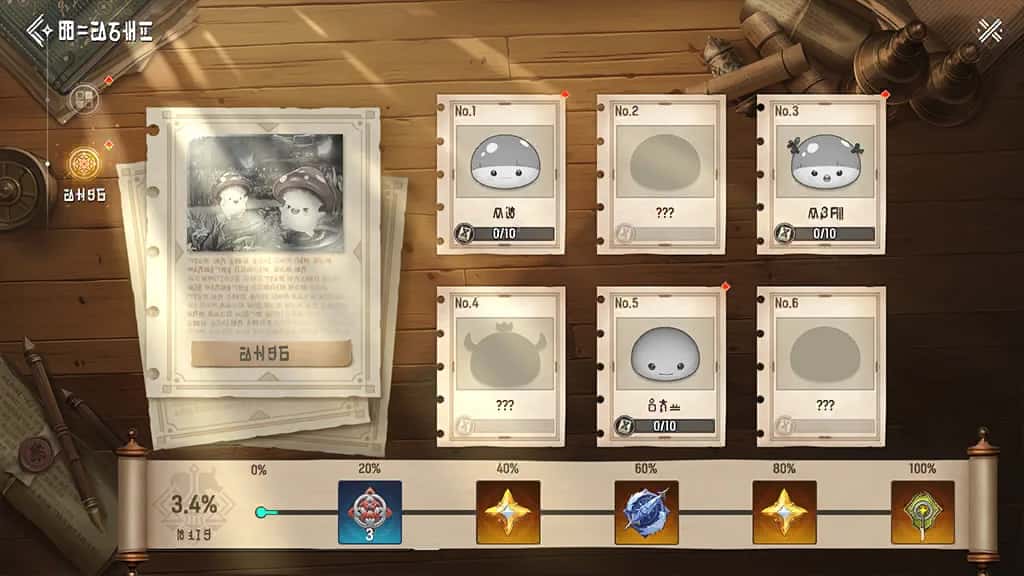
You can claim a reward upon reaching a certain Achievement Level in the Monster Codex.
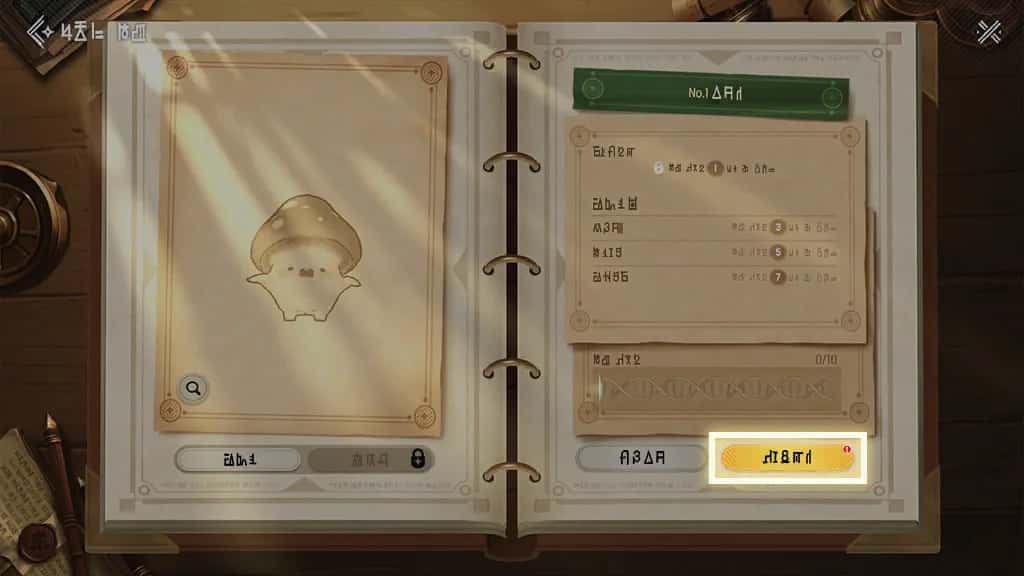
Your Research Level increases based on how many times you've captured monsters.
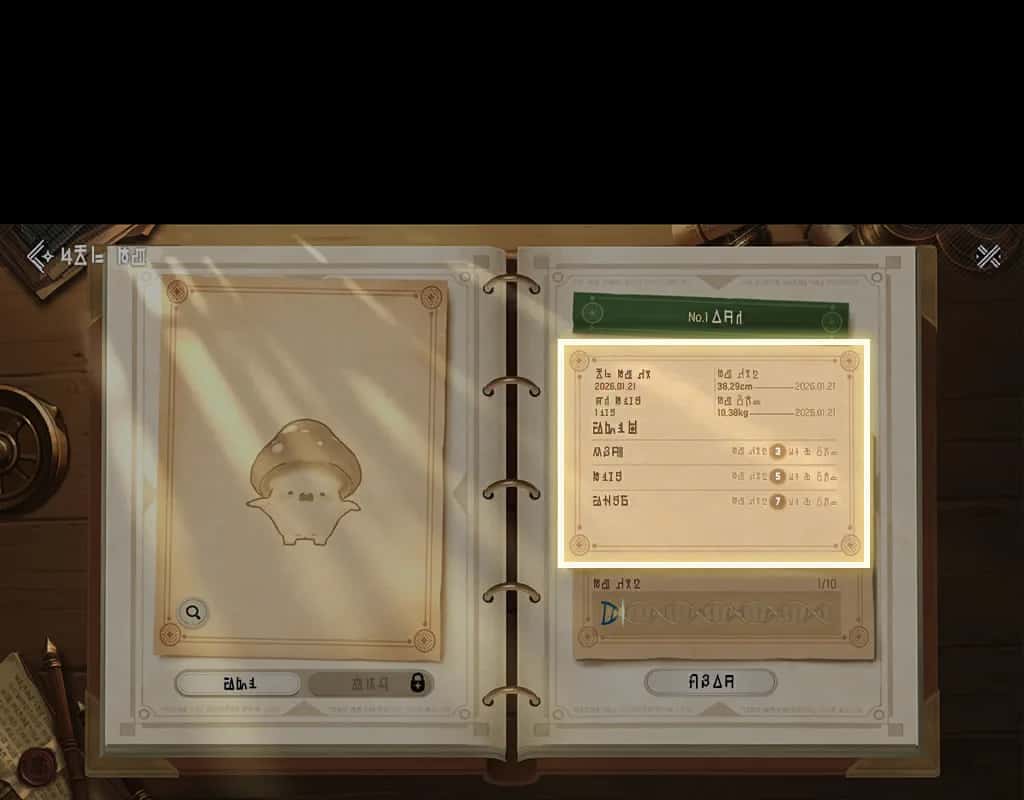
Reach a certain level to unlock the Observation Log.
Check Source to see where you can obtain a monster.
Requests
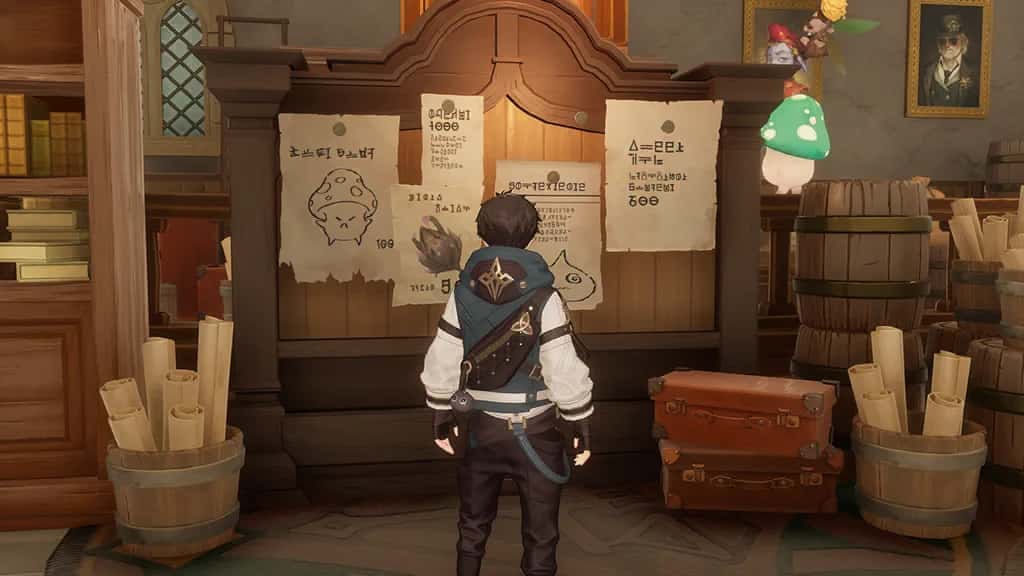
You can accept Requests through the Request Board at gathering hubs.
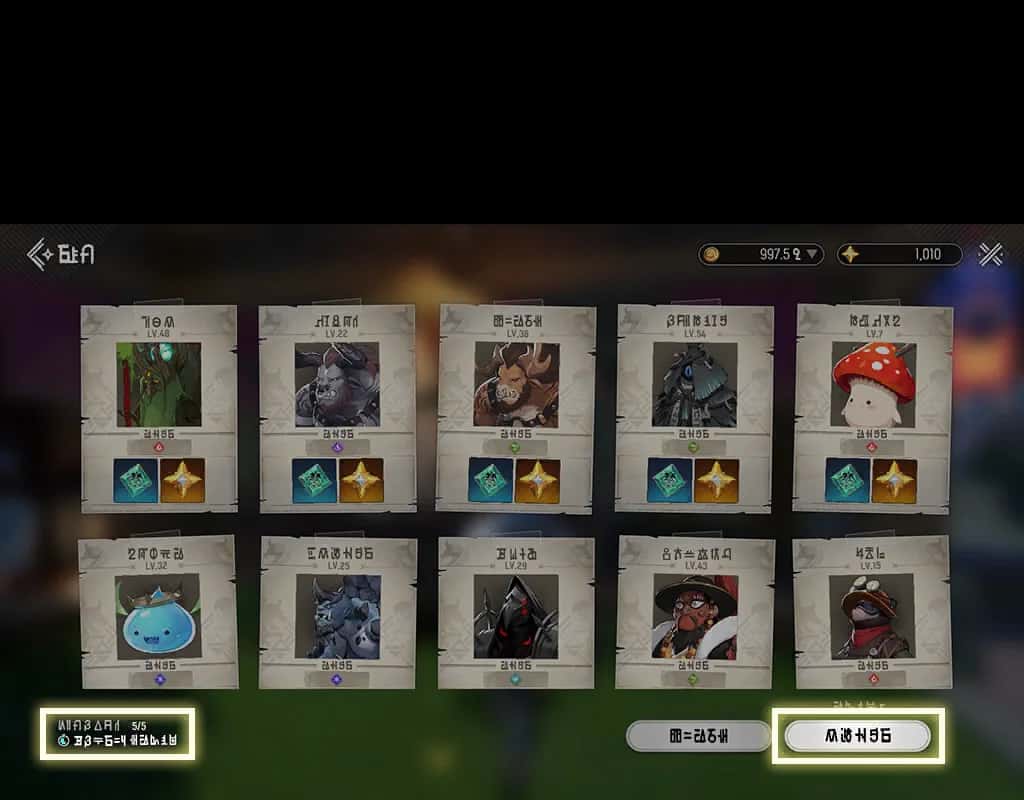
While Requests are refreshed at a set interval, you can also refresh them right away by using the Refresh List button.
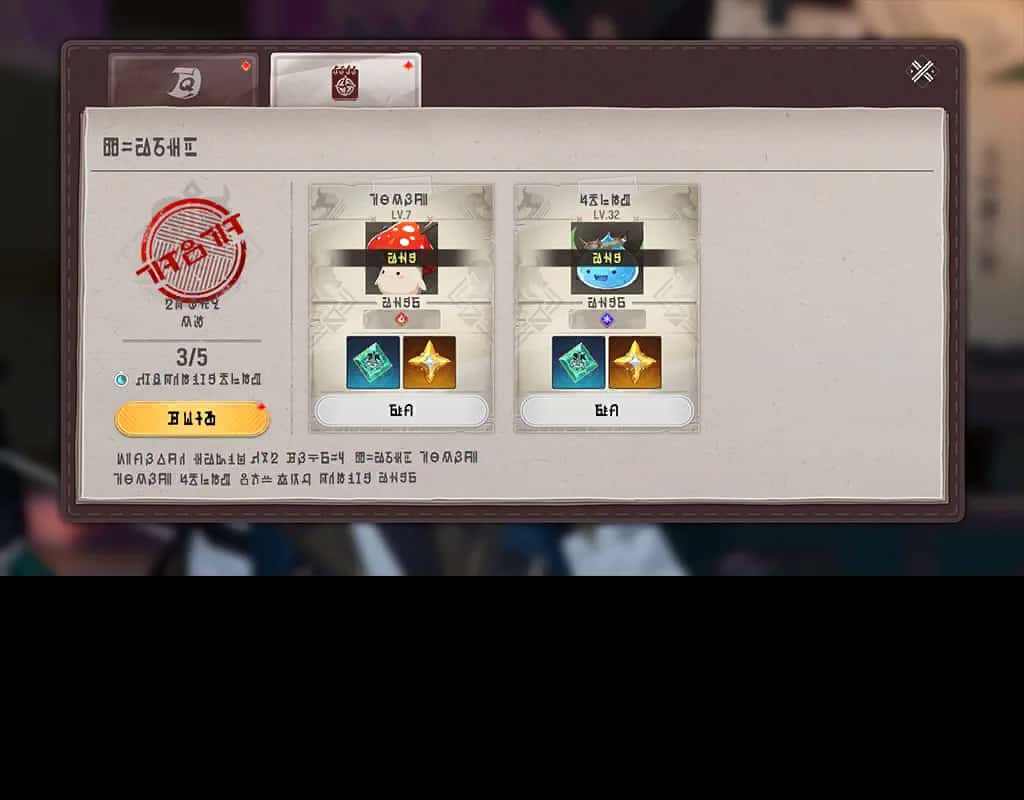
Open the Adventurer Diary to review active or completed Requests.
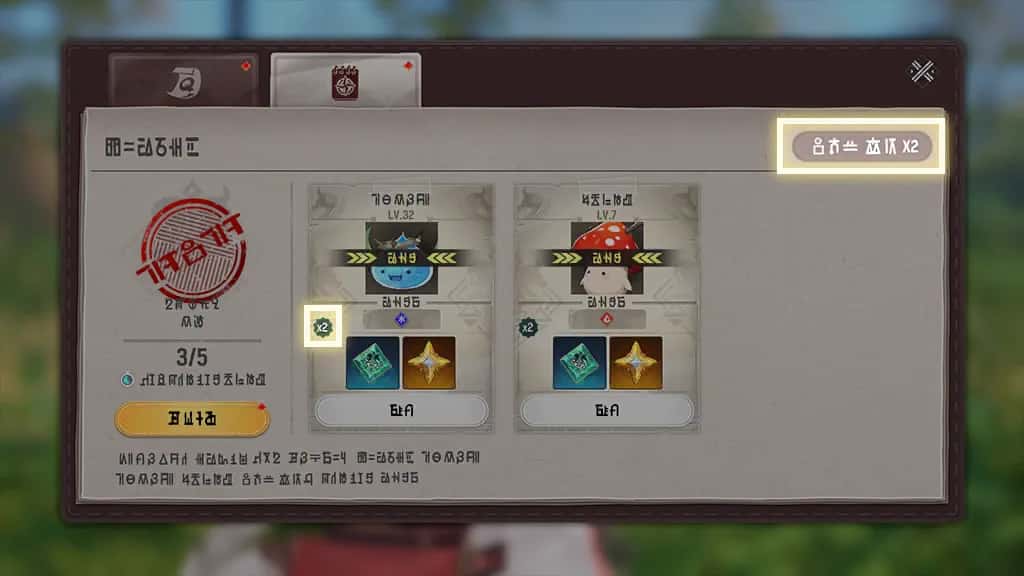
If daily requests aren't turned in, the additional reward bonus will stack for up to 7 days. The additional reward bonus will reset the following day after claiming request rewards.
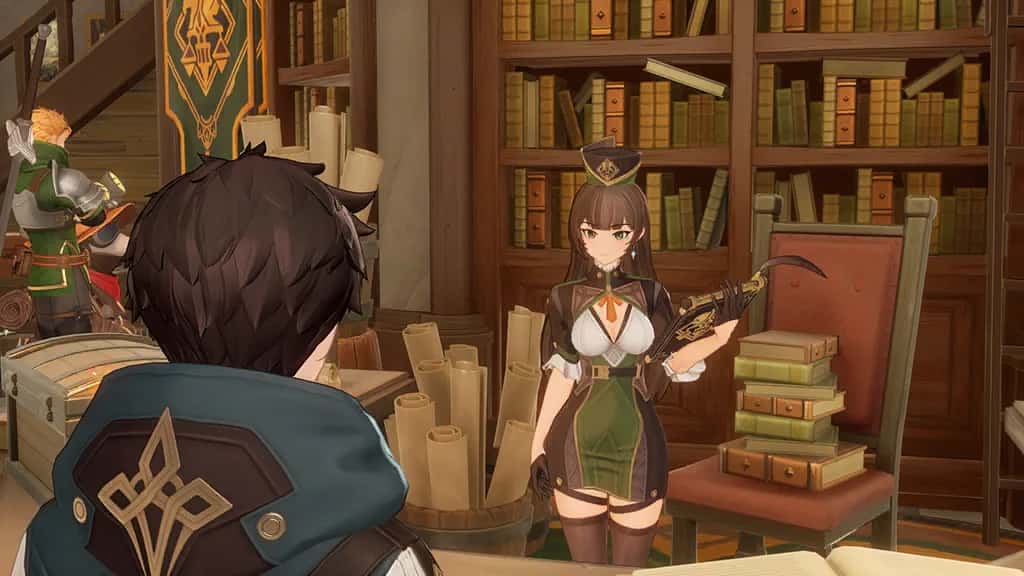
Once you complete a Request, you can claim the reward from the Receptionist at the gathering hub.
Conquest
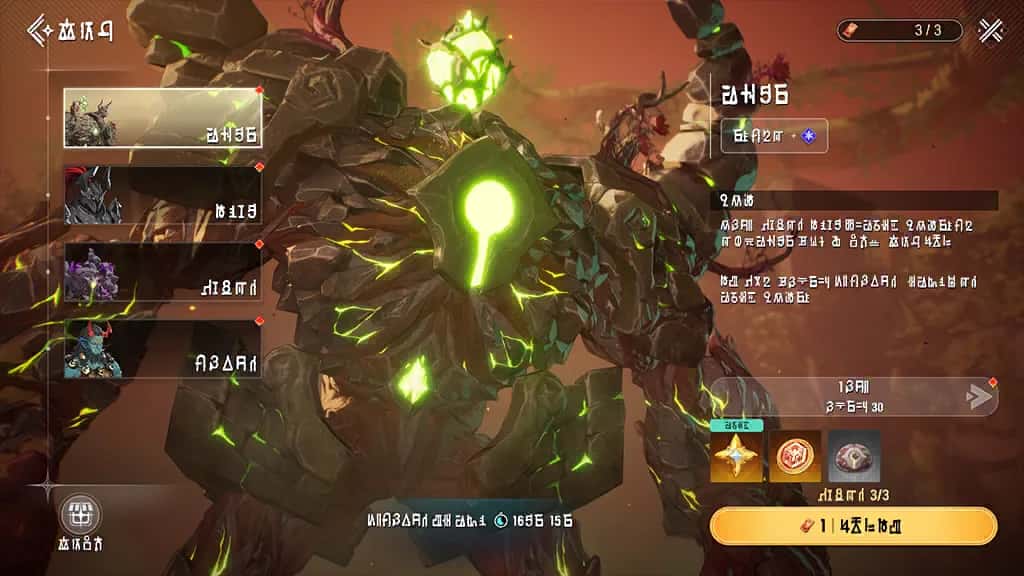
Conquest allows you to fight powerful bosses you encountered in the story again.
Defeat them before time is up to claim various rewards.
Knowledge
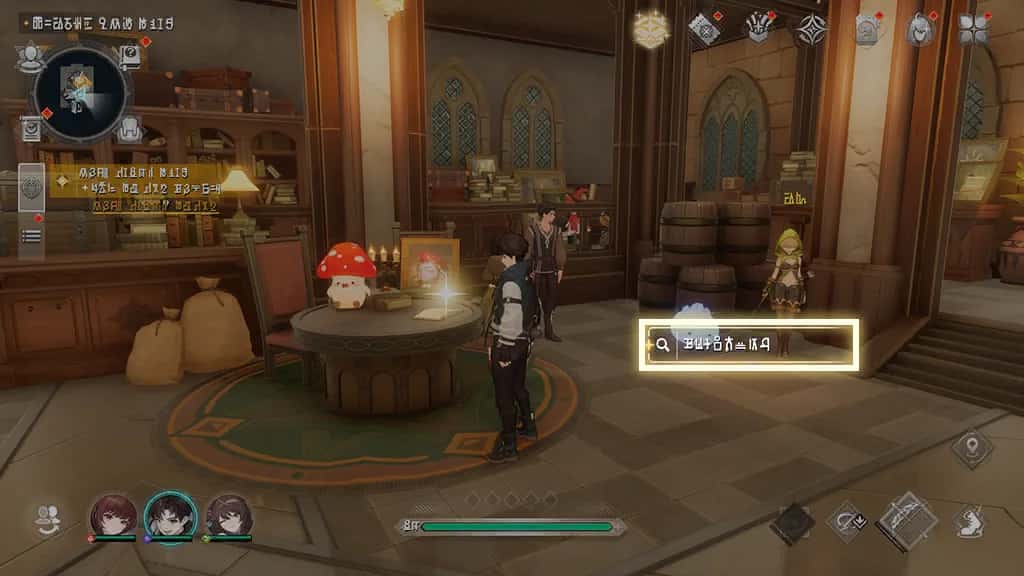
As you complete quests or travel across different regions, you may come across special items that award you Knowledge of that area.
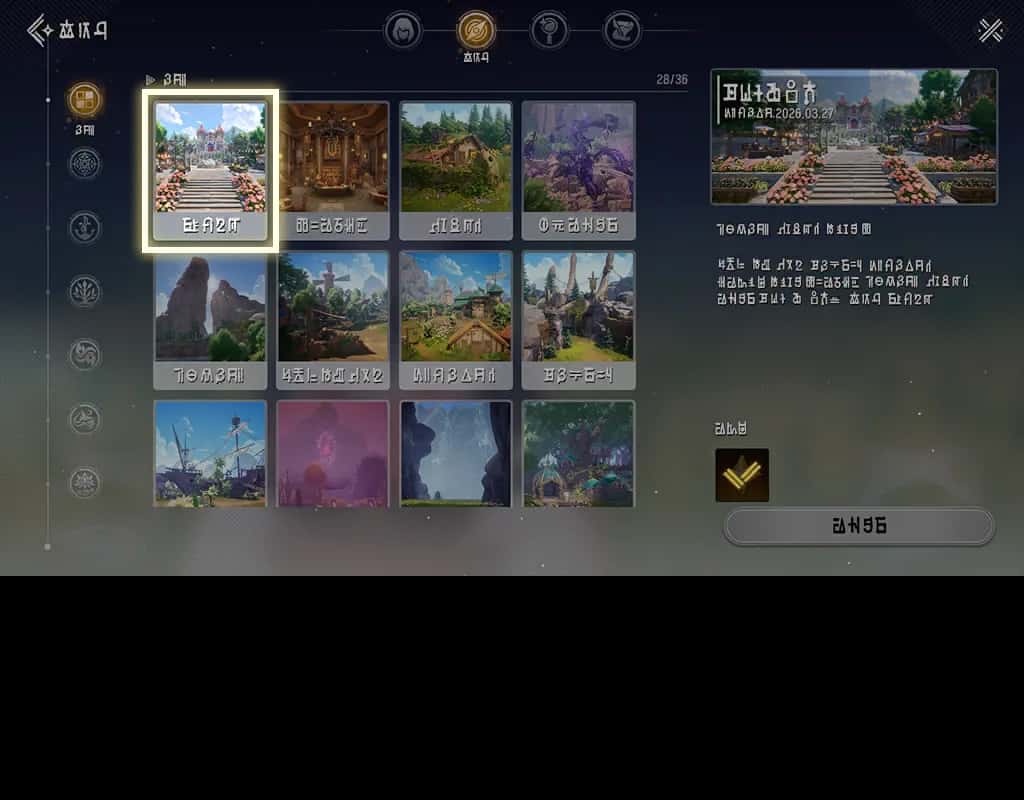
You can check items you've obtained in the Knowledge screen and claim rewards.
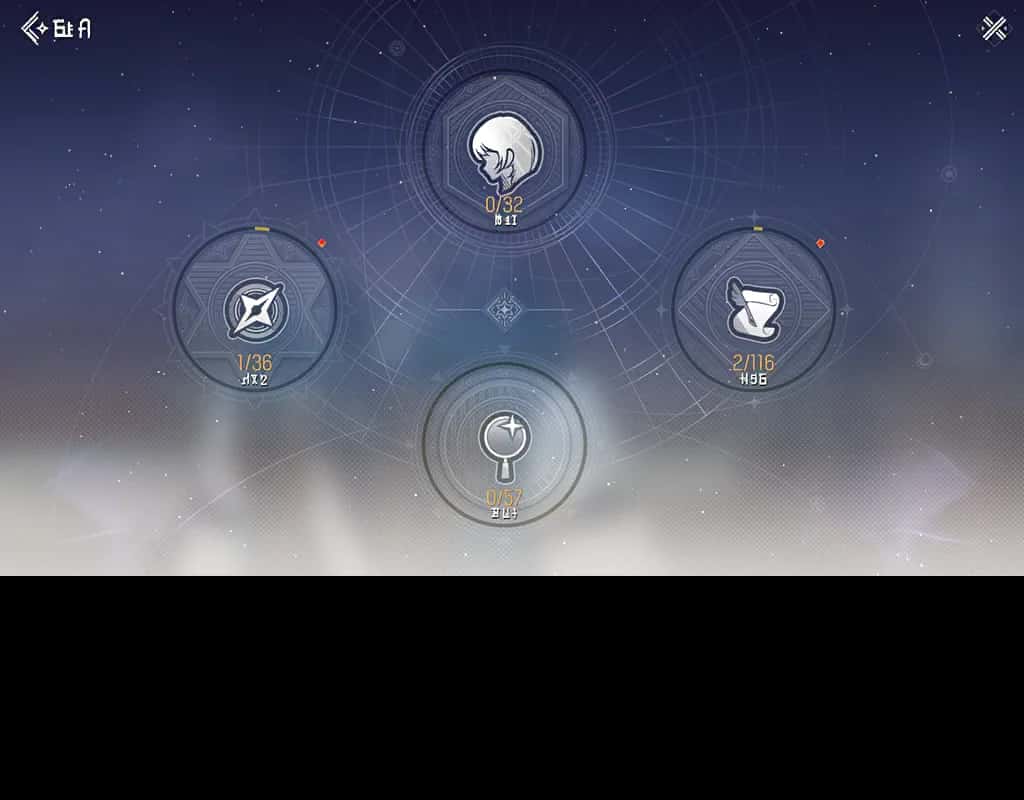
Collect Knowledge during your adventure and fill out your records!
Adventurer Quests
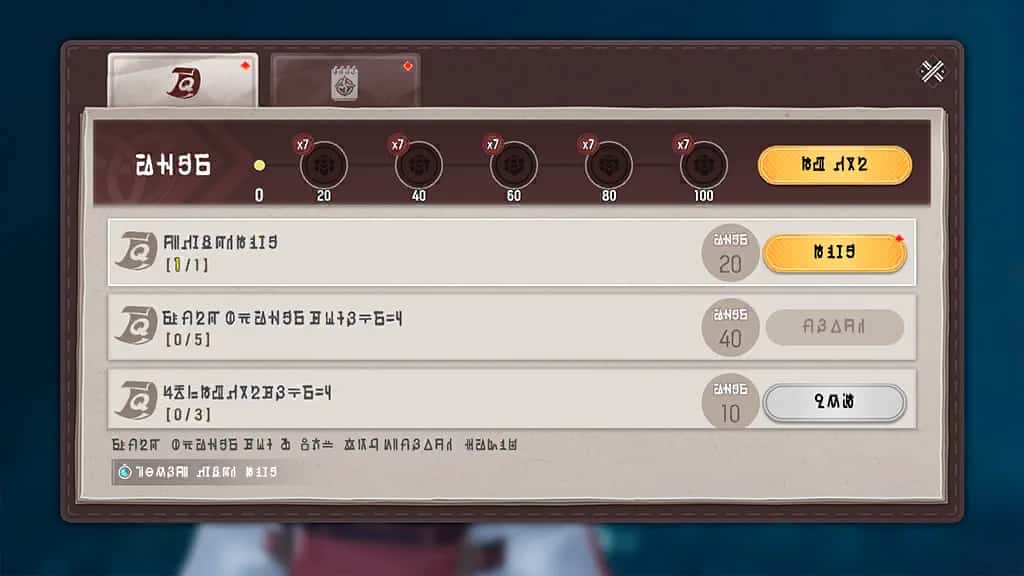
You can check what missions are available each day in the Adventurer Quests tab of Adventurer Diary.
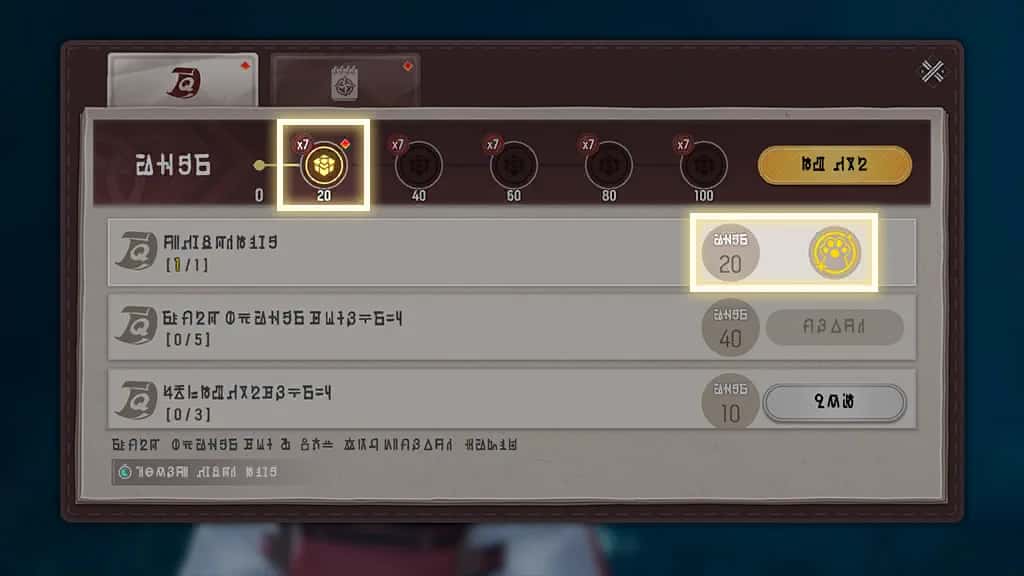
Completing Adventurer Quests earns you Contribution. When you've earned enough, you can claim rewards.
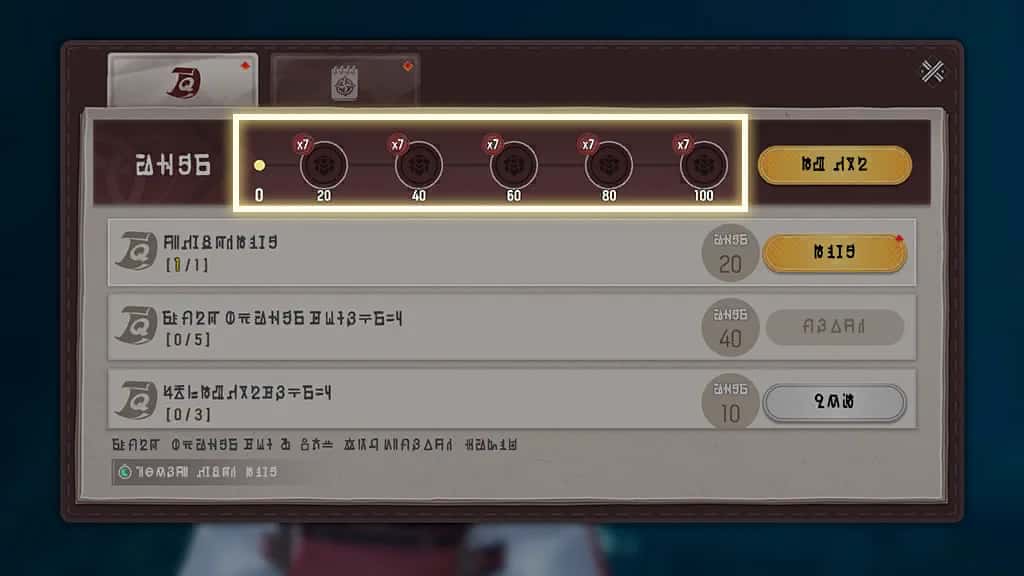
If contribution rewards are not claimed, a Contribution Reward Bonus is added the following day. This can stack up to 7 times and will reset after you claim the reward.
Teams
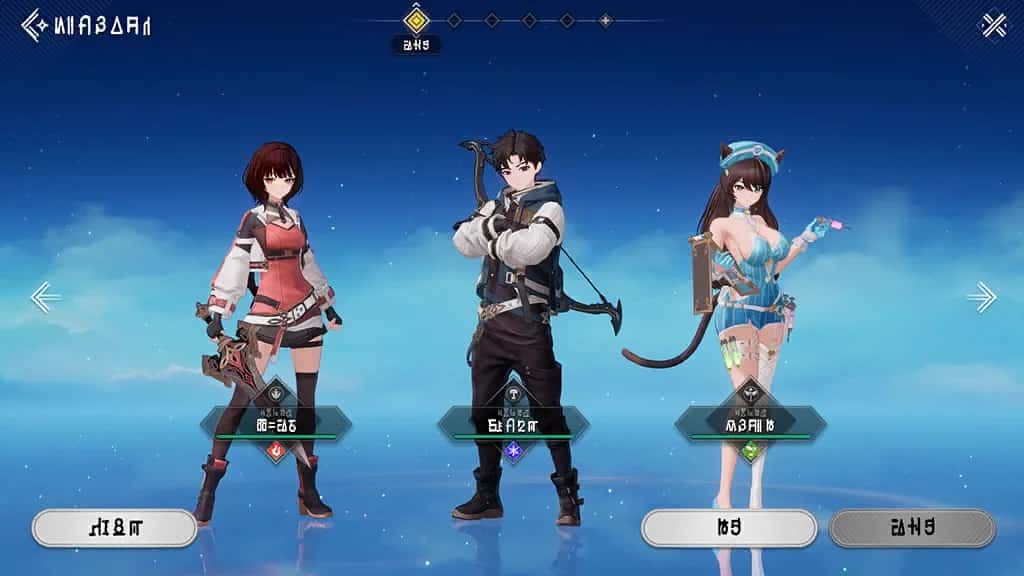
The Edit screen on the Team menu lets you assign up to 3 characters to your teams.
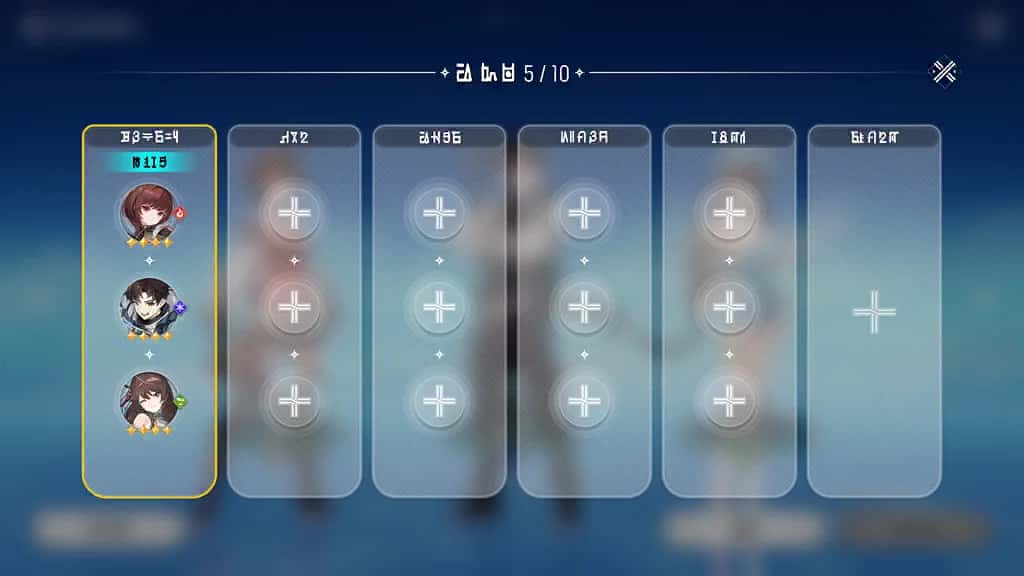
You can also Manage Teams to add or configure team presets.
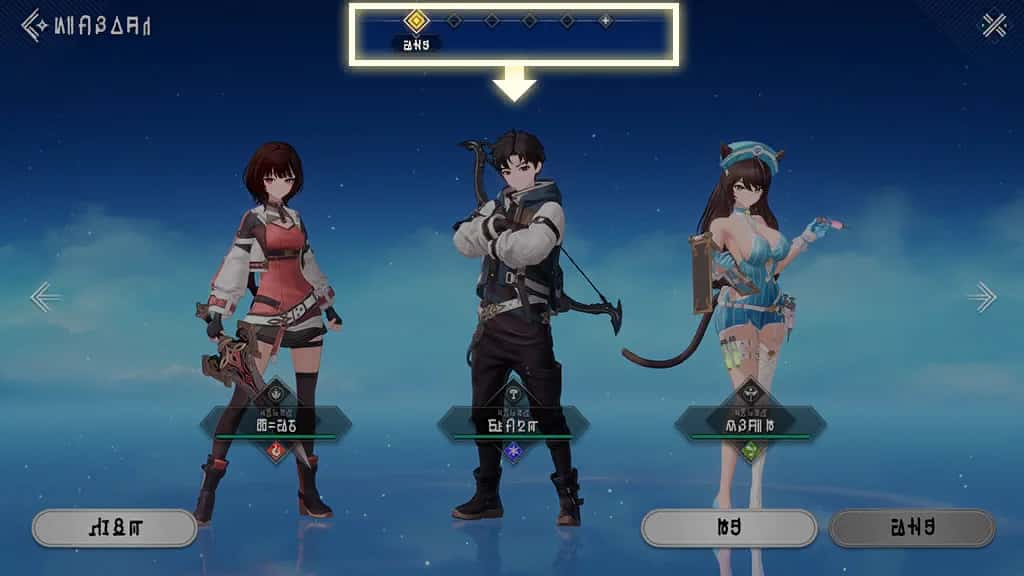
Configuring Team Presets helps you easily change your characters for different situations.
Friends
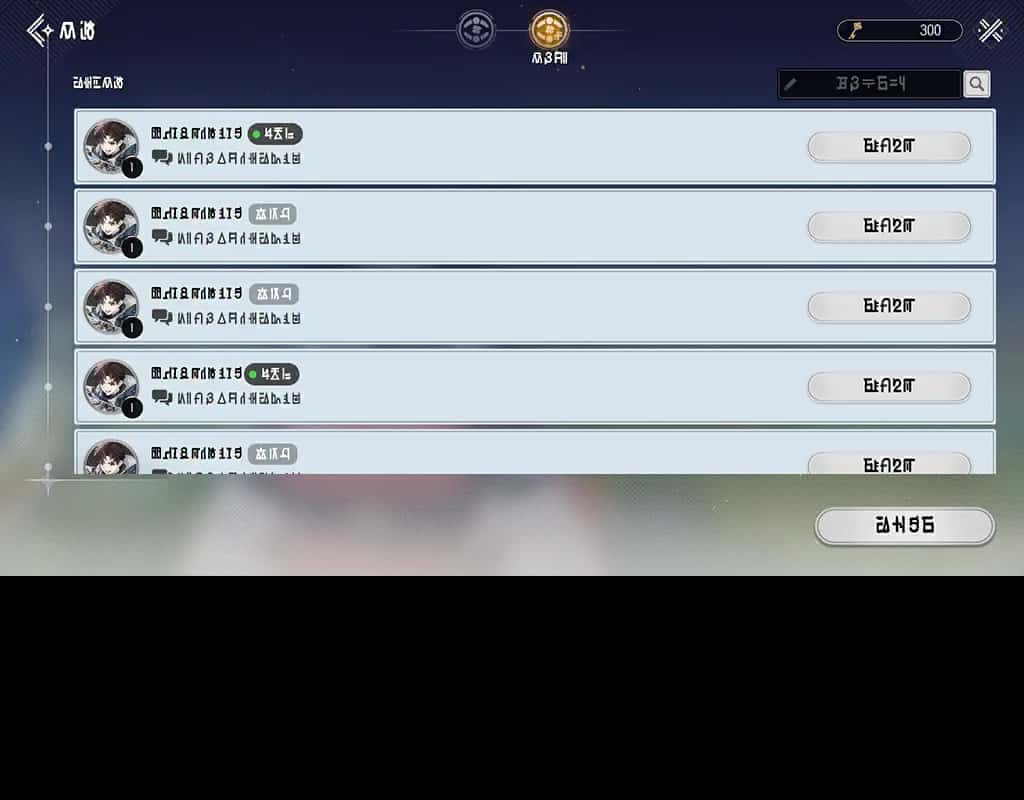
From the Add Friend screen, you can search for other players using their Friend Codes or send Friend Requests to Recommended Friends.
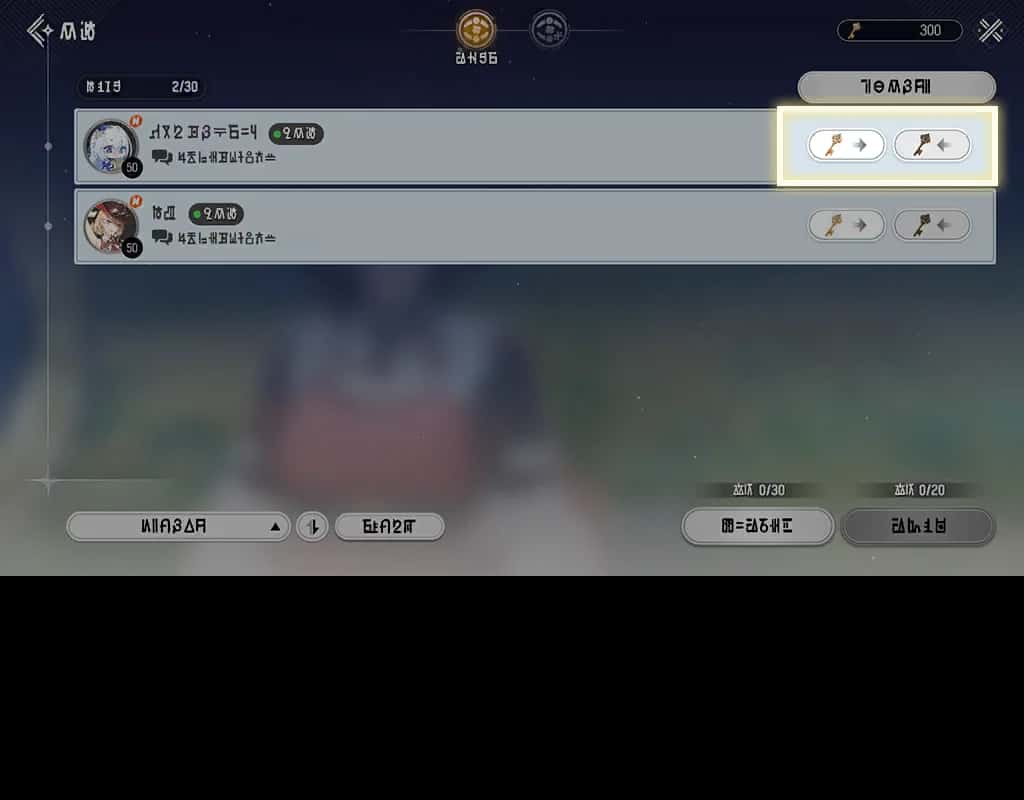
Once you become friends with someone, you can view their profile and companion characters and exchange keys with them daily.
Crafting
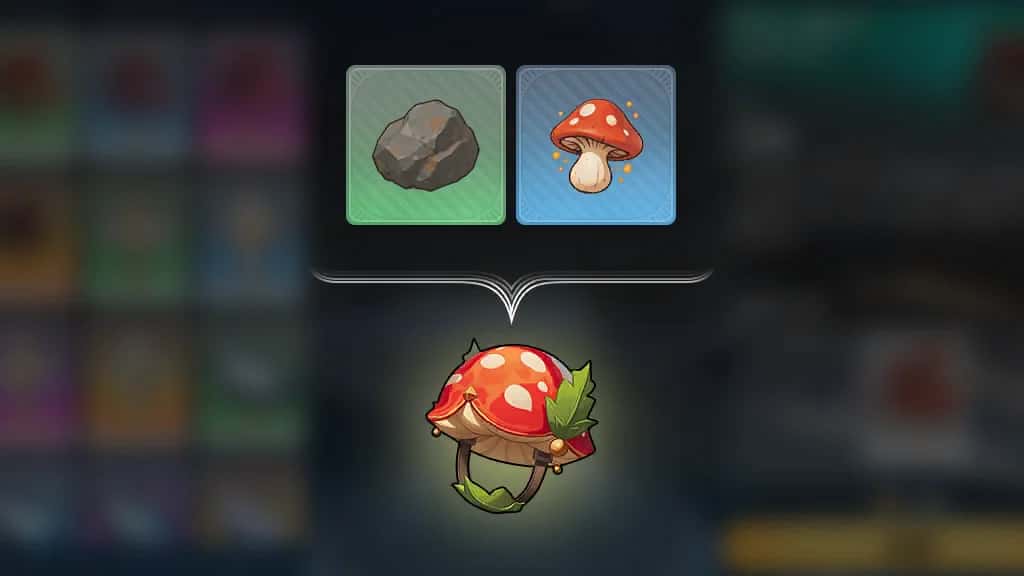
Crafting lets you make items by using various materials.
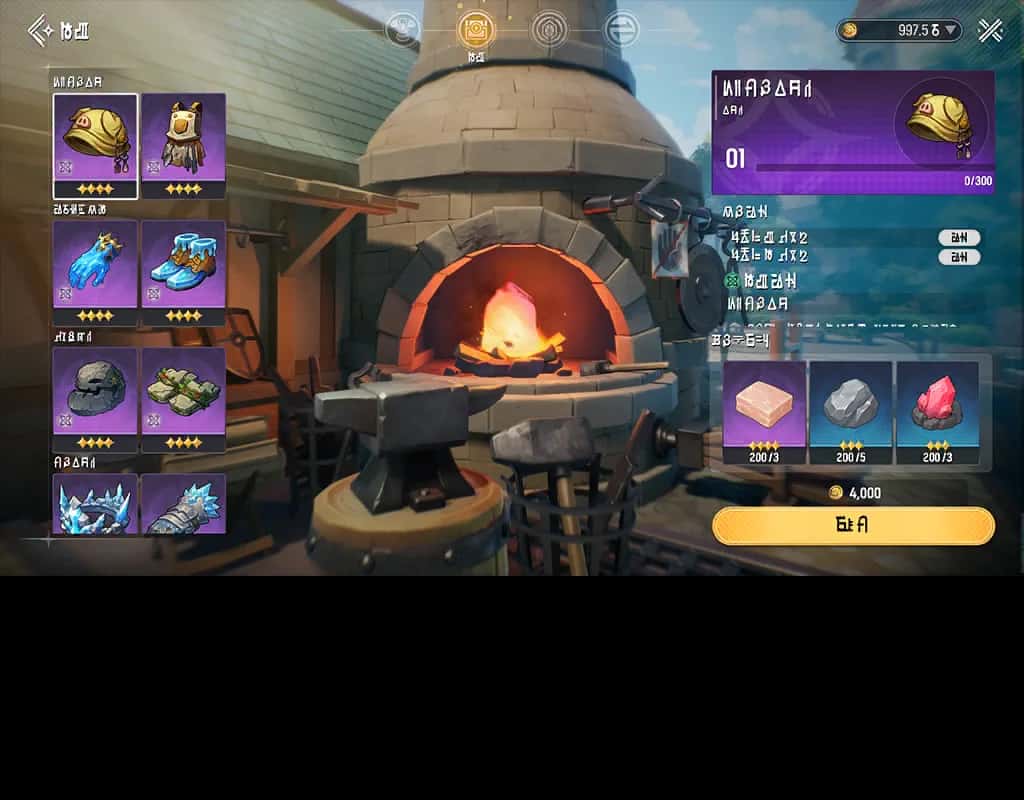
Under Equipment you can craft General Equipment, and under Sets, you can craft equipment items that come with Set Effects. Pick a part you like and start crafting.
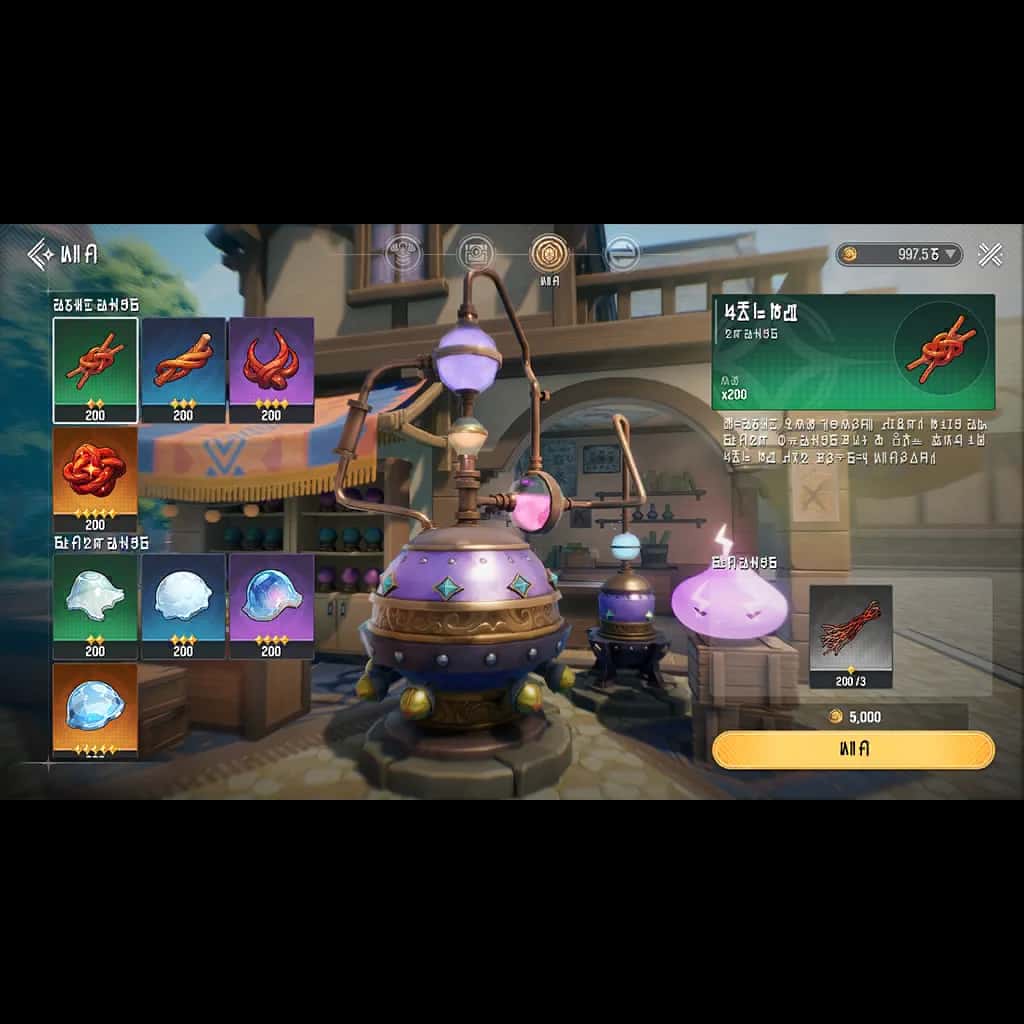
Under Combine, you can use up lower-grade items to create higher-grade power-up materials.
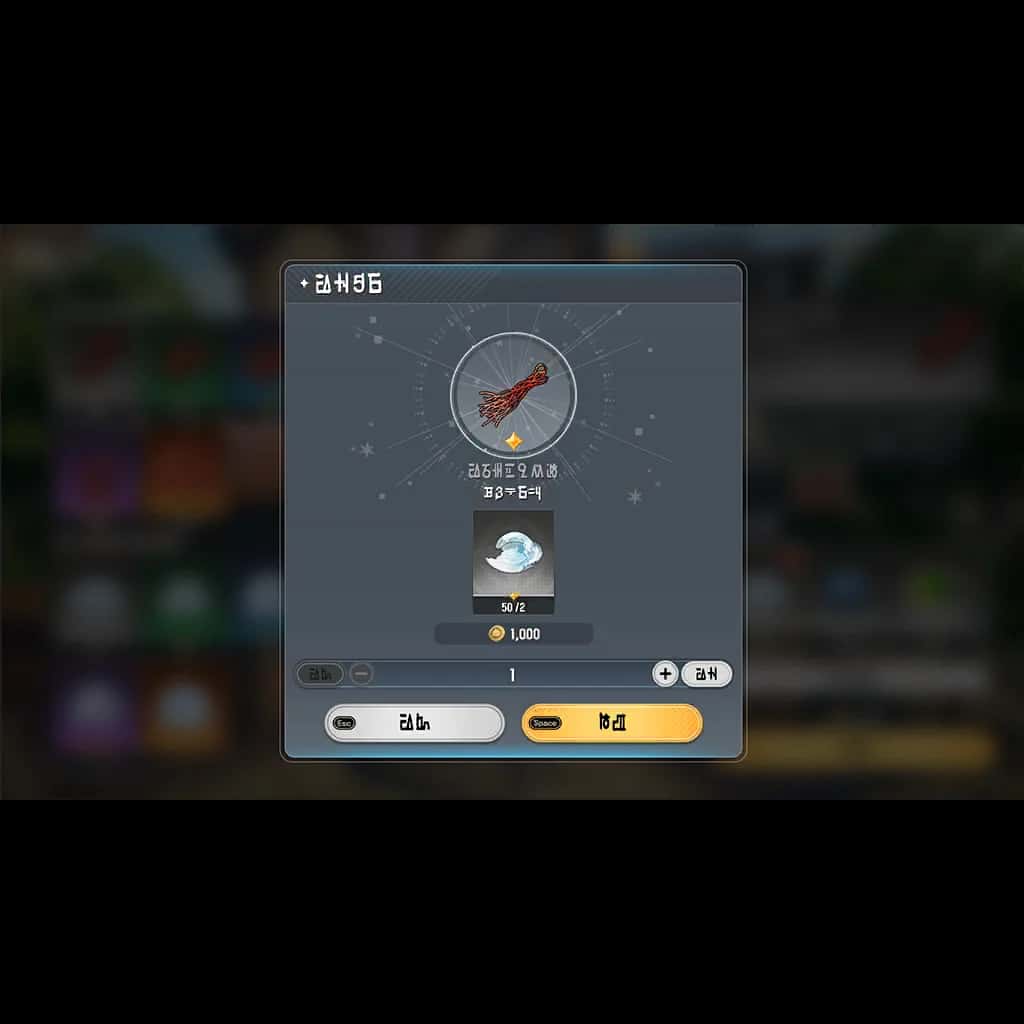
Under Convert, you can trade items of the same grade for alternative power up materials.
Cooking
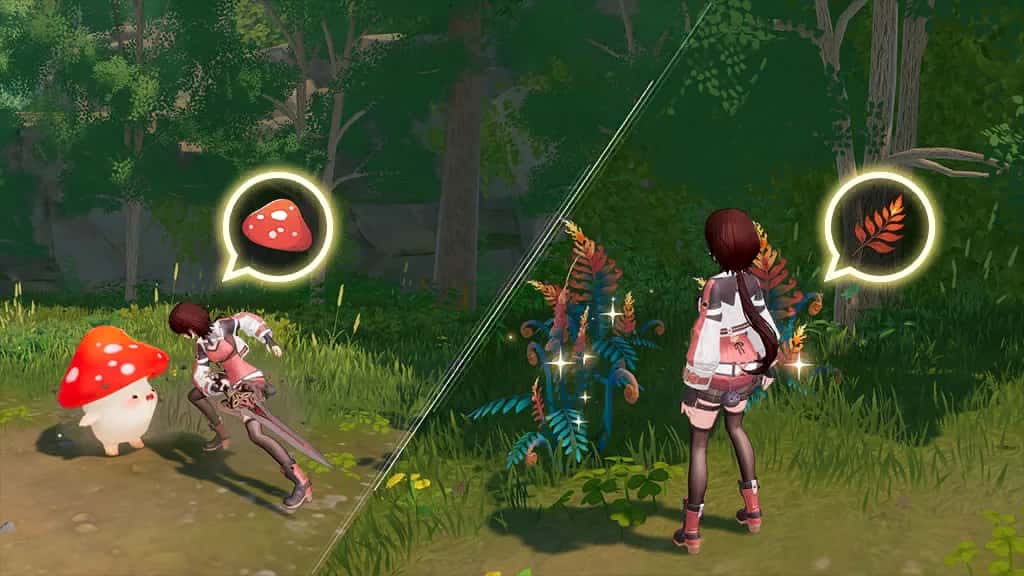
Items obtained by defeating Monsters or by Gathering can be used for Cooking.

Food items are divided into main dishes, side dishes, and drinks. Main dishes and side dishes grant enhancement effects while drinks revive fallen characters.
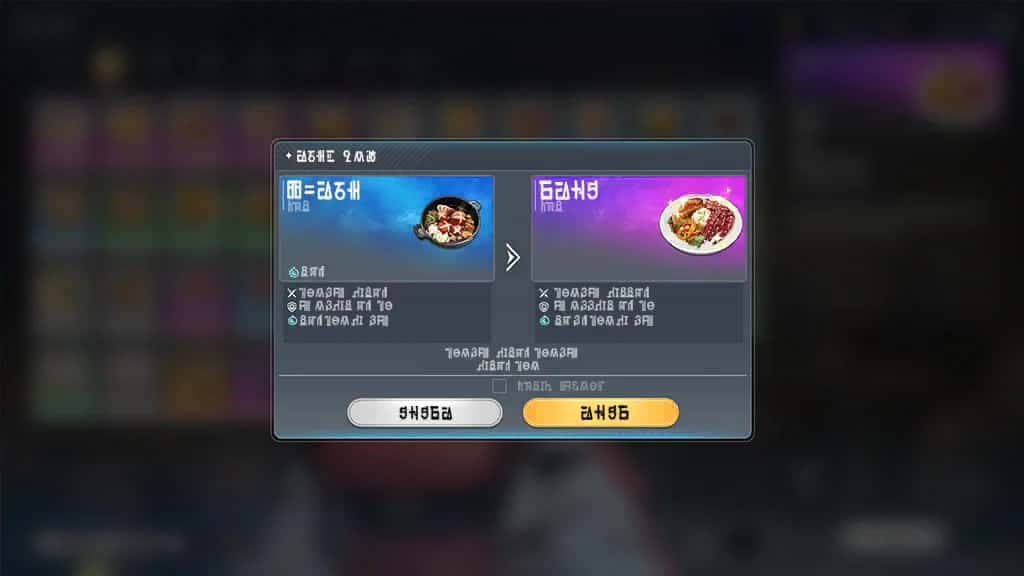
Enhancement effects from the same type of food do not stack. If you eat multiple food items of the same type, only the effects of the last food consumed will remain active.
Racing
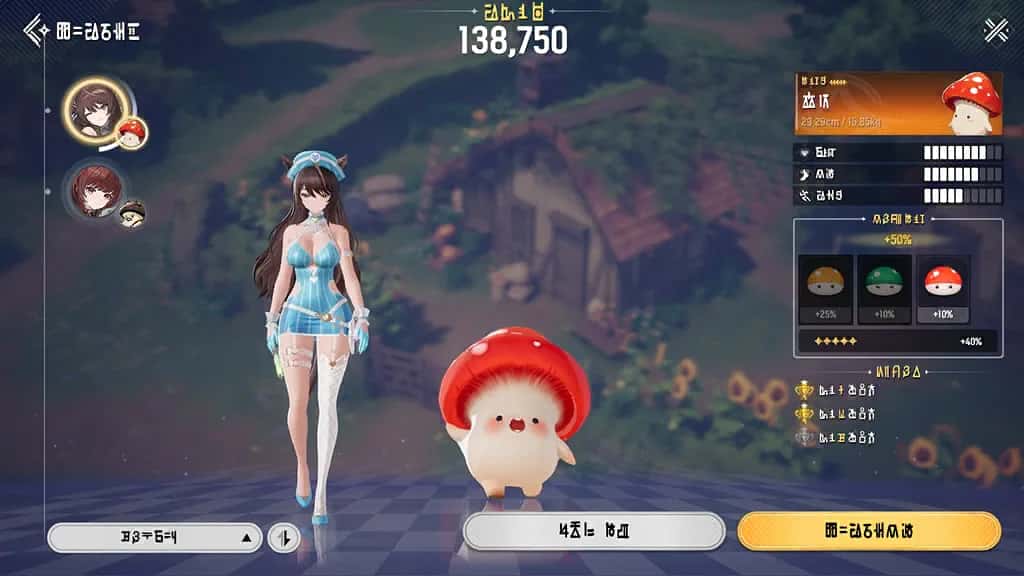
An equipped Monsterling can enter races as a Racer.
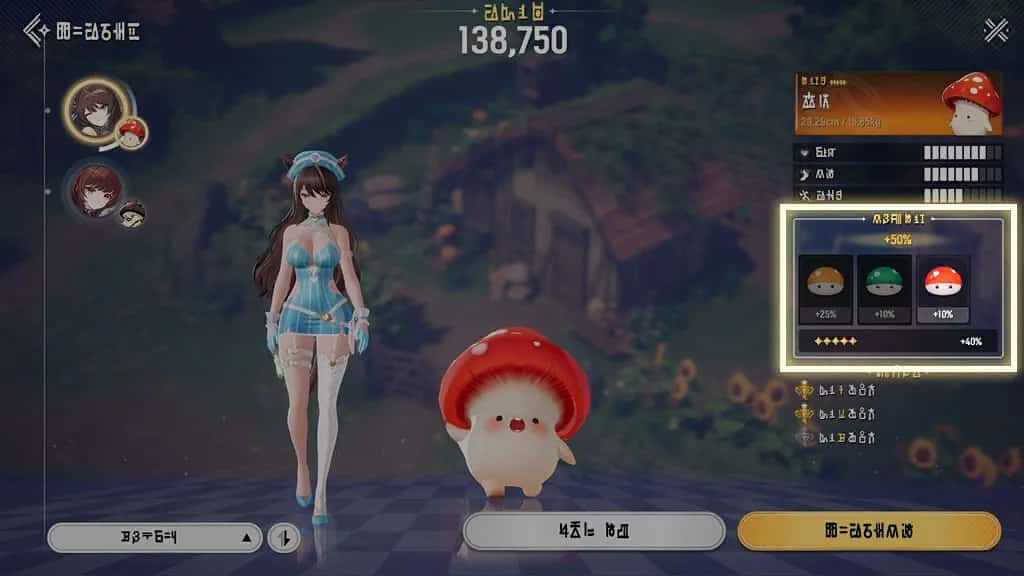
Earn bonus points if you enter the race using the featured monster.
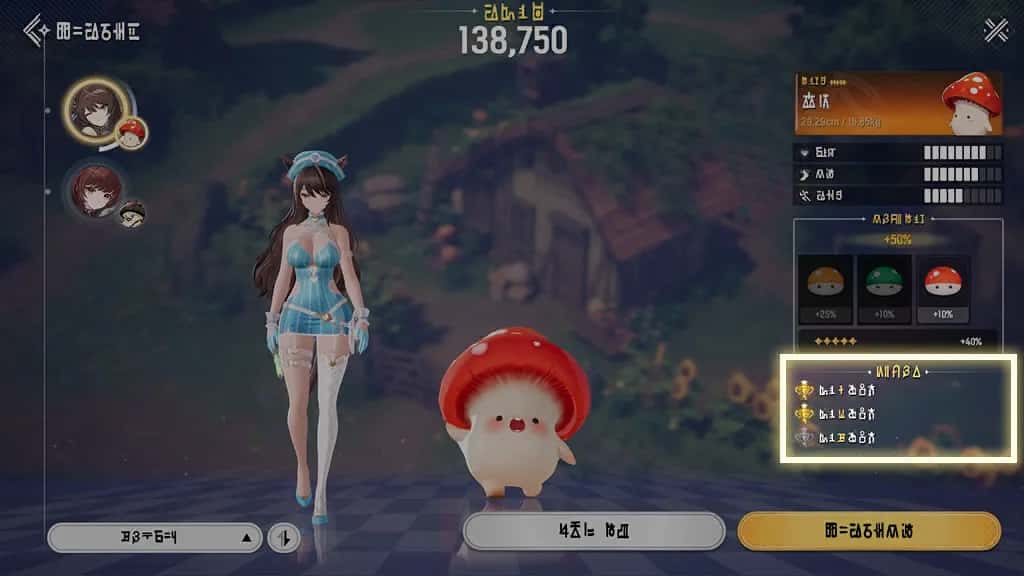
Each race has three objectives. Complete each one to earn its respective reward.
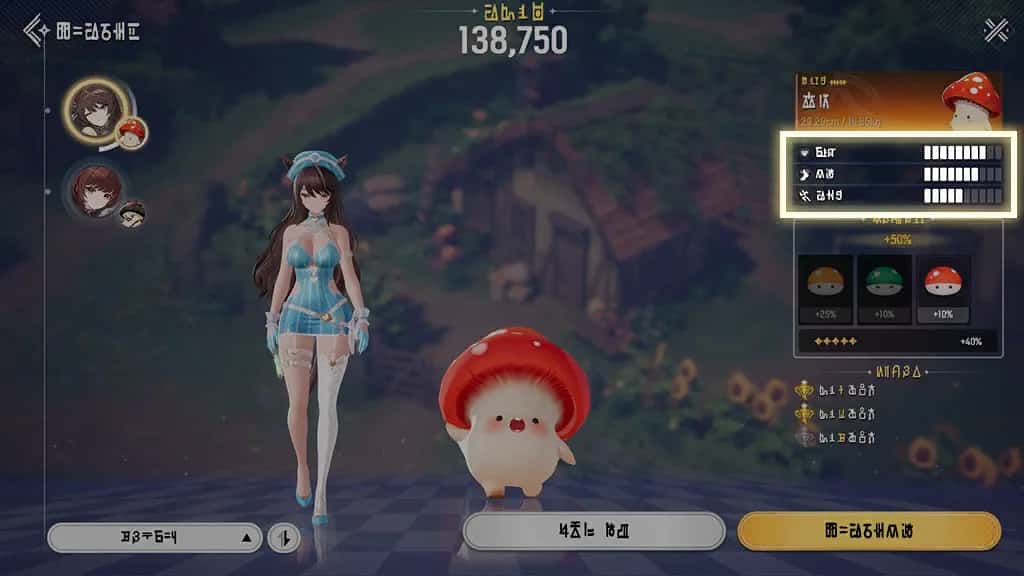
Each monster has different racing stats. Choose the monster that best suits the track objectives for the best results!
Dimensional Rift
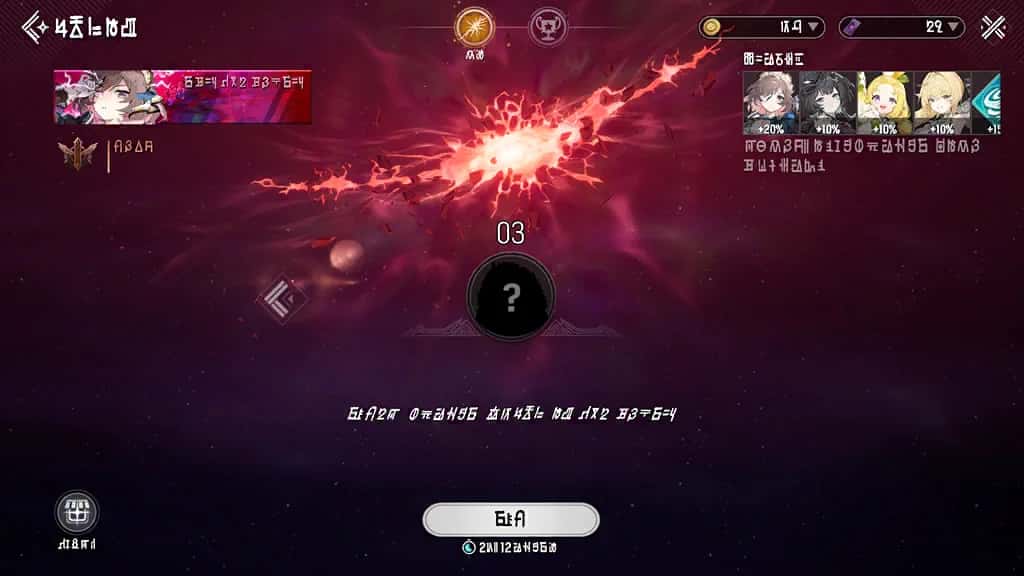
The Dimensional Rift is a game mode in which you can enter rifts caused by corruption and explore the Void. Defeat the monsters and final boss before time runs out to seal the rift.
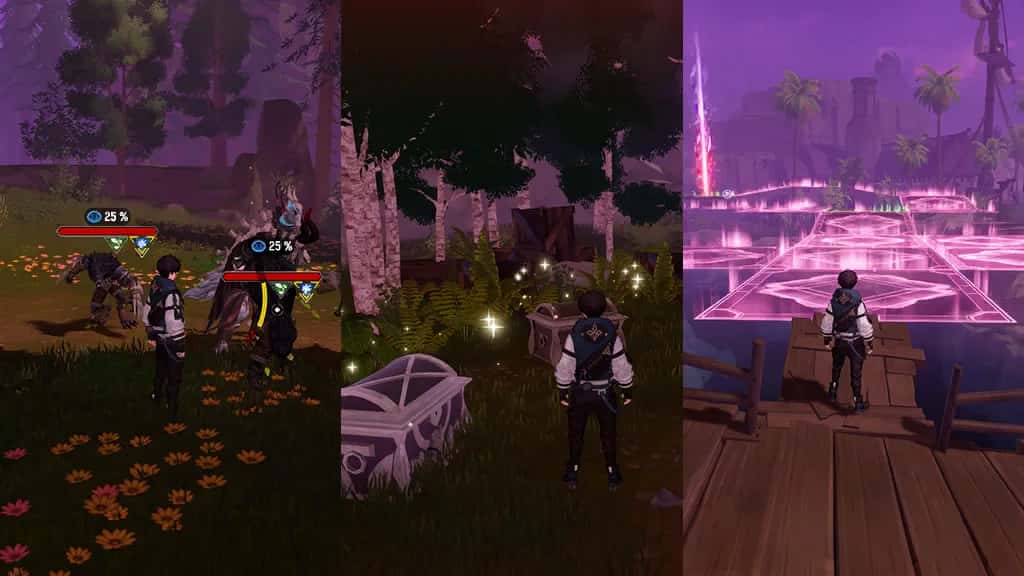
Zones There are various Zones within the Dimensional Rift. Each zone has a unique objective that must be completed to continue your exploration.
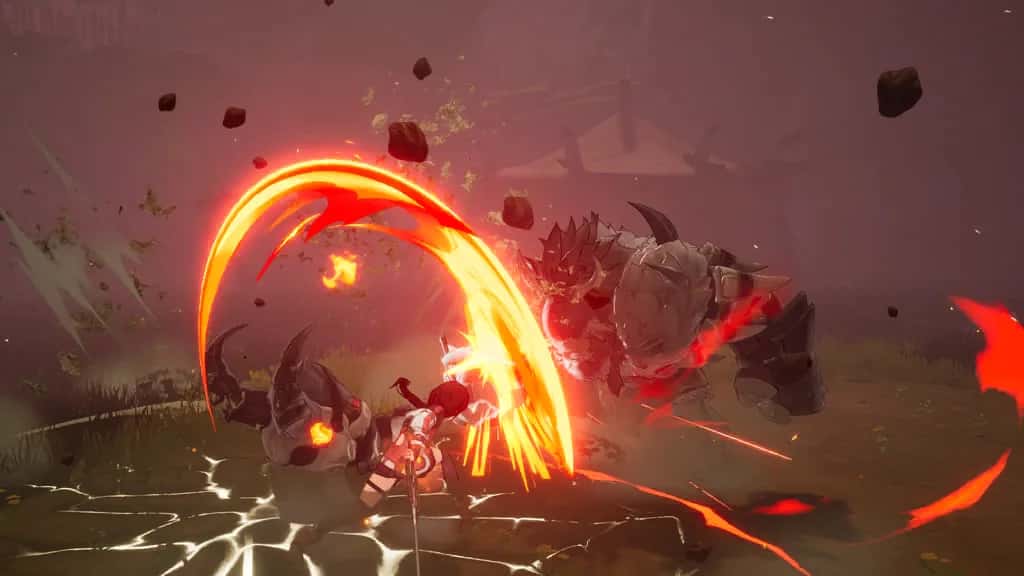
Boss Battles Void apertures with dangerous auras lead to [immensely powerful enemies]. Defeat this boss to seal the Dimensional Rift!
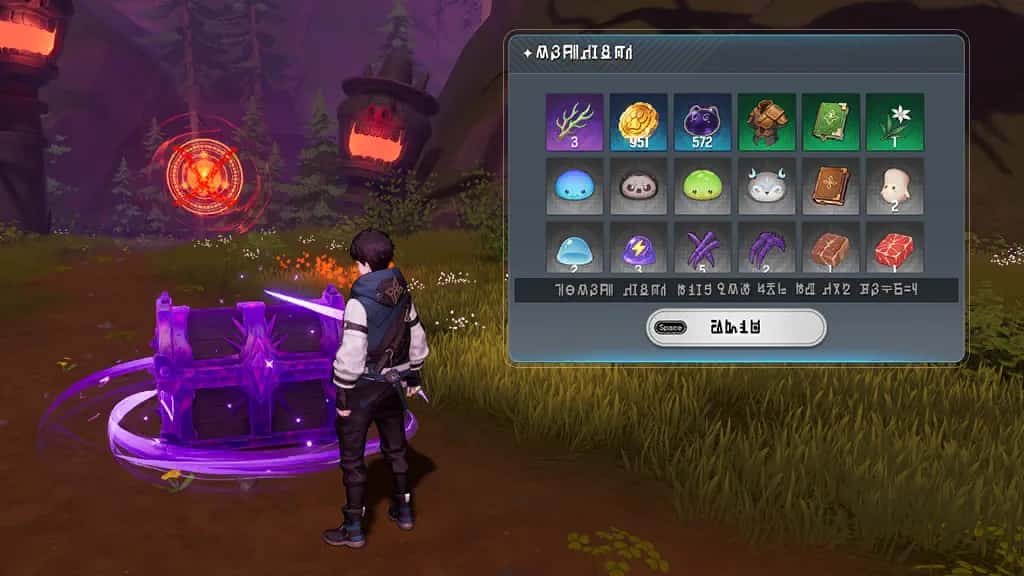
Loot Chest All rewards obtained in the Dimensional Rift are stored in your Loot Chest.
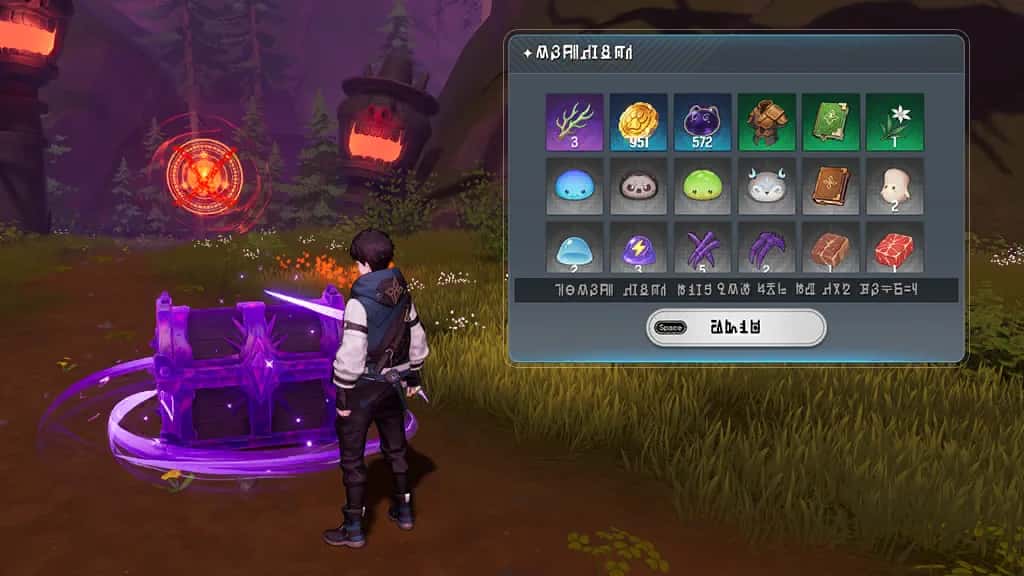
Loot Chest Successfully seal the Dimensional Rift and obtain all the rewards within your Loot Chest!
Minigame Orderling
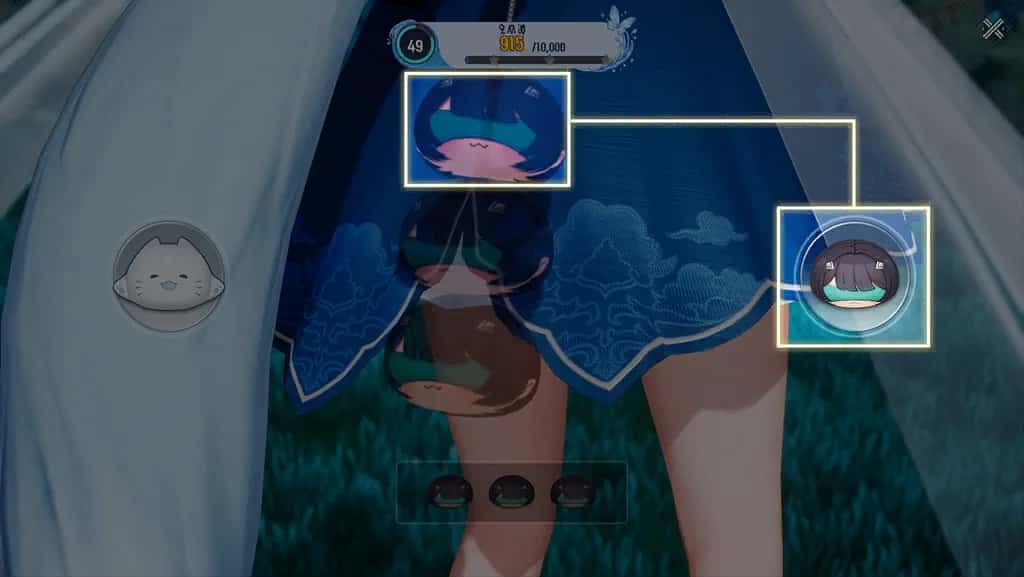
Minigame Press the Monsterling button matching the current target Monsterling to earn points.
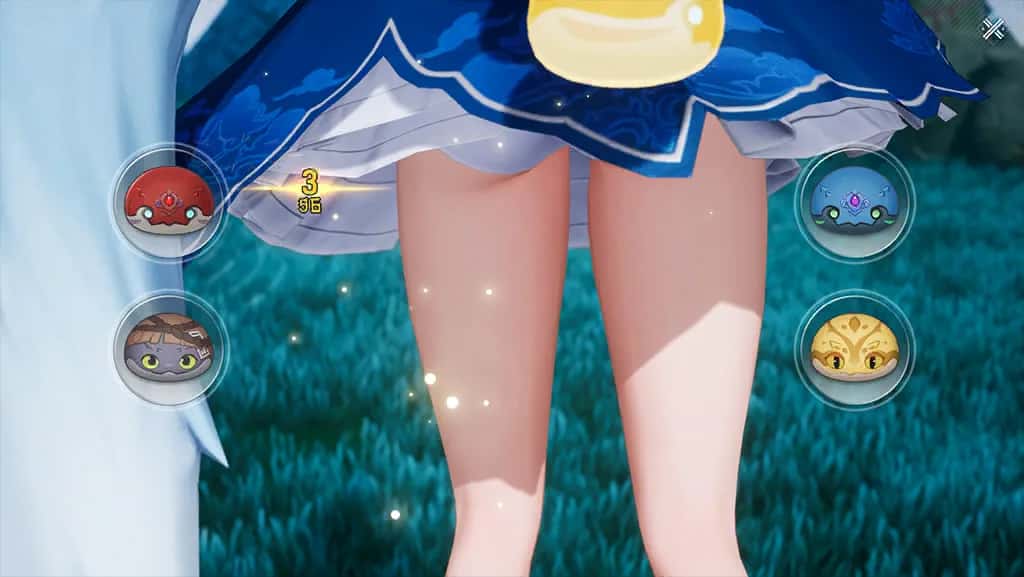
Minigame Match the order of all the monsters in the current round to proceed to the next round.

Minigame The game will end when time runs out. You will earn rewards based on your best score at the end of the game.
Legendary Conquest
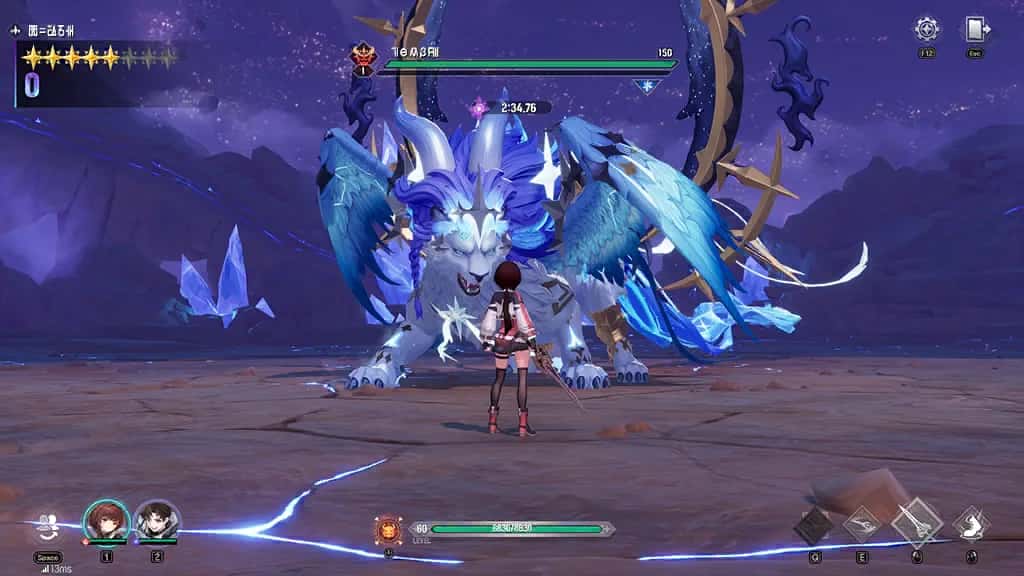
In Legendary Conquest, you can enter the Void-corrupted sanctuary and battle against legendary monsters.
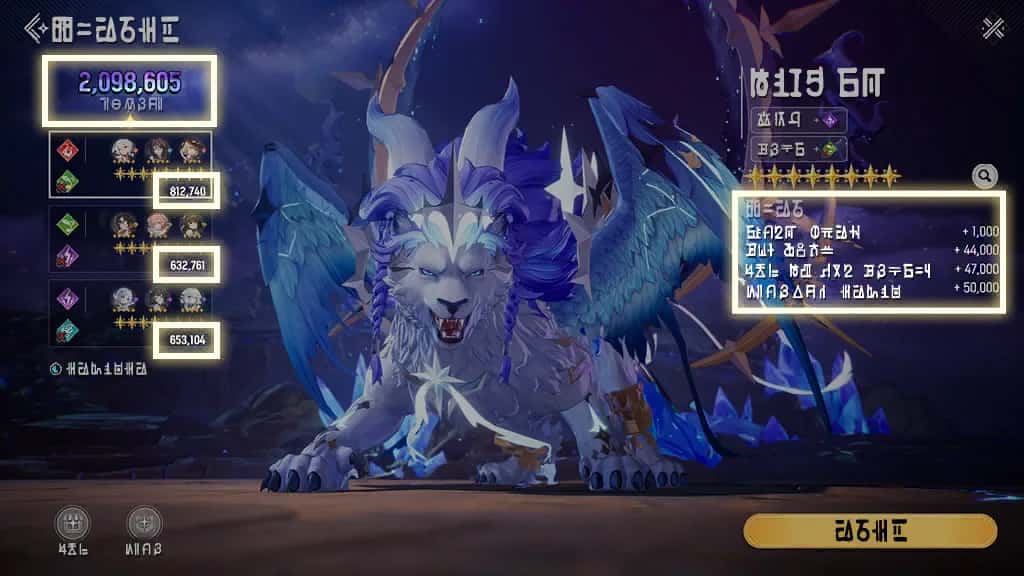
Your goal is to deal as much damage as possible within the time limit, achieve the clear conditions, and earn a high score.
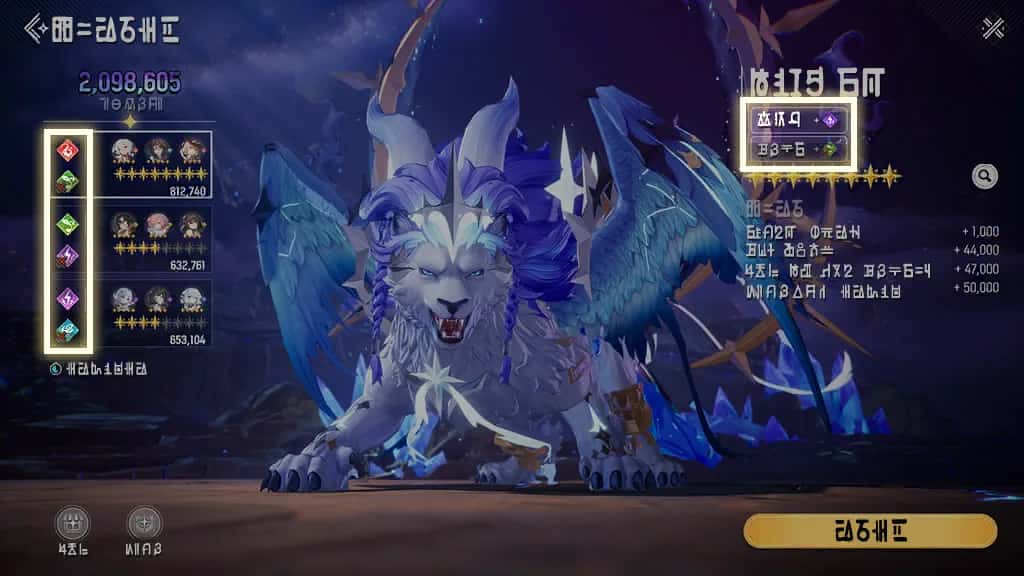
The recommended elements for legendary monsters are assigned separately for each team and reset on a weekly basis.
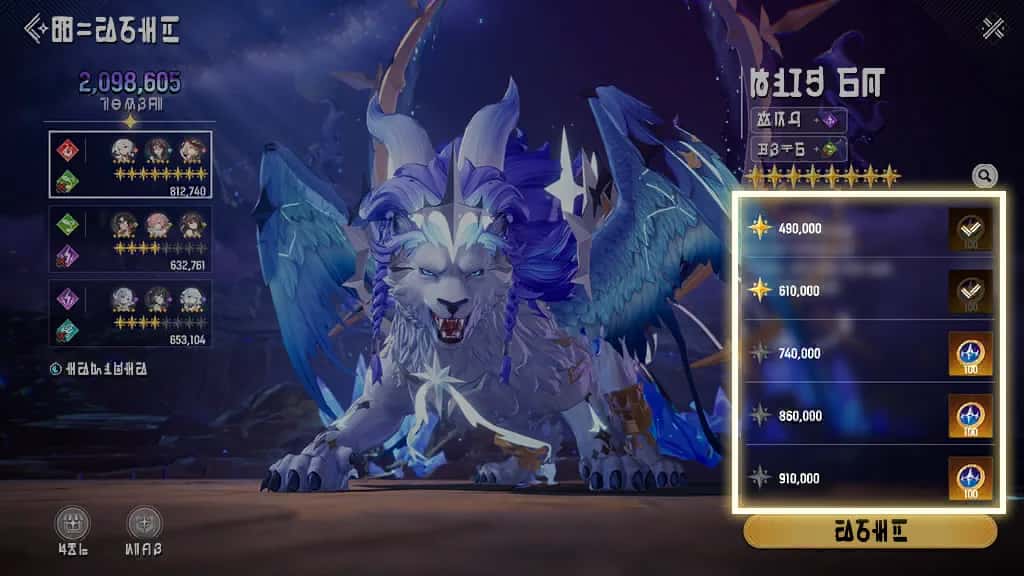
Achieve high scores with each team and claim all the rewards!
Minigame Summer
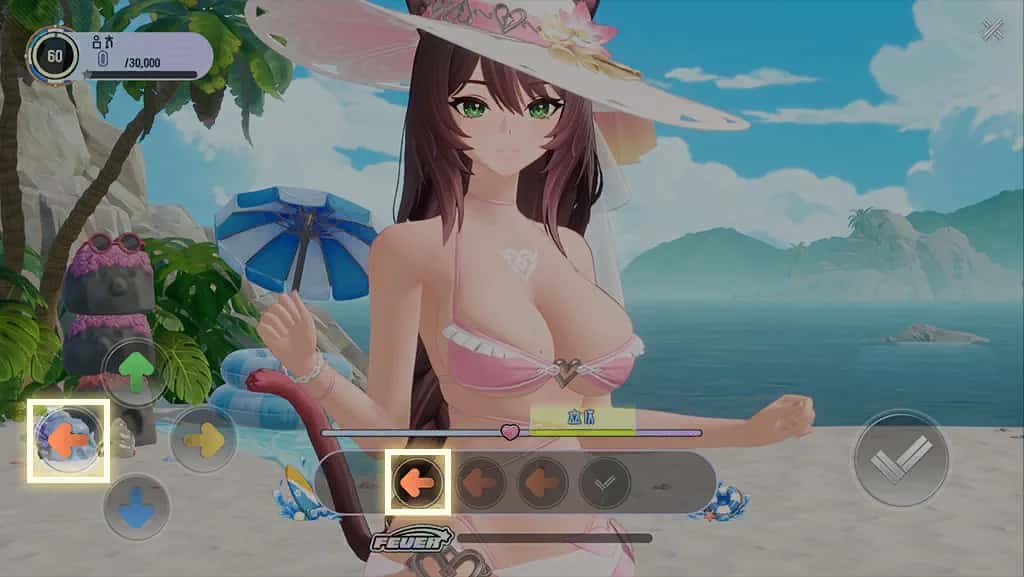
Minigame Input the directional buttons in the order shown by the arrows on the screen, from left to right, to earn points and combo bonuses.
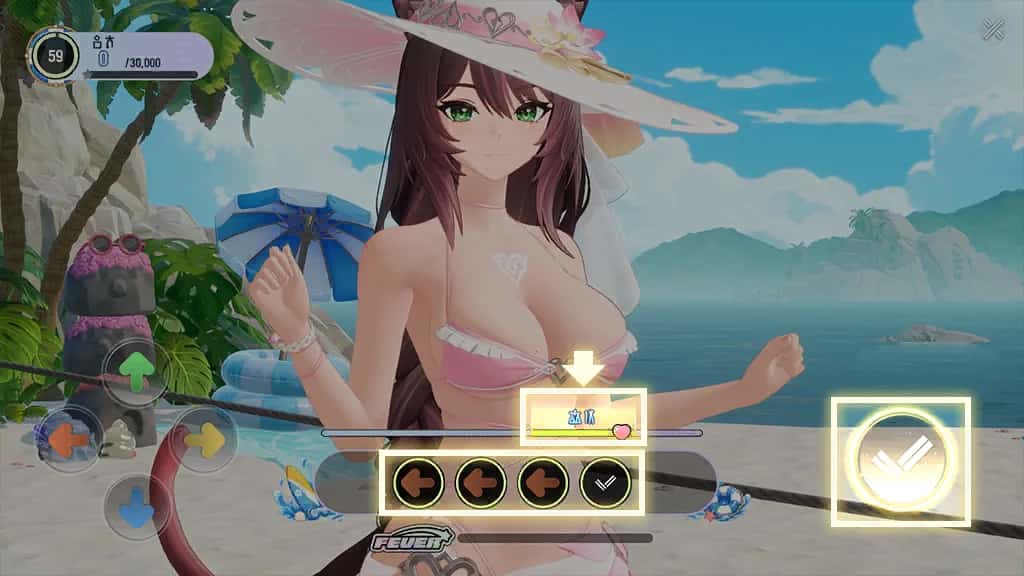
Minigame Input all commands in sequence within the time limit, then press Confirm to advance to the next round. Pressing Confirm when the judgment line is in the Perfect zone grants additional points and combo bonuses.
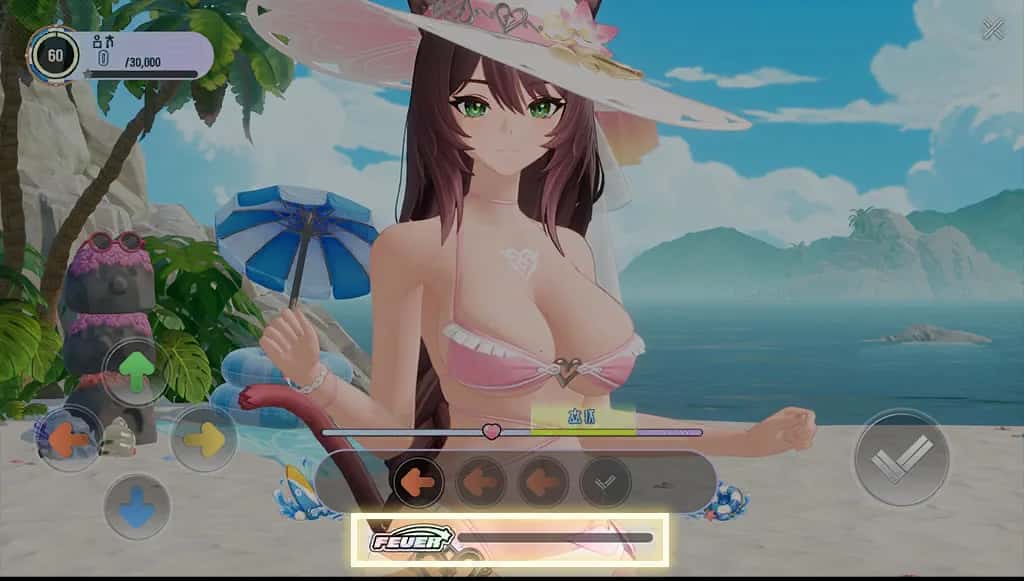
Minigame The Fever Gauge increases with each correct input. Once full, Fever Mode is triggered for a set time. When Fever Mode is active, repeatedly press the Confirm button.
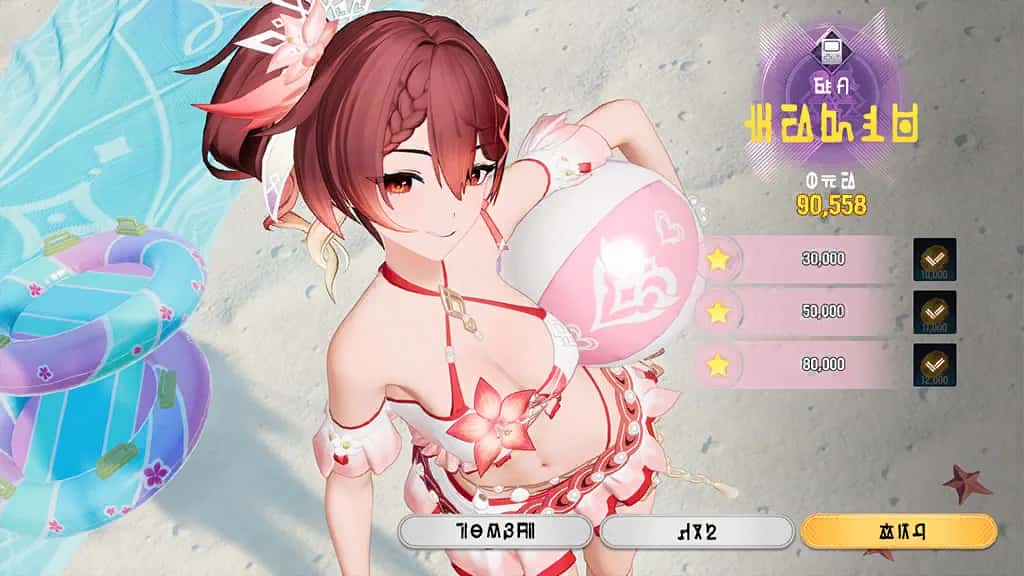
Minigame The game will end when time runs out. You will earn rewards based on your best score at the end of the game.
Minigame Mabel
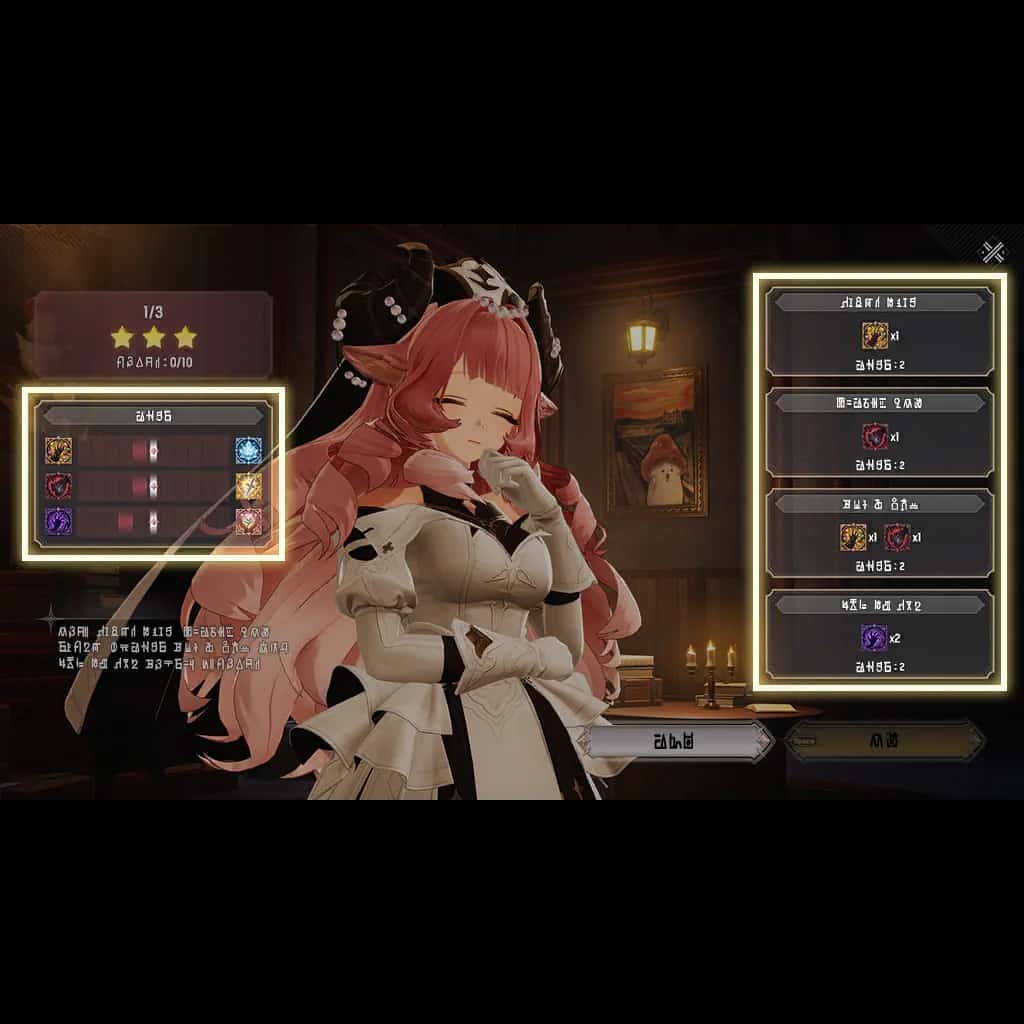
Minigame Select an interrogation method to adjust the lines of interrogation and determine whether the subject is good or evil. Select methods on the right to change the lines of interrogation.
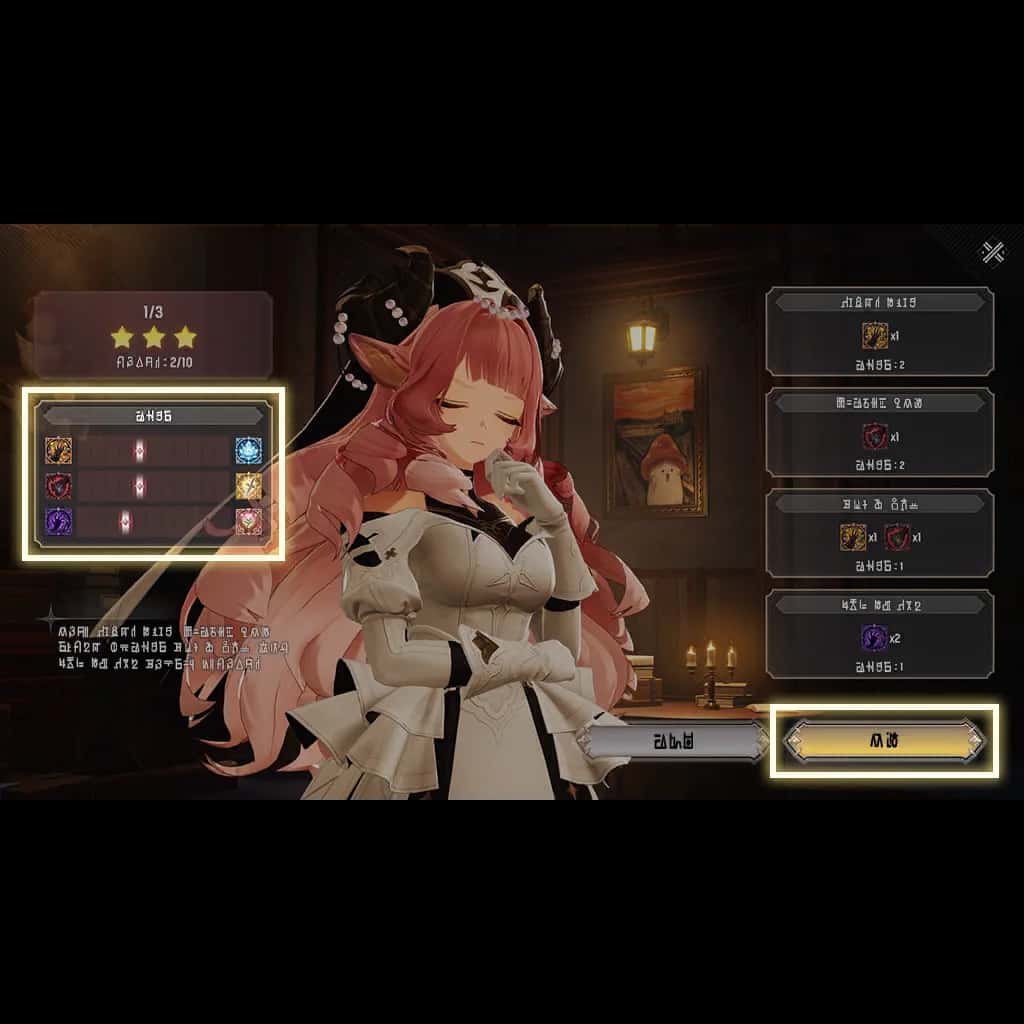
Minigame When all lines of interrogation are within the target range, a judgment can be made.
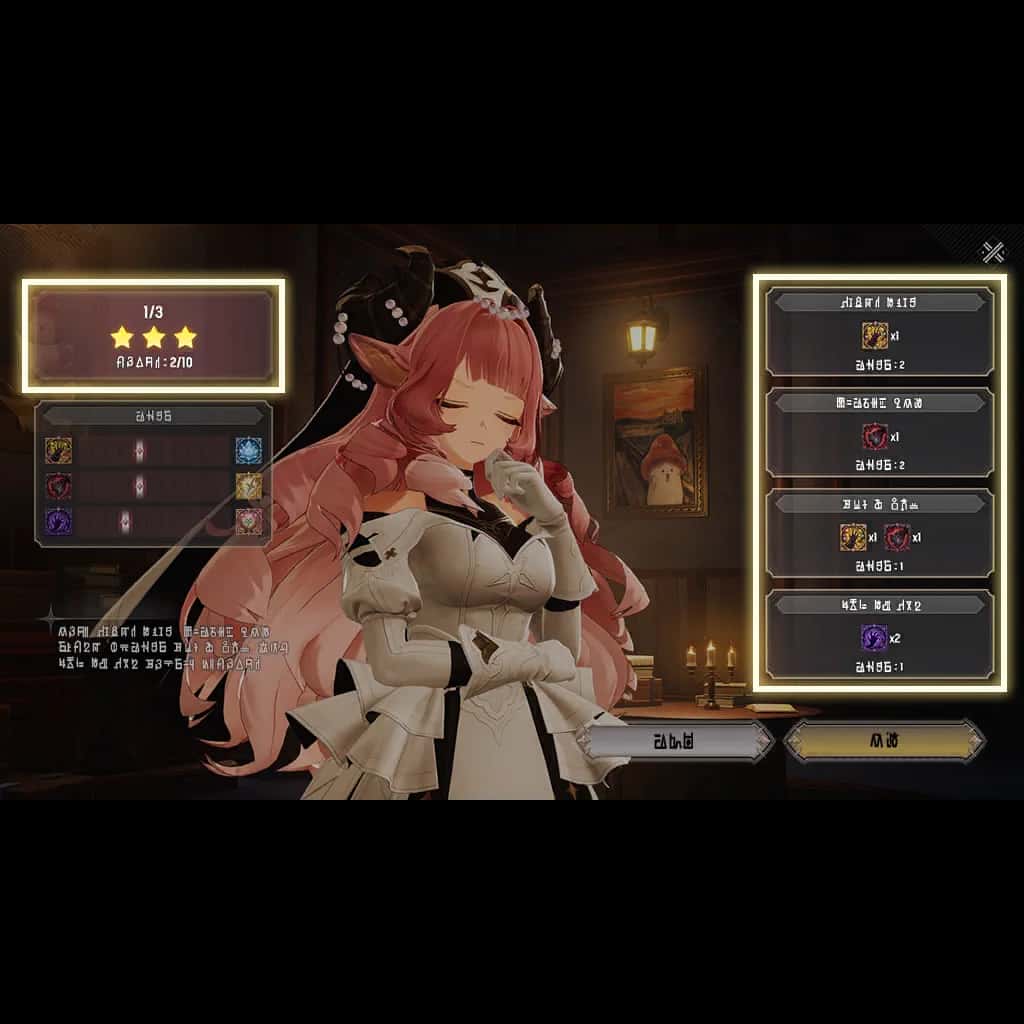
Minigame Using fewer interrogation methods increases the number of stars earned. Once all interrogations are complete, you can claim rewards based on the total number of stars earned.
Event Path Mabel
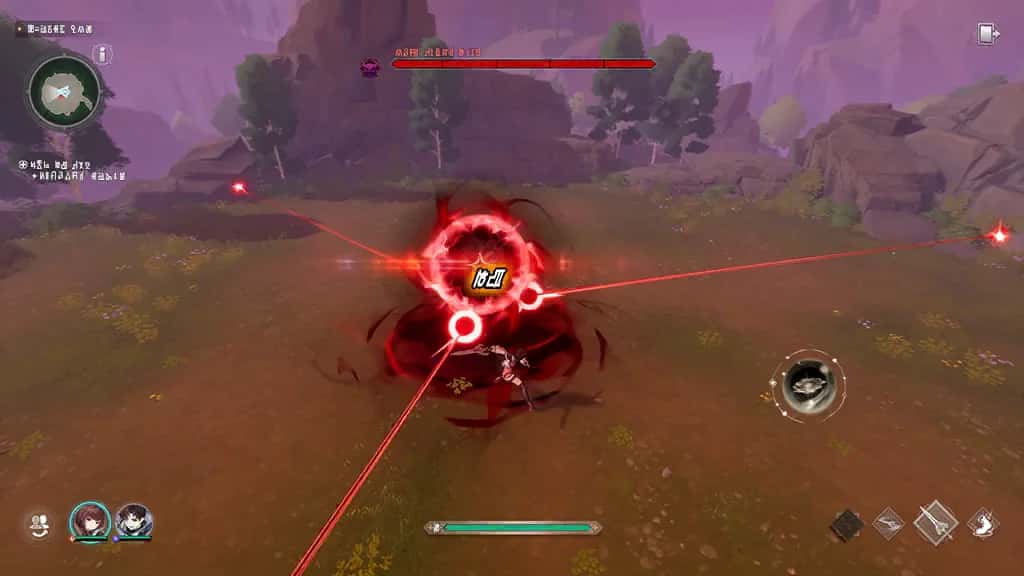
Destroying Energy Sphere Energy spheres are difficult to destroy with normal attacks. Collect the beads that appear on the field and get Mabel's help.
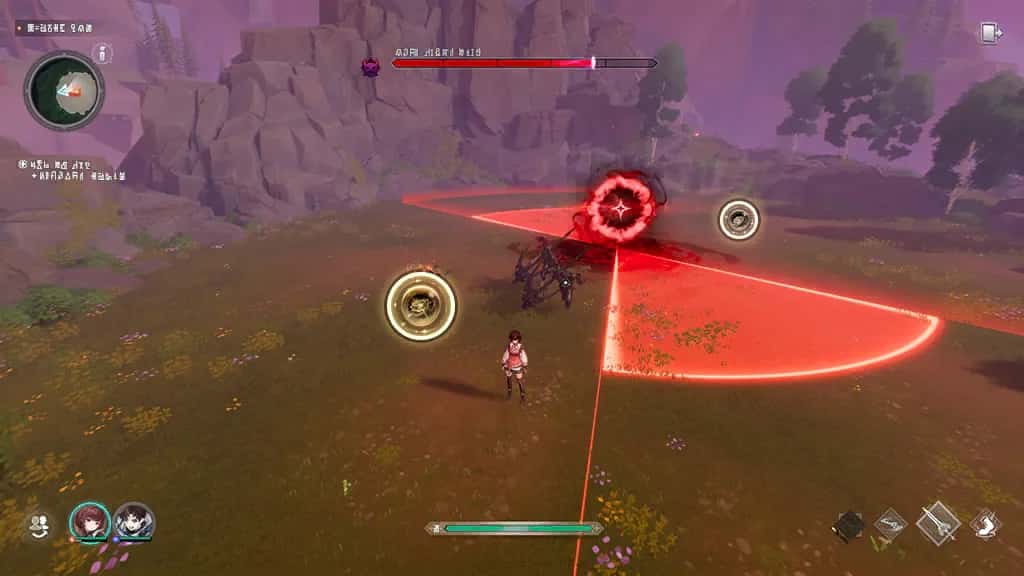
Destroying Energy Sphere Beads are generated over time, and more powerful beads will be created upon defeating a set number of enemies or once the energy sphere is weakened. Beads that aren't collected remain on the field for a set duration of time before disappearing.
Event Path Summer
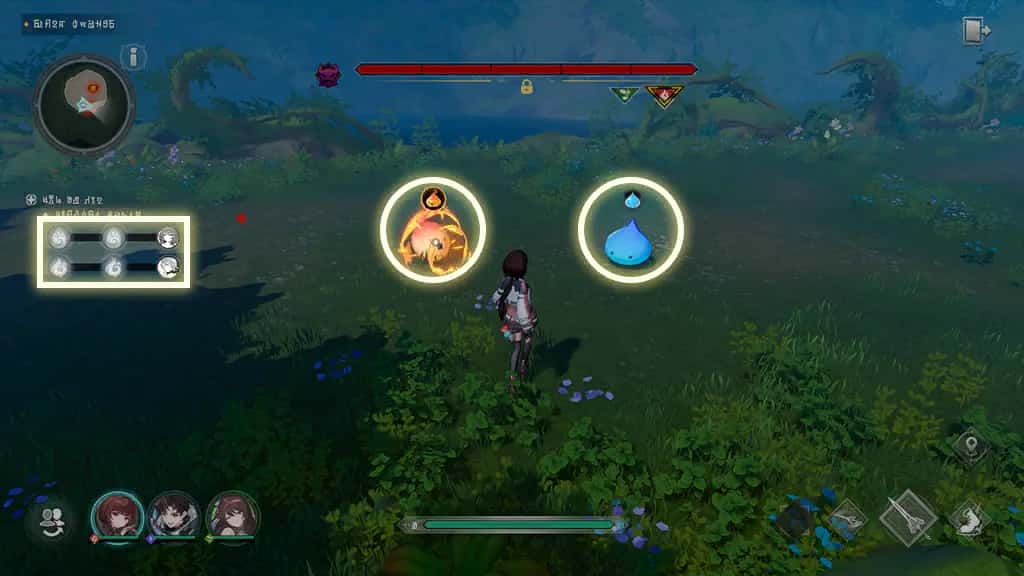
Beads of Water and Fire If you dodge boss attacks and defeat slimes, Special Slimelets and Special Fire Slimes will appear. If you defeat the Special Slimelets and Fire Slimes, you can obtain Beads of Water and Fire.

Beads of Water and Fire If you defeat the Slimelets and Fire Slimes and collect 3 Beads of Water and 3 Beads of Fire each, Francis and Verna will help remove the boss's acidic barrier.
Summer Lane Tokens
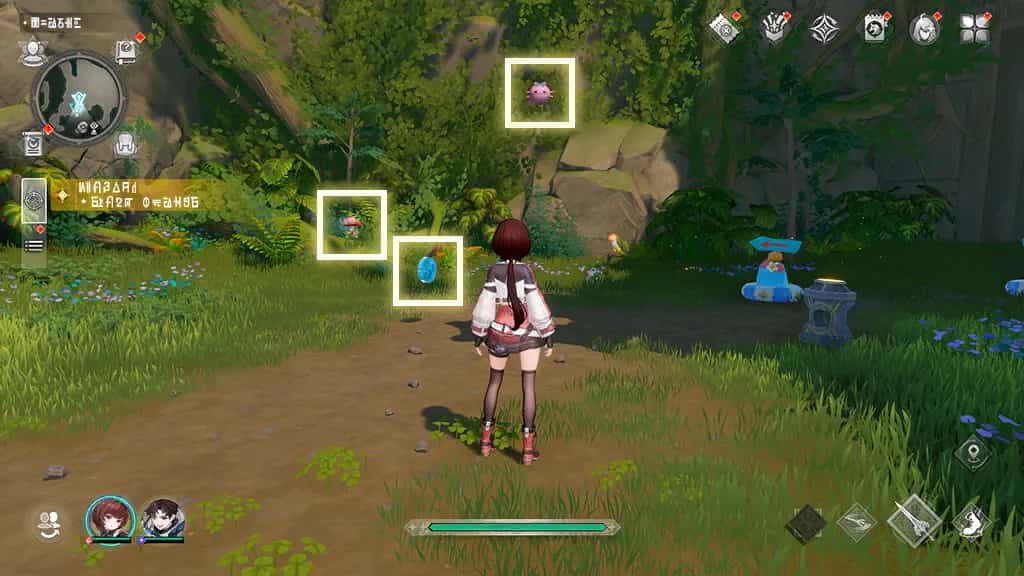
Summer Lane Tokens can be obtained throughout the Summer Lane map.
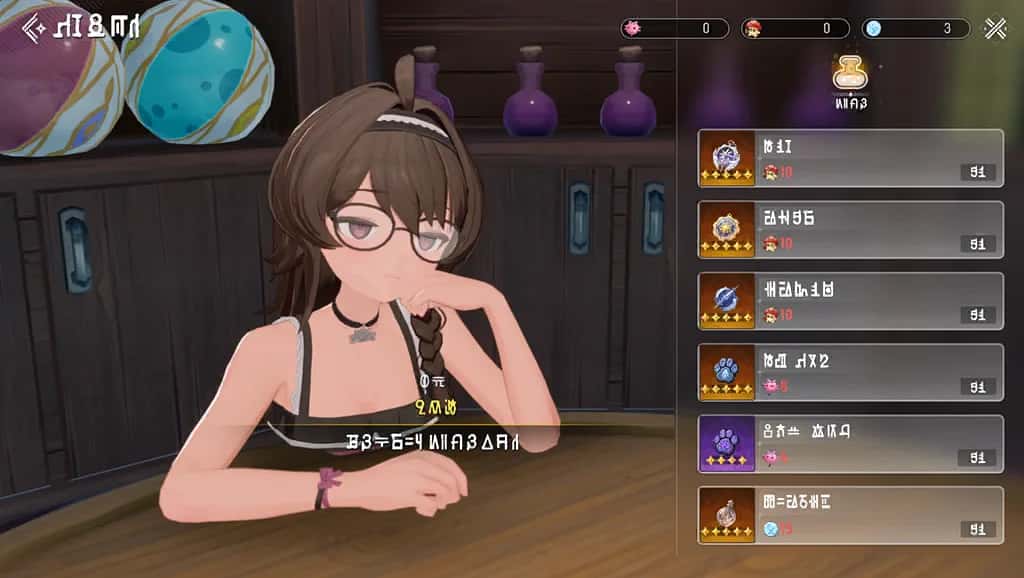
You can use Summer Lane Tokens to purchase items from Hilia's special summer shop.
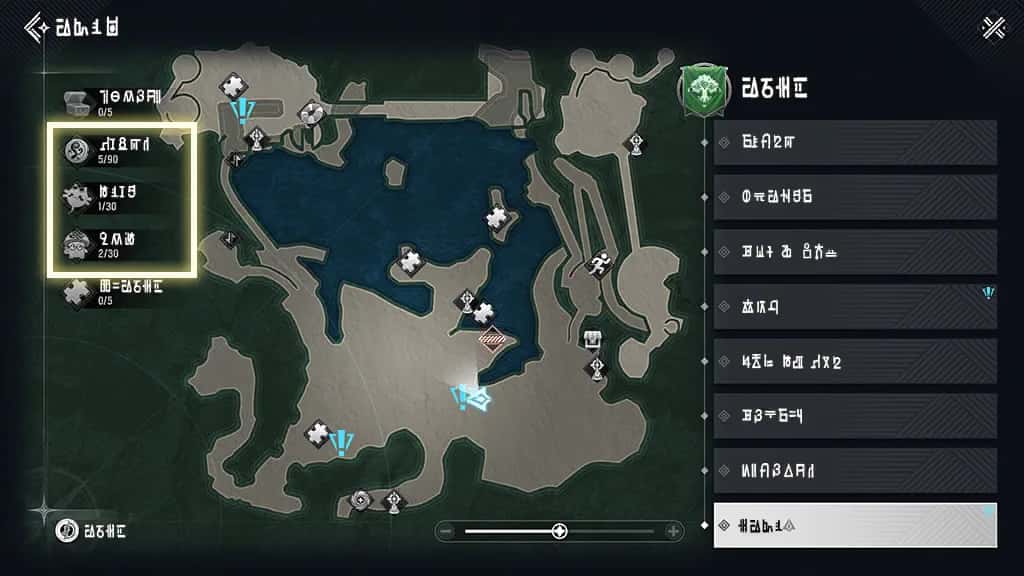
The Adventure Map shows how many Summer Lane Tokens are still available to collect. Try finding all the hidden Summer Lane Tokens!
Splash Run
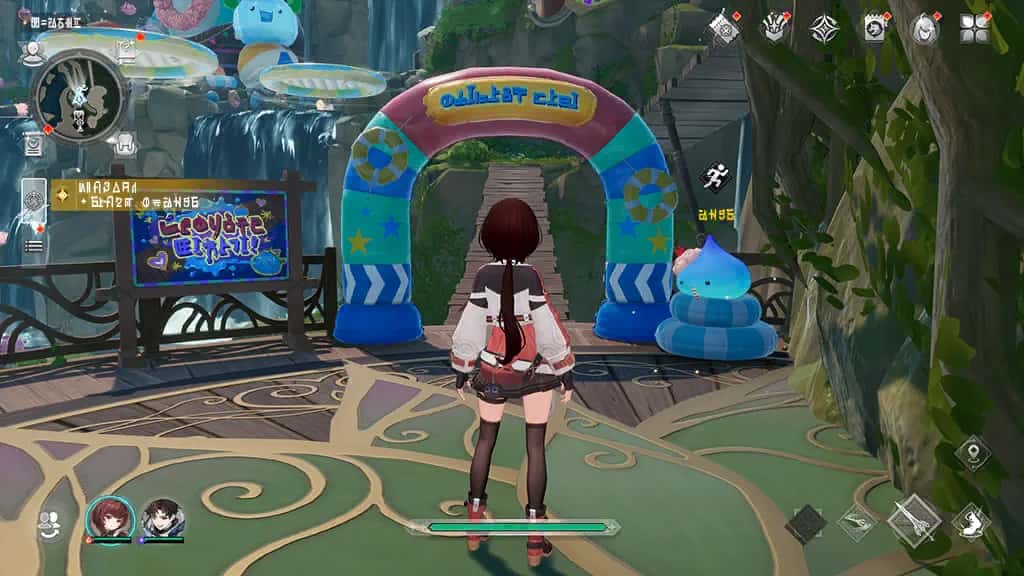
Splash Run is a minigame that can be played in Summer Lane.
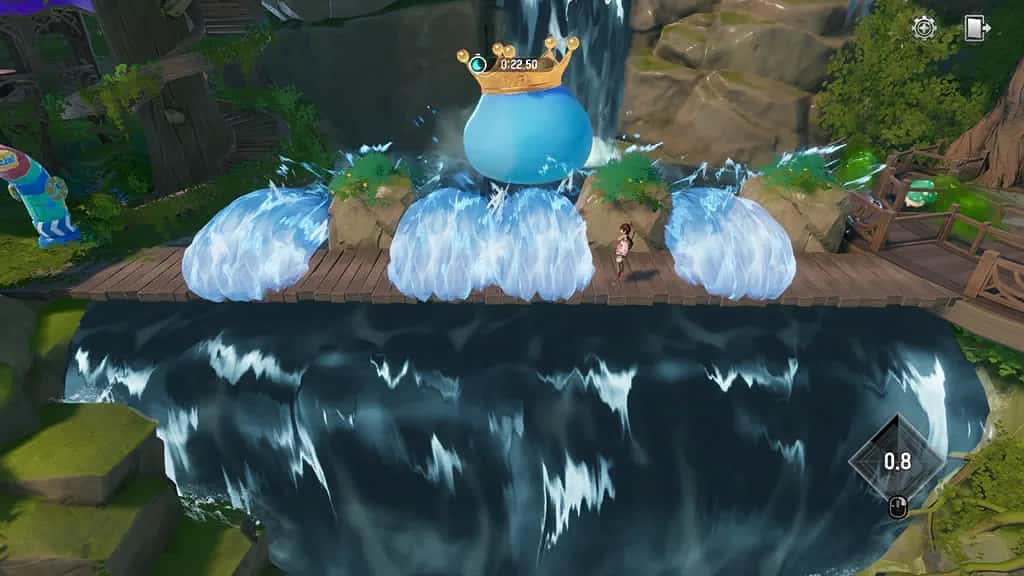
The goal is to reach the destination within the time limit while avoiding obstacles. Get moving!
Waterslide

Waterslide is an attraction that can be enjoyed in Summer Lane.

Only swimsuit characters can use the waterslide.

Enjoy the waterslide and obtain a special album for your profile!
Dispatch
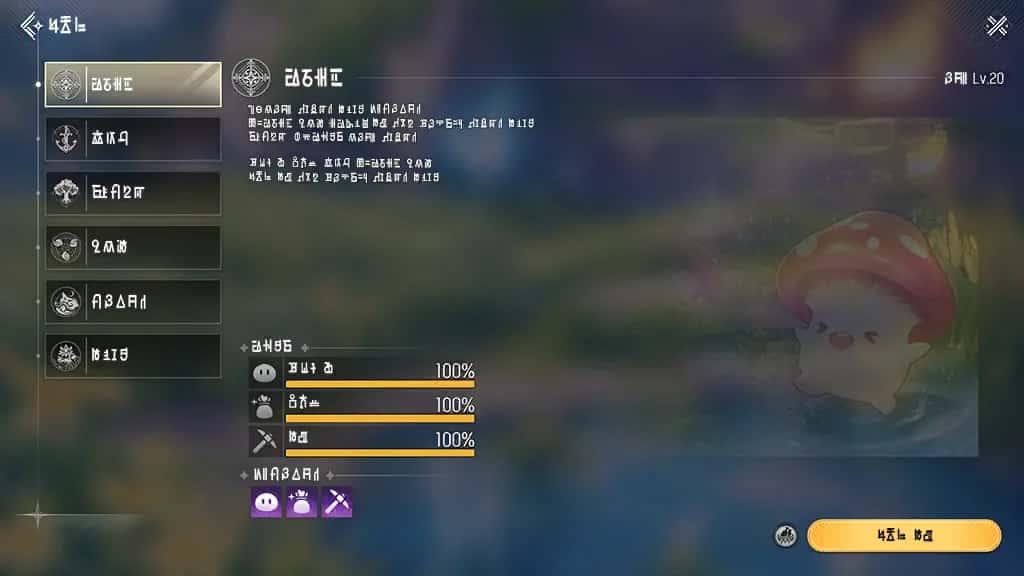
Dispatch is a system that allows players to dispatch characters to different regions and obtain rewards.
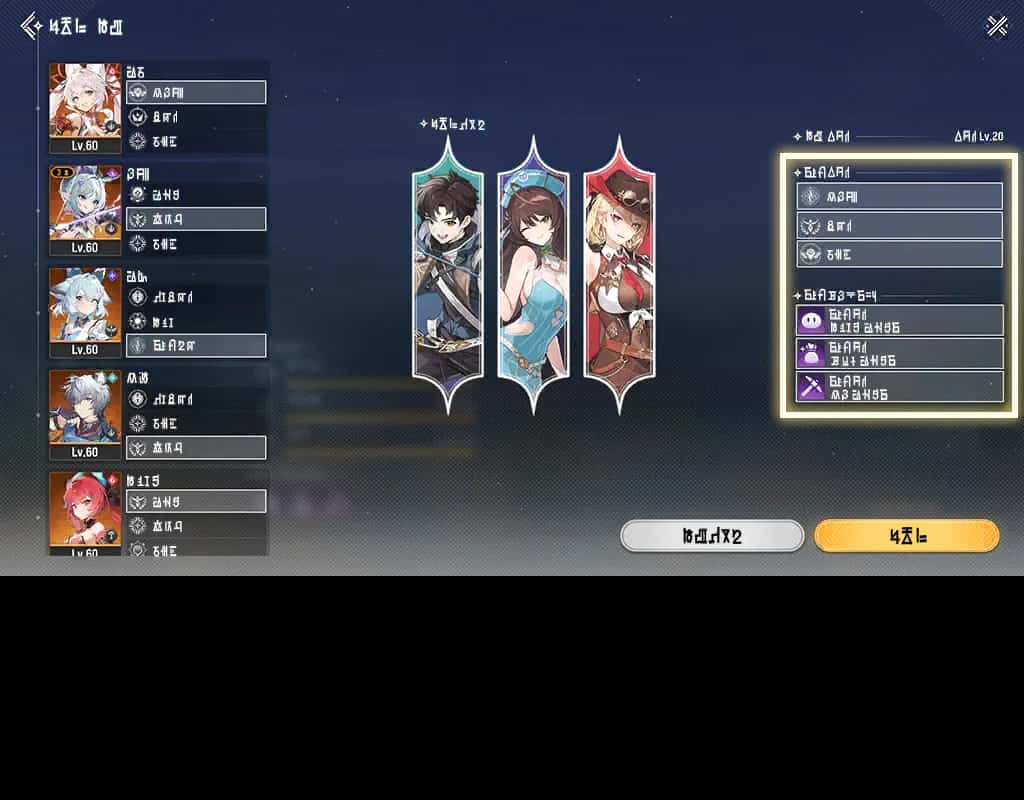
The more characters assigned that that meet personality requirements, the wider the variety of rewards received.
Animated Background Theatre
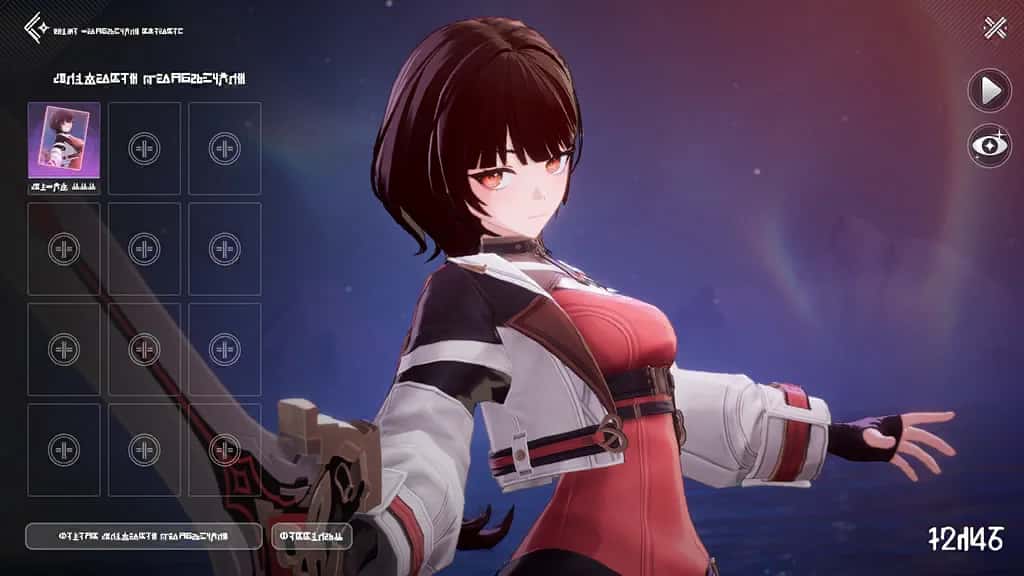
Animated Background Theatre is a menu that lets you view animated backgrounds.
Animated Background Screensaver must be turned On in the Settings for animated backgrounds to be displayed.
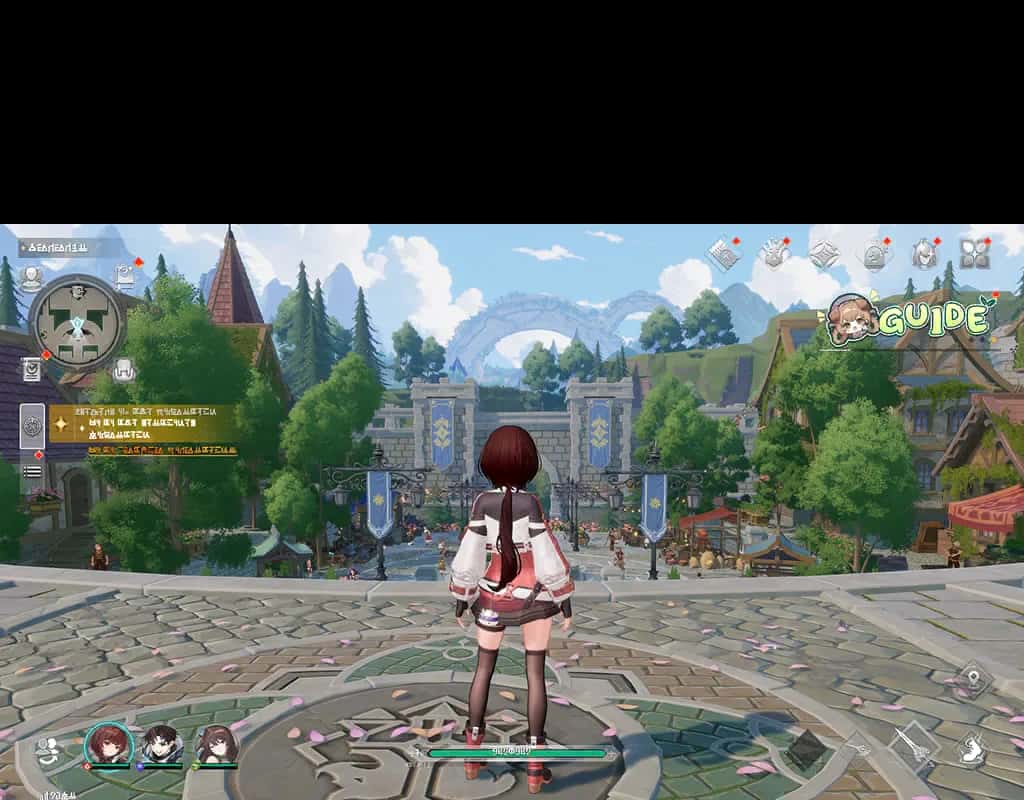
The Animated Background Screensaver automatically activates after the game is idle for a set amount of time while not viewing a menu.
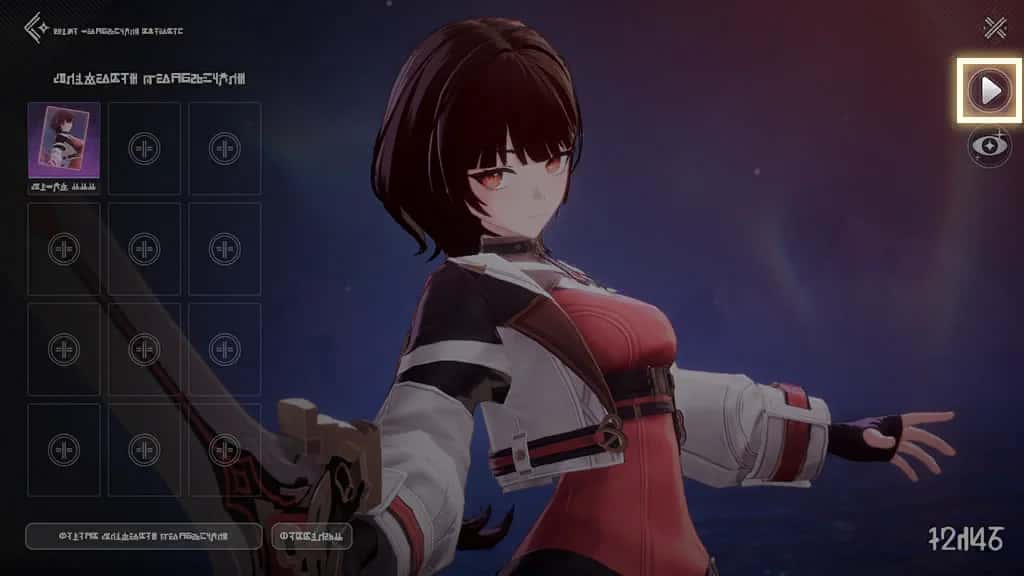
You can also press the play button in the Animated Background Theatre menu to start it immediately.
Event Path Vivian
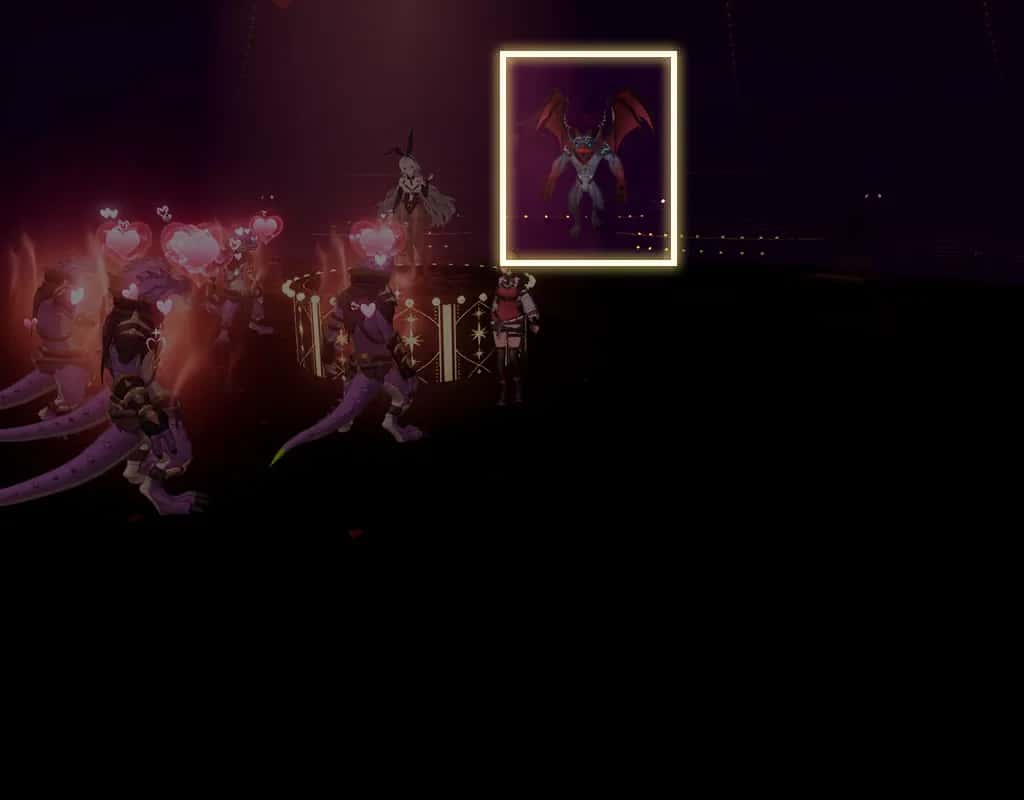
Vivian's Nightmare When Vivian is surrounded by the audience for over a certain amount of time, her nightmare begins and a nightmare monster appears.
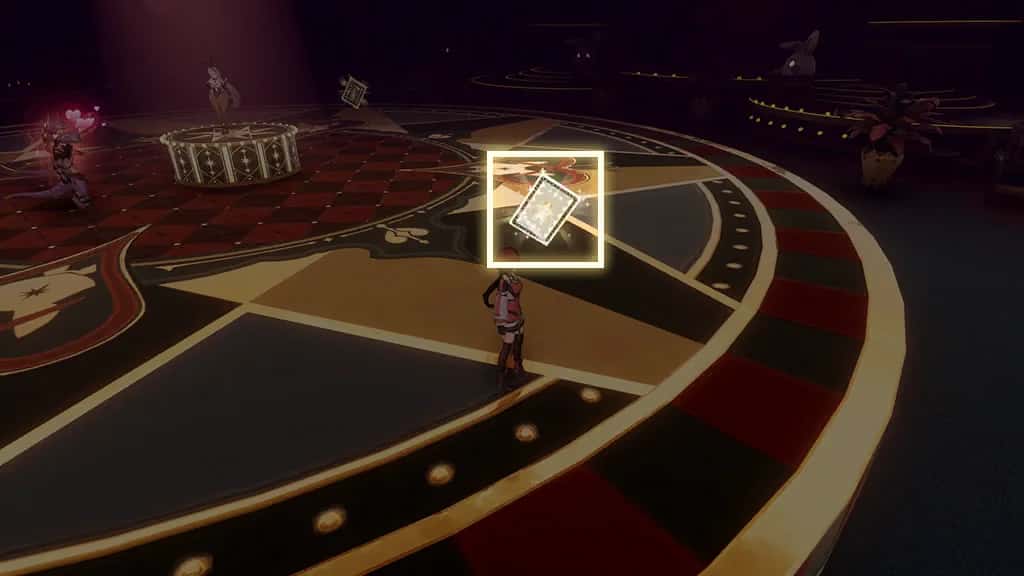
Fan Service Time When all the cards thrown by Vivian are collected, Vivian uses a powerful skill to subdue the intruders rushing onto the stage.
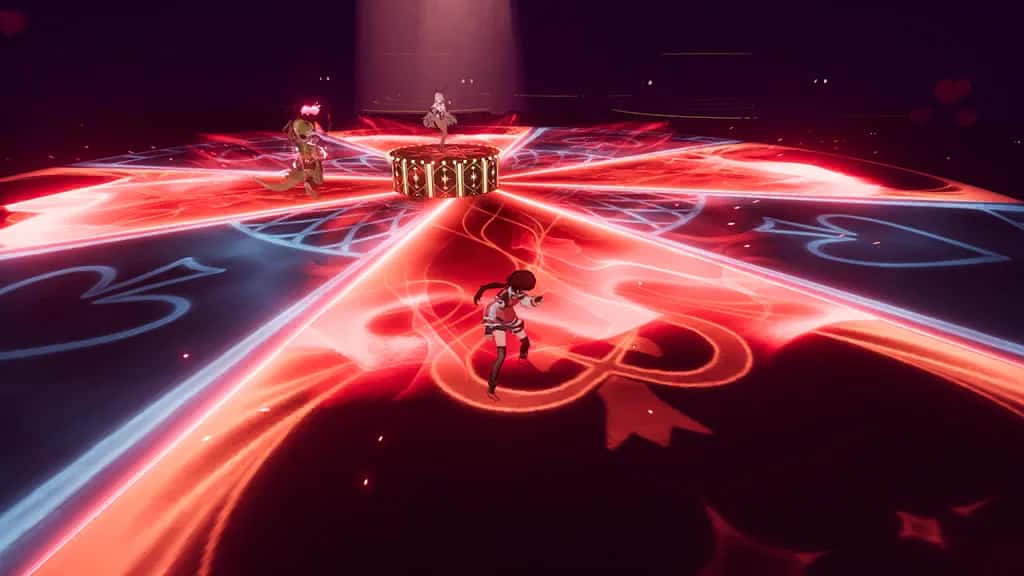
Dangerous Temptation Vivian periodically uses her Temptation skill against everyone. When hit by the Temptation skill, the victim is unable to move for a set duration.
Event Path Brisshell
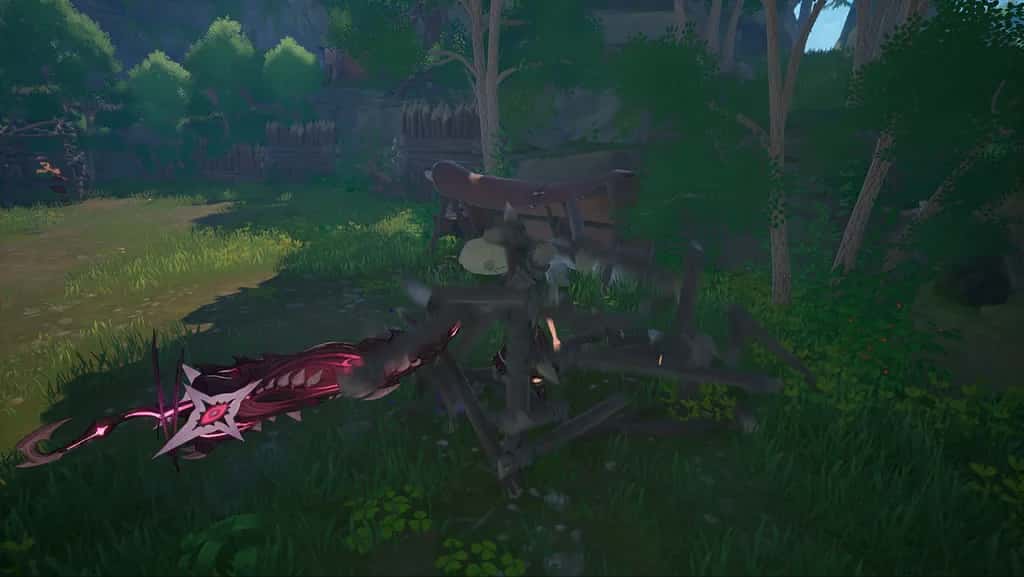
Saving Villagers Alfred appears and destroys the cells holding the villagers to save them. If the villagers get away, a group of goblins take notice and appear.
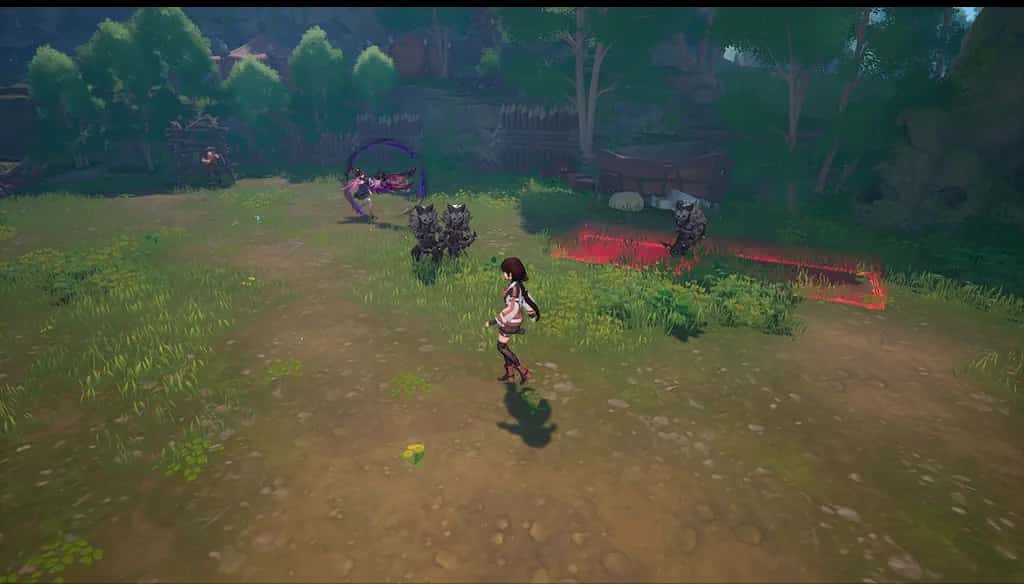
Alfred's Rampage Brisshell periodically appears with the out-of-control Alfred and attacks enemies. Brisshell can attack both the enemies and allies.
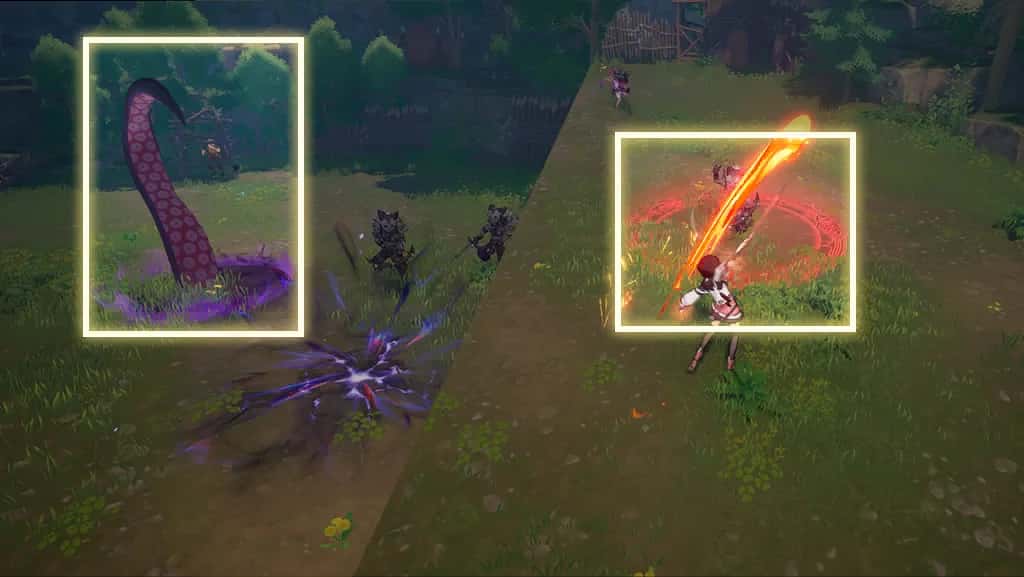
Brisshell's Overflowing Strength Having only taken human form a while ago, Brisshell is unable to control her overflowing strength. Brisshell periodically creates tentacles and fragments of her overflowing strength on the field, attacking both enemies and allies.
Minigame Vivian
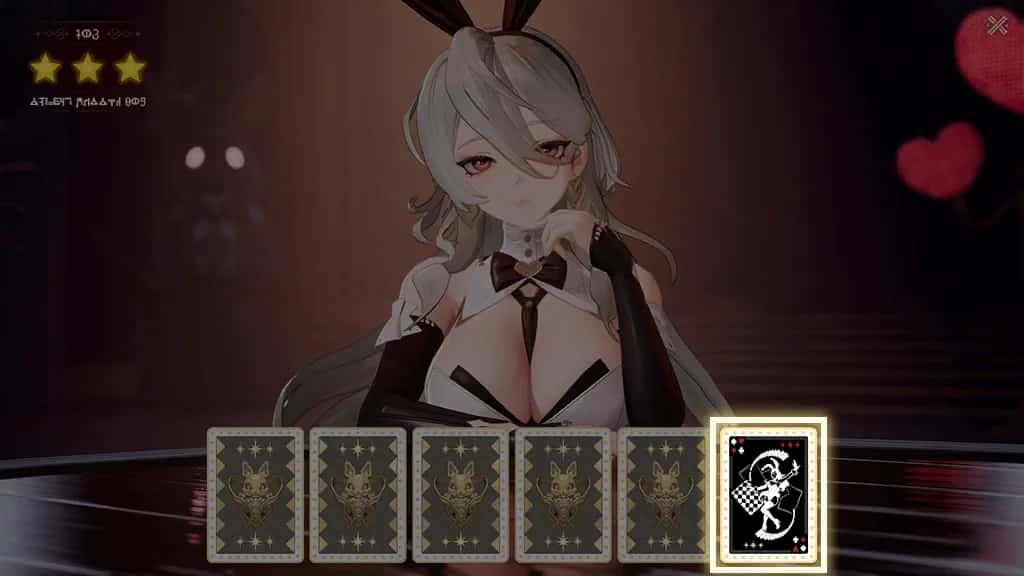
Minigame When the minigame begins, Vivian will show you the location of the Joker card. Remember its location as Vivian begins to shuffle the cards.
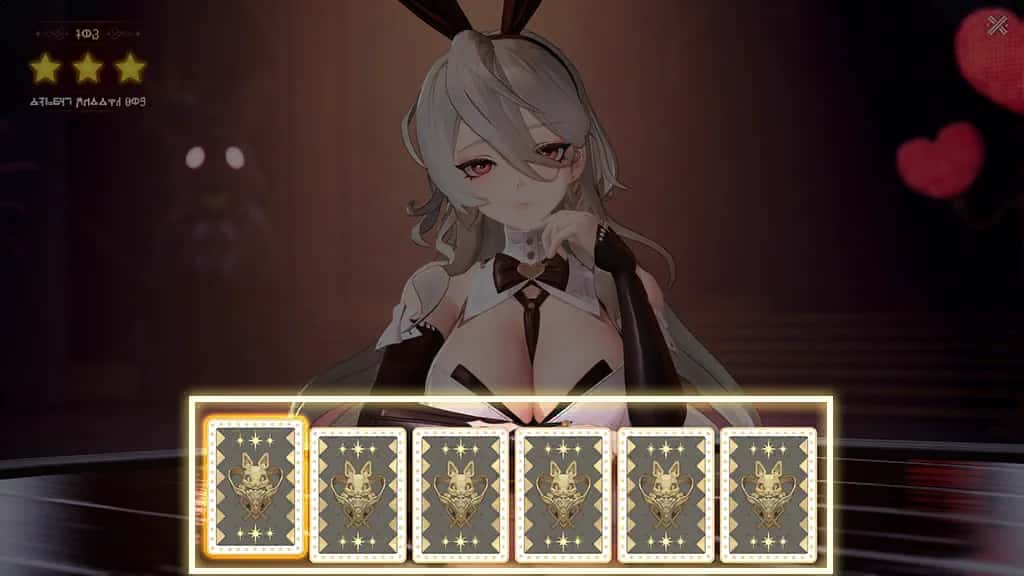
Minigame Follow the Joker with your eyes while the cards are shuffling. Once the shuffling stops, select the card that you think is the Joker.
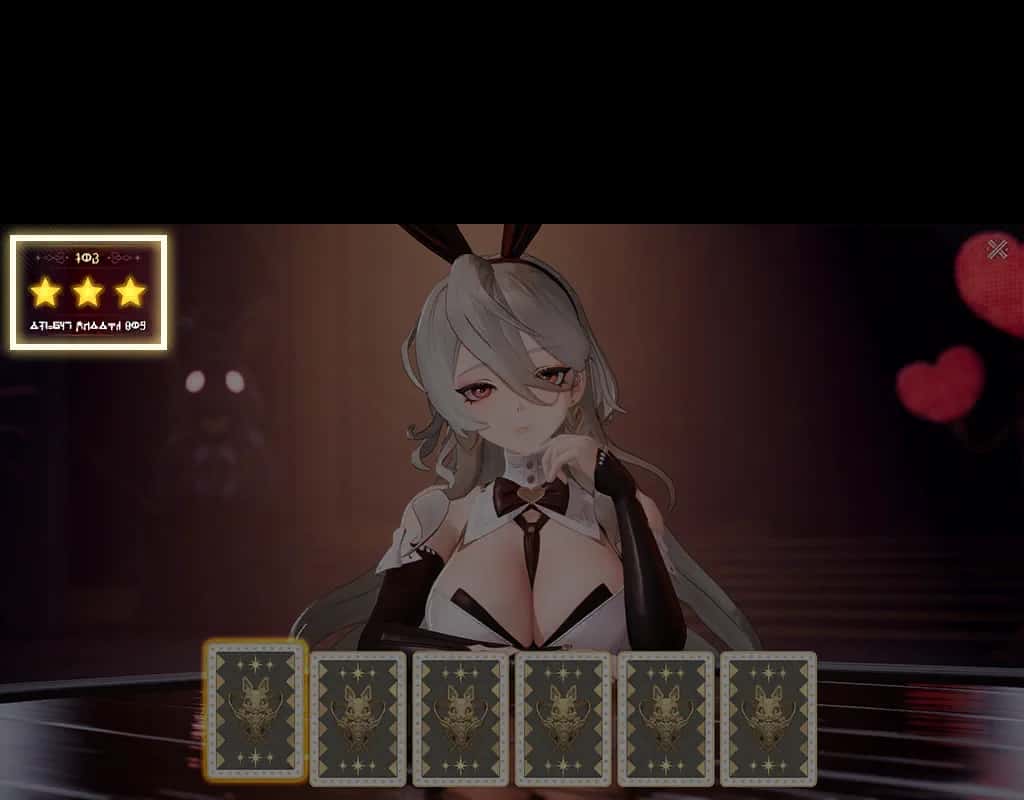
Minigame The fewer guesses it takes for you to find the Joker, the more stars you will earn. Once all rounds are complete, you can claim rewards based on the total number of stars earned.
Archive
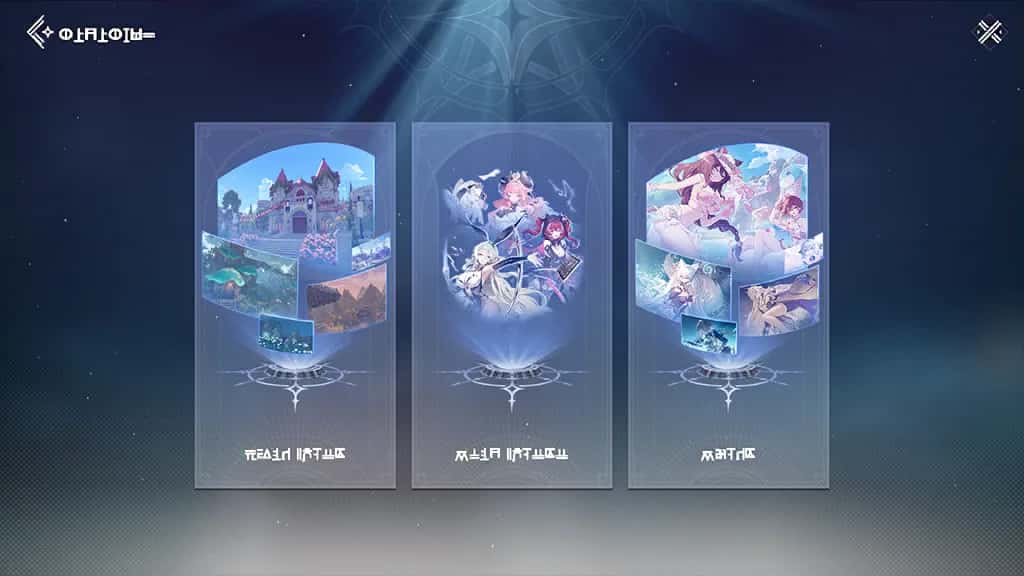
You can revisit conversations or key scenes from past adventures in the Archive.
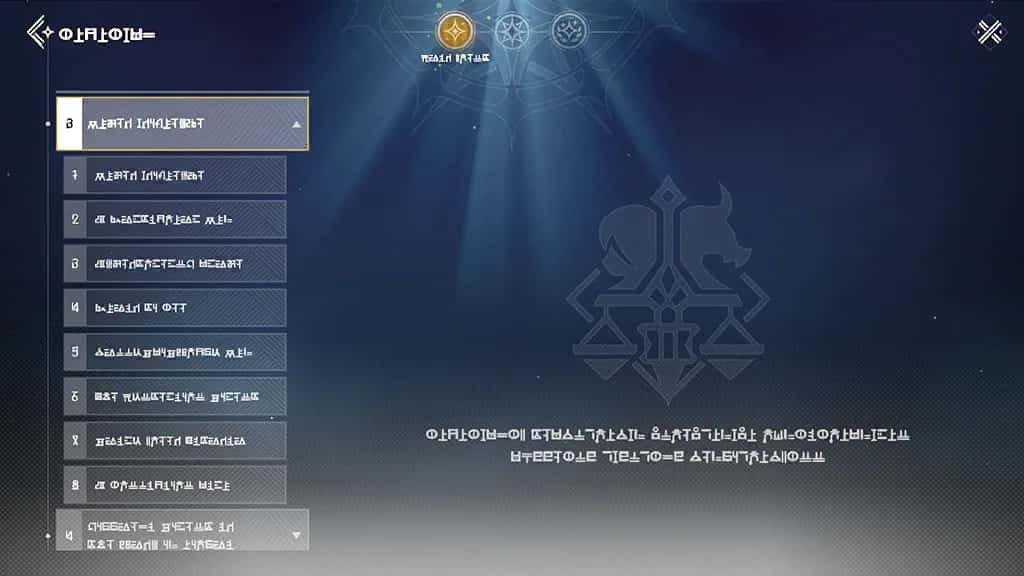
You can revisit major adventure stories, organized by episode, on the Main Quest page.
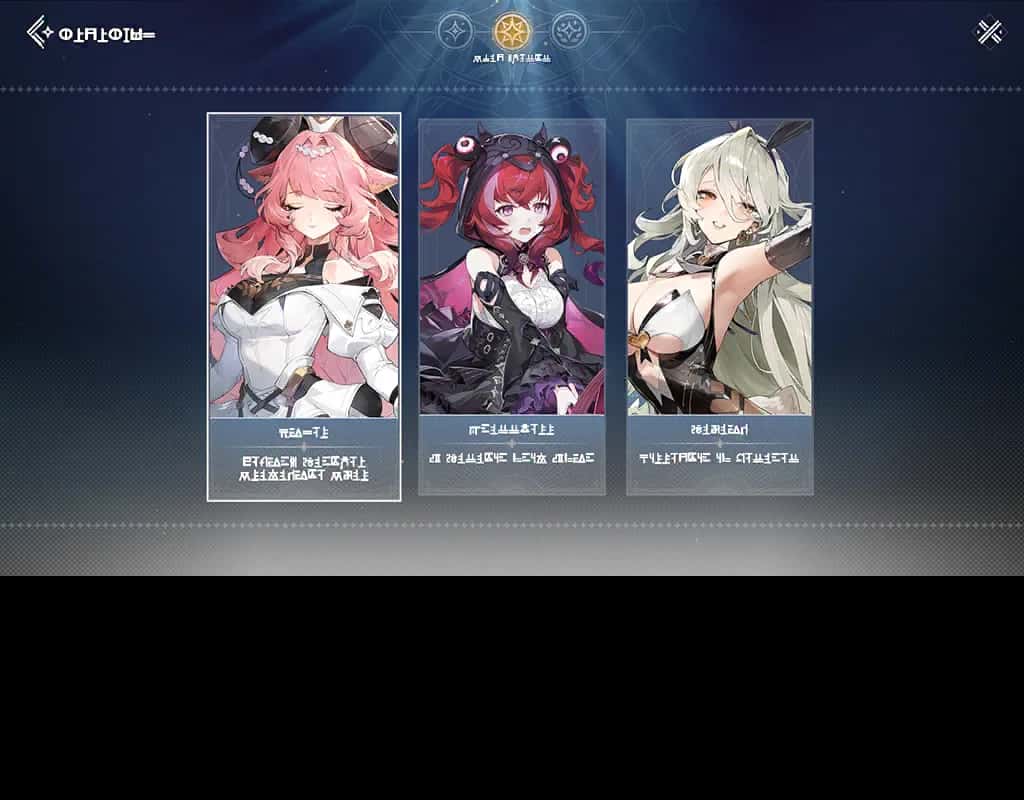
You can revisit adventure stories with you experienced with specific characters on the Epic Quest page.
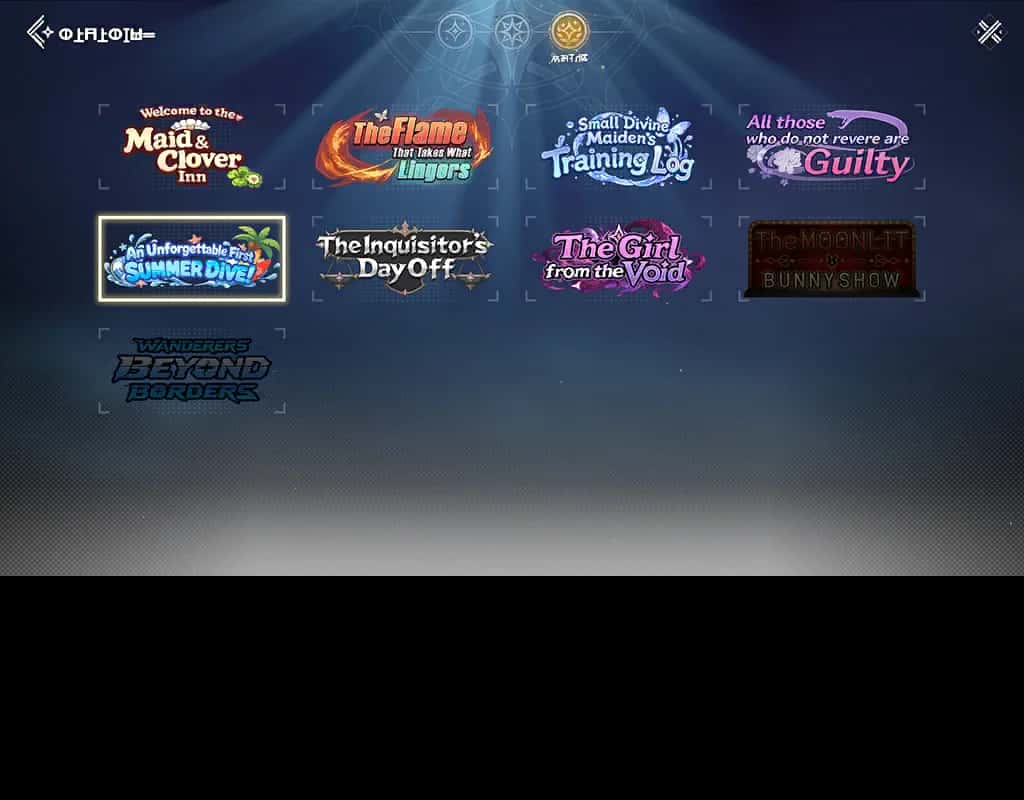
On the event page, you can watch the "Event Story" or play the "Event Minigame."
Elemental Sanctum
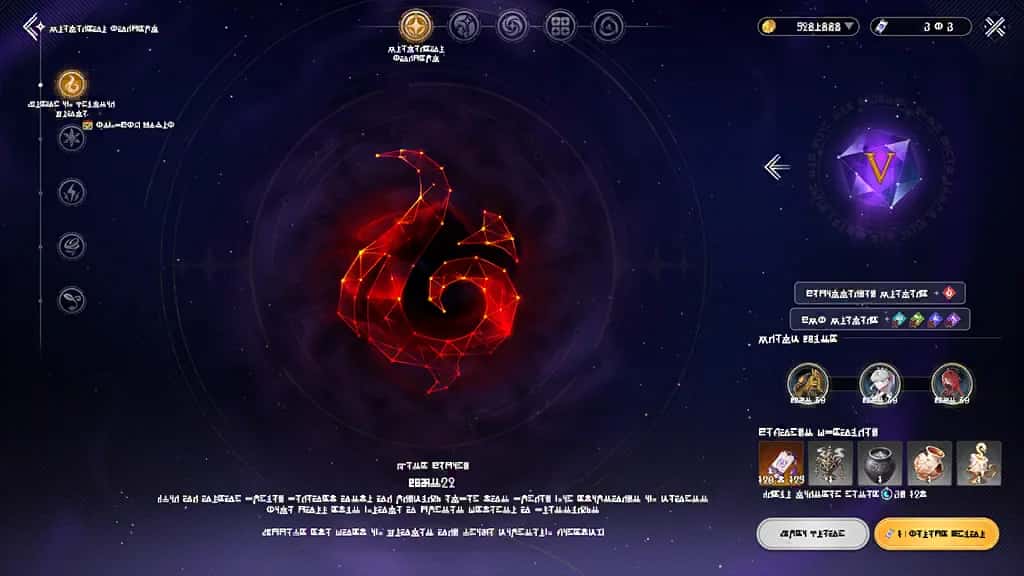
In Elemental Sanctum, battle boss enemies over 3 stages in each element's sanctum. The boss enemies that appear in the sanctums reset every week.
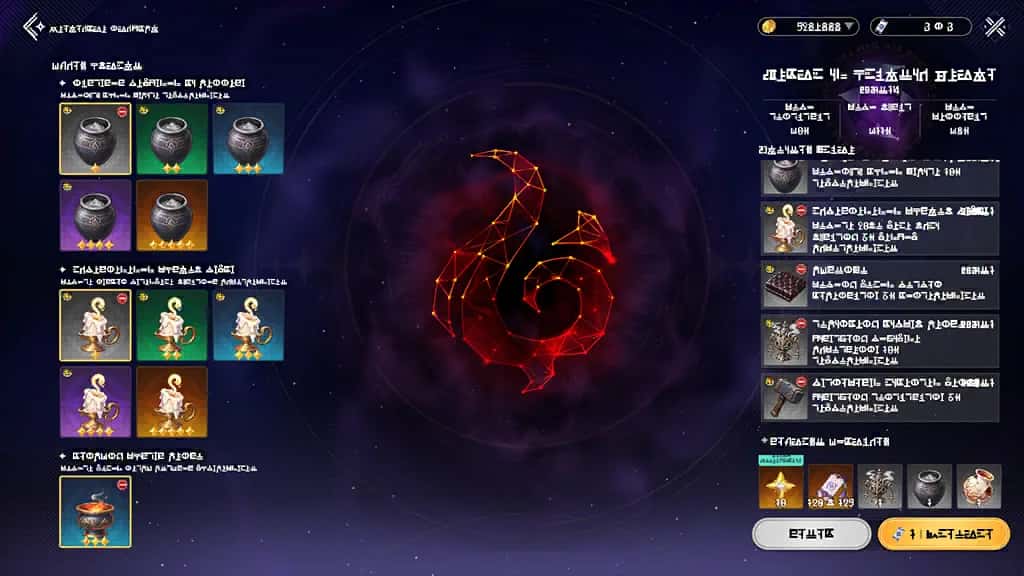
You can select Bond Fragments you own to impose trials on the sanctum. The more trials you impose, the higher the difficulty becomes. Overcoming a trial increases the blessing's element level.
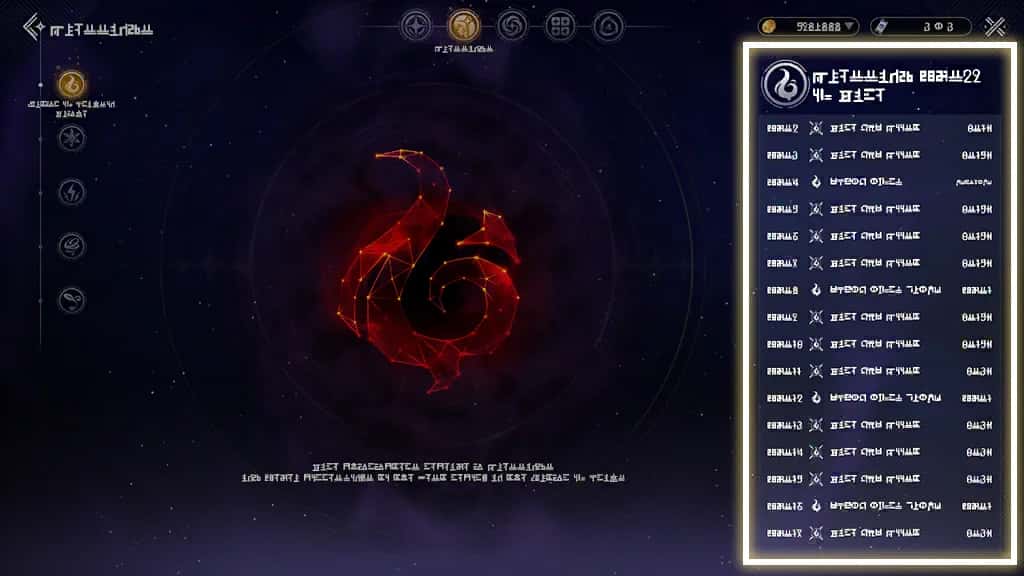
Blessings are applied to characters with the same element as the sanctum. The higher the sanctum's element level, the more powerful the blessings you can receive.
Minigame Halloween
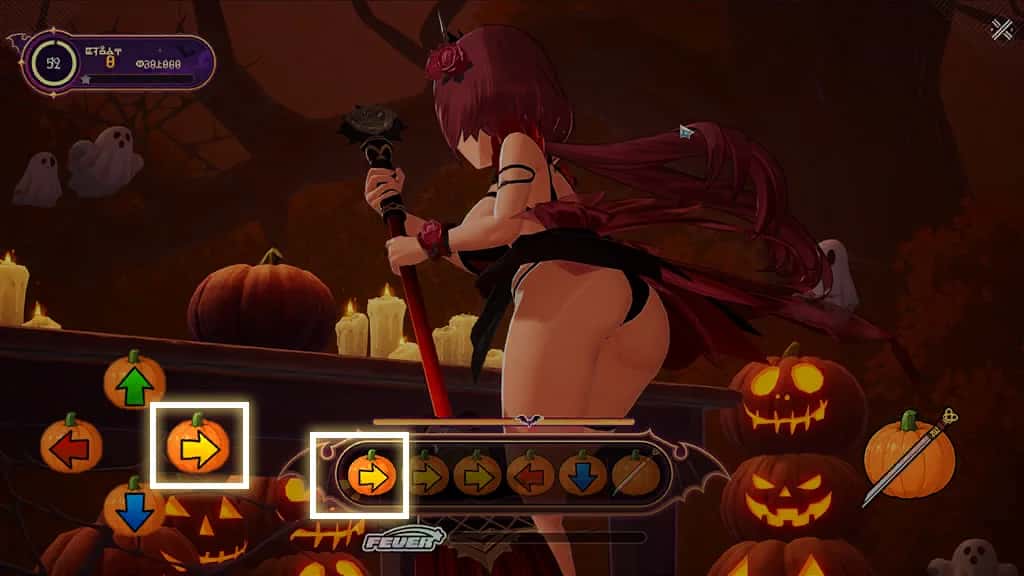
Minigame Input the directional buttons in the order shown by the arrows on the screen, from left to right, to earn points and combo bonuses.
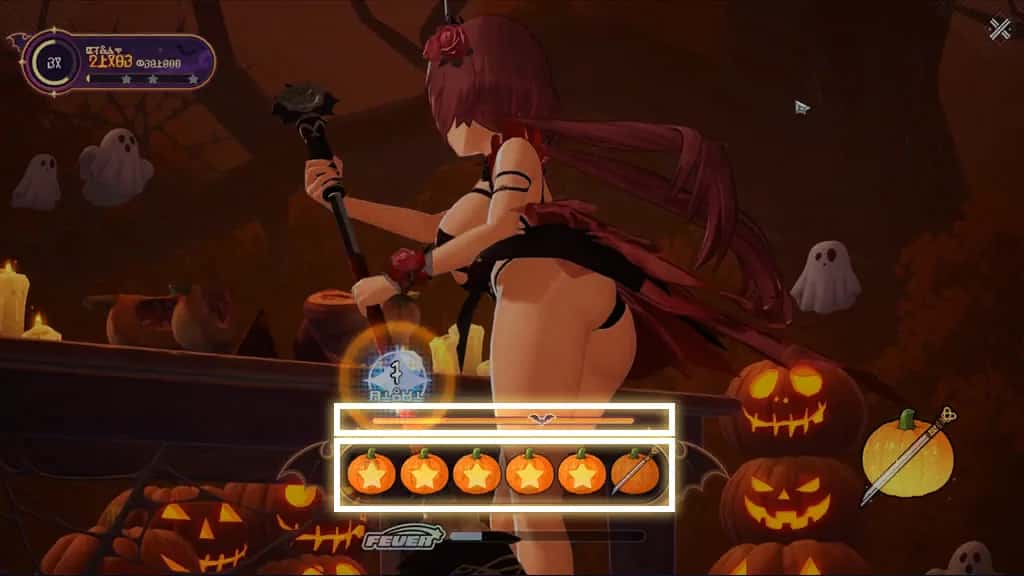
Minigame Input all commands in sequence within the time limit, then press Confirm to advance to the next round.
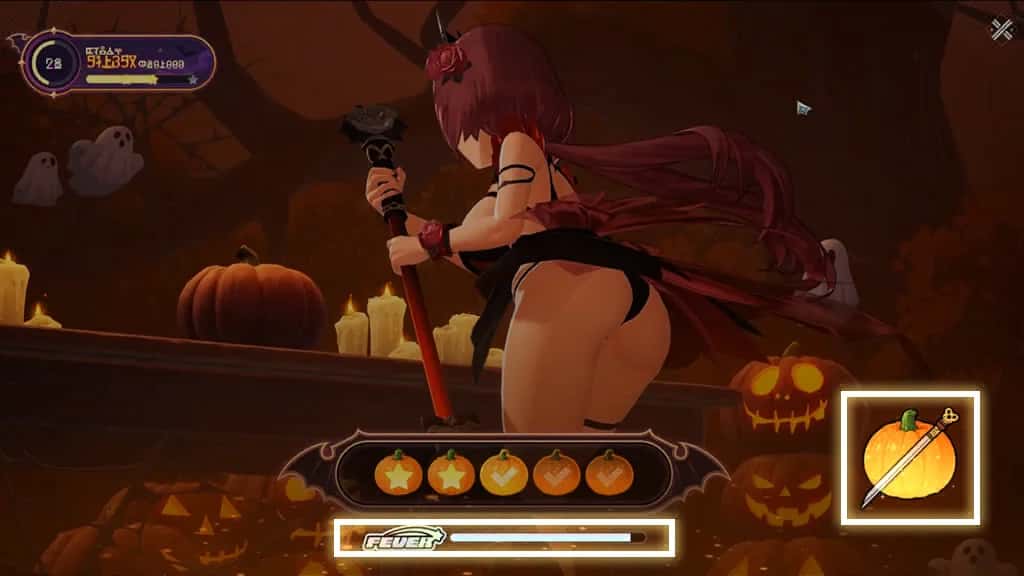
Minigame The Fever Gauge increases with each correct input. Once full, Fever Mode is triggered for a set time. When Fever Mode is active, repeatedly press the Confirm button.
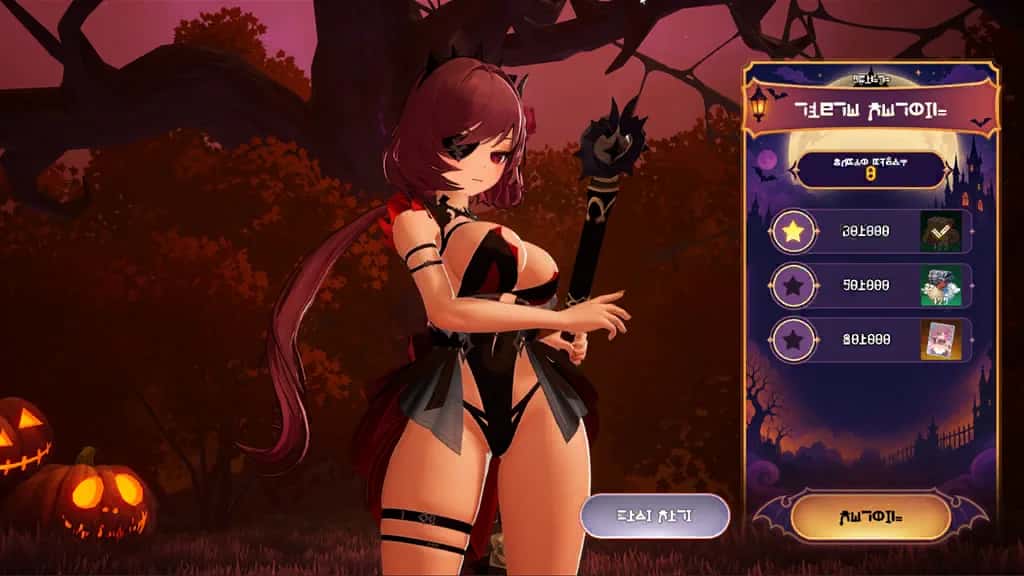
Minigame The game will end when time runs out. You will earn rewards based on your best score at the end of the game.
Minigame Isabella

Minigame Select the cell containing the first target of hacking to begin the hack.

Minigame You can travel to adjacent cells above, below, to the left, or to the right of the selected cell. You cannot move diagonally, and you cannot select cells with obstacles.

Minigame Touch the last selected cell once more to cancel the selection. Touching the Reset button will revert all cells selected so far and let you start over from the beginning.

Minigame You can complete the hack by connecting all the hacking targets in order.

Minigame The fewer moves you make, the more stars you earn. Once you complete all the hacks, you can receive rewards based on the number of stars earned.
Event Path Isabella
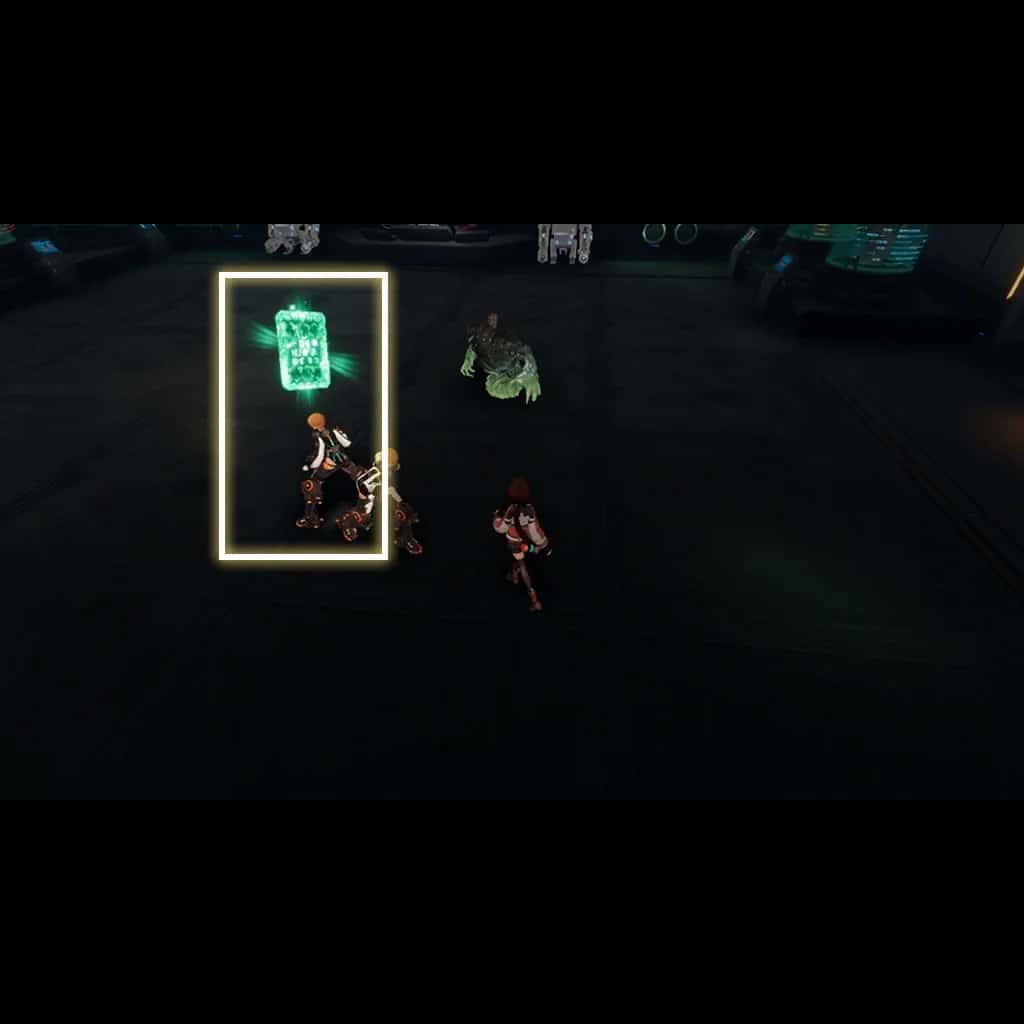
Lab Data Chips Obtain data chips by defeating enemies holding them. Data chips not picked up within a certain amount of time will disappear.

Isabella's Data Chip Analysis Once you obtain a data chip, you can use Isabella's skills or access the lab's systems.
Event Path Isabella Boss
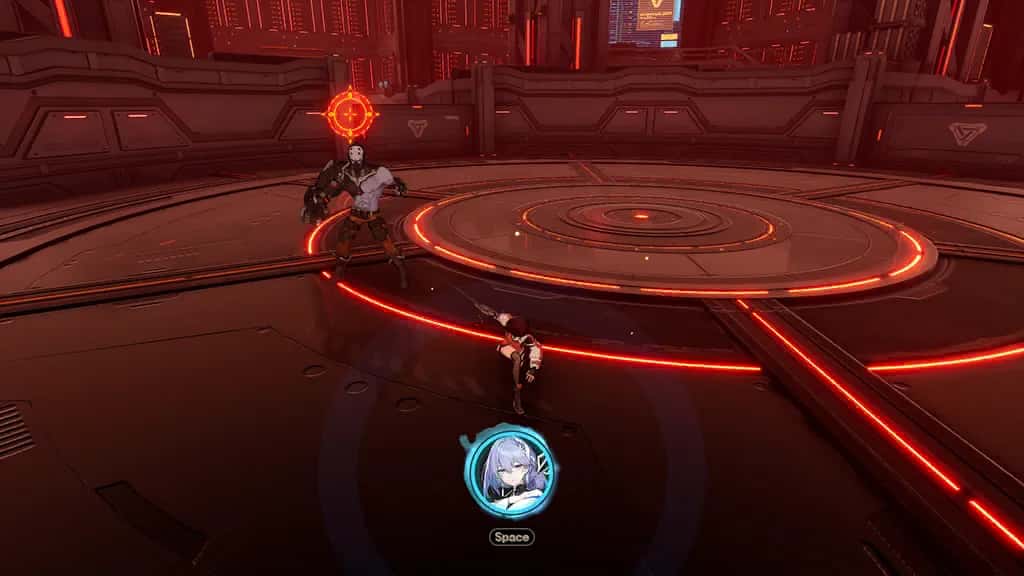
Isabella's Powerful Attack Support If you obtain 3 data chips, Isabella will attack the enemy and make them vulnerable to Stagger.